To install Wyze Cam, download the Wyze app, create an account, and follow the in-app instructions for setup. Introducing a security camera to your home or office can greatly enhance your peace of mind.
With the Wyze Cam, you can easily monitor your space and keep an eye on things even when you’re away. Whether you’re a tech-savvy individual or a complete beginner, installing the Wyze Cam is a simple and straightforward process. We will provide you with step-by-step instructions to set up your Wyze Cam in no time.
Why Choose Wyze Cam?
Affordable and feature-rich
Wyze Cam is a top choice for those seeking a reliable yet affordable home security camera. With its affordable price tag, you get a wealth of features that make it a standout option in the market. Despite being priced lower than other competitors, Wyze Cam does not compromise on quality or functionality. It offers excellent value for your money and provides a wide range of features that are typically found in more expensive cameras.
High-quality video and audio
When it comes to video and audio quality, Wyze Cam delivers outstanding results. It offers high-definition video resolution that ensures clear and sharp footage, allowing you to monitor your home with confidence. Additionally, the camera’s audio capabilities are remarkable, allowing you to hear and communicate with those on the other end. Whether you want to check in on your family, talk to your pets, or keep an eye on your home, Wyze Cam provides exceptional video and audio quality.
Easy to install and set up
Setting up a security camera shouldn’t be a hassle, and with Wyze Cam, it isn’t. You don’t need to be a tech expert to install and set up this camera as it comes with a user-friendly interface and step-by-step instructions. Within minutes, you can have the camera up and running, ensuring your home remains protected. Whether you choose to mount it on a wall or place it on a tabletop, the flexible installation options allow you to position the camera wherever it’s needed most.
In conclusion, Wyze Cam is the perfect choice for anyone looking for an affordable yet feature-rich home security camera. It delivers high-quality video and audio, ensuring you never miss a moment. The easy installation and setup process make it accessible for all, regardless of your technical expertise. With Wyze Cam, keeping an eye on your home has never been easier or more affordable.
Before You Get Started
Installing a Wyze Cam is a straightforward process that can greatly enhance the security of your home or office. However, before diving into the installation process, there are a few essential steps you need to take to ensure a smooth setup. In this section, we will walk you through the crucial tasks you need to complete before getting started on your Wyze Cam installation. By following these steps, you will be well-prepared and ready to configure your Wyze Cam for optimal performance.
Ensuring a Stable Internet Connection
An uninterrupted internet connection is crucial for the proper functioning of your Wyze Cam. Before you begin the installation process, it is important to check the stability of your internet connection. Here’s what you need to do:
- Ensure your Wi-Fi router is powered on and functioning correctly.
- Move closer to your Wi-Fi router or bring the router closer to the installation location to eliminate any potential distance-related connection issues.
- Check if there are any obstructions, such as walls or appliances, that might weaken the Wi-Fi signal. If so, consider repositioning your router or using a Wi-Fi extender.
- Restart your router and modem to refresh the connection.
By taking these simple steps, you can ensure a stable internet connection for your Wyze Cam installation, which is vital for seamless operation.
Checking Compatibility with Your Device
Before proceeding with the installation, it is important to confirm that your device is compatible with the Wyze Cam. Here’s how:
- Check the device specifications on the Wyze website to verify compatibility with your smartphone or tablet.
- Ensure that your device is up to date with the latest operating system version.
- If your device meets the compatibility requirements, you’re ready to move on to the next step. Otherwise, consider using a compatible device or updating your current device’s operating system.
Verifying compatibility with your device ensures a smooth installation process and optimal performance of the Wyze Cam.
Gathering the Necessary Equipment
To successfully install your Wyze Cam, you will need to gather the following equipment:
| Equipment | Quantity |
|---|---|
| Wyze Cam | 1 |
| Power adapter | 1 |
| Micro USB cable | 1 |
| MicroSD card (optional) | 1 |
| Access to a power outlet | 1 |
Make sure you have all the required equipment before starting the installation process. This will prevent any delays or interruptions during setup.
Now that you have completed the necessary preparations, you are ready to move on to the next stage of installing your Wyze Cam. In the next section, we will guide you through the step-by-step installation process, ensuring you achieve the best results.
Step 1: Unboxing The Wyze Cam
Unboxing your new Wyze Cam is an exciting moment as you embark on your journey into smart home surveillance. This step is essential to ensure you have all the necessary components and familiarize yourself with each one before the installation process begins.
What’s included in the package
When you open the package, you’ll find the following components:
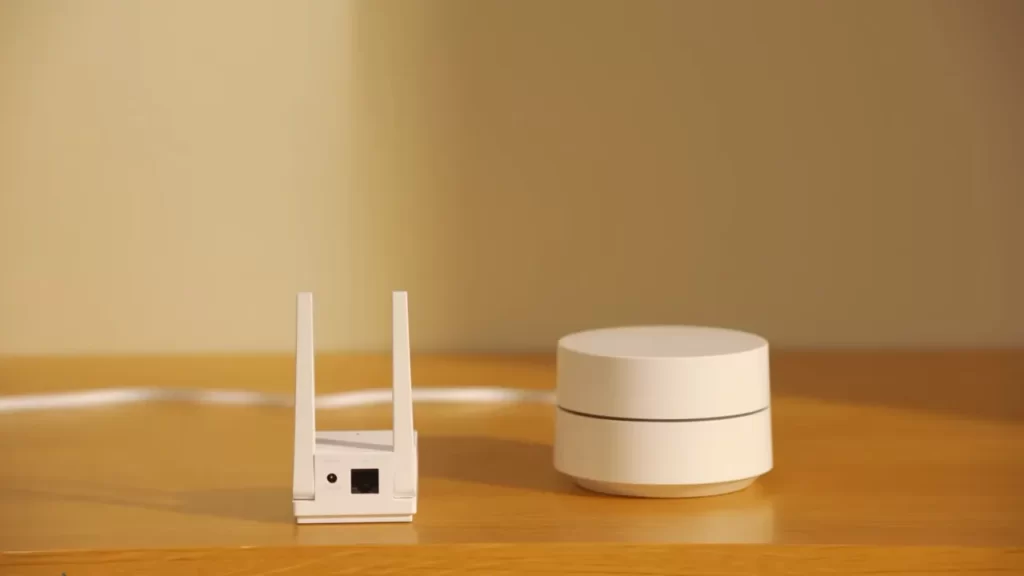
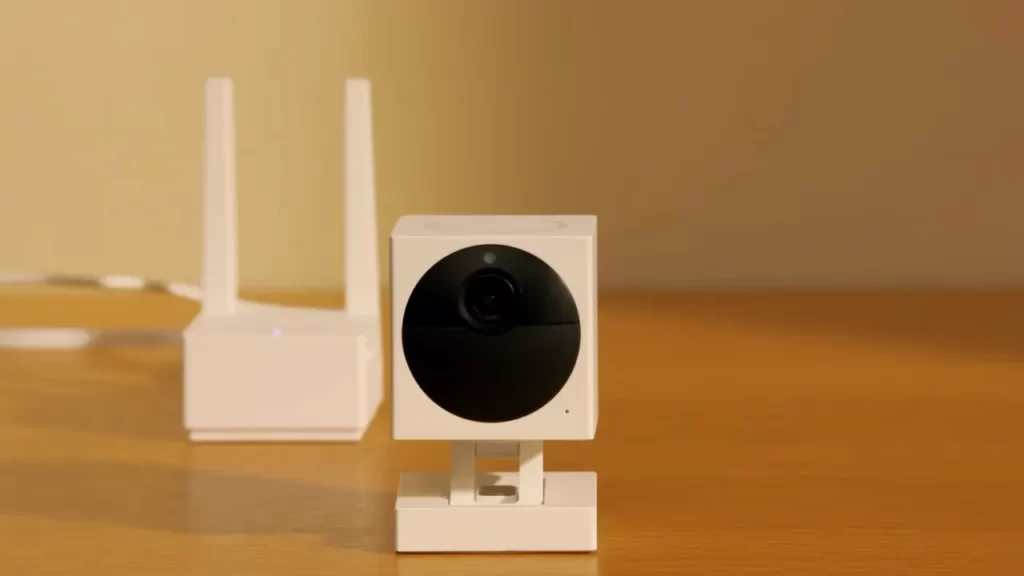
- The Wyze Cam – The star of the show, this is the compact and powerful camera that will be capturing your surroundings with clarity and precision.
- USB Cable – A high-quality USB cable is included to provide power to the Wyze Cam. Make sure to choose an appropriate power source or use the provided power adapter for optimal performance.
- Power Adapter – For your convenience, Wyze provides a power adapter that can be used to connect the camera to a power outlet. This adapter ensures a stable power supply, so you don’t have to worry about any interruptions in your surveillance.
- Mounting Plate – This versatile component allows you to easily mount your Wyze Cam on walls, ceilings, or any other surface you desire, providing a flexible view of your surroundings.
- Double-sided Adhesive Tape – Included in the package, this adhesive tape offers a quick and easy alternative to mounting the camera using the mounting plate. Simply attach it to the back of the camera and stick it to any flat surface.
- Quick Start Guide – This comprehensive guide will walk you through the setup process step by step, ensuring you have a smooth and hassle-free installation experience.
Familiarizing yourself with the components
It’s essential to take some time to familiarize yourself with each component of the Wyze Cam before proceeding with the installation. This will help you understand how everything fits together and ensure you have all the necessary pieces handy.
Start by examining the camera itself. Notice its sleek design and compact size, making it easy to place discreetly in any area you want to monitor. Take a closer look at the lens, indicator lights, and the microSD card slot if you plan to use local storage.
Next, check the USB cable and power adapter. These components are crucial for providing power to the camera, so make sure they are in good condition.
The mounting plate is another component to evaluate. Take note of its design, which allows for easy adjustment and positioning of the Wyze Cam. If you prefer not to use the mounting plate, keep the double-sided adhesive tape in mind as an alternative option.
Lastly, review the quick start guide. Familiarize yourself with the setup process outlined in the guide, which will make the installation smoother and more efficient.
By unboxing your Wyze Cam and familiarizing yourself with each component, you’re now ready to move on to the next step of the installation process. Stay tuned for Step 2: Connecting the Wyze Cam to Power.
Step 2: Downloading The Wyze App
Once you have successfully set up your Wyze Cam hardware and connected it to a power source, the next step is to download the Wyze App. The Wyze App is essential for accessing and managing your camera’s features, including live streaming, notifications, and event recordings. In this step, we will guide you on how to find and download the Wyze App from the app store, as well as create a Wyze account to get started. Let’s get started!
Finding and downloading the app from the app store
To begin, open the app store on your mobile device. The Wyze App is available for both iOS and Android devices, so make sure you search for the app compatible with your operating system. Follow these steps to find and download the Wyze App:
- Launch the app store on your phone or tablet.
- Tap the search icon to open the search bar.
- Type “Wyze” into the search bar and tap the search button.
- Look for the official Wyze App in the search results. It should be listed as “Wyze – Smart Home Camera” or something similar.
- Tap on the Wyze App listing to view the app details.
- Press the “Download” or “Install” button to start the download process.
Congratulations! You have successfully found and started downloading the Wyze App from the app store. Once the download is complete, move on to the next step to create your Wyze account.
Creating a Wyze account
Now that you have downloaded the Wyze App, it’s time to create your Wyze account. Creating an account is necessary to access your camera remotely and receive important notifications. Follow these instructions to create your Wyze account:
- Open the Wyze App on your device by tapping on the app icon.
- On the login screen, select the “Sign Up” or “Create Account” option.
- Enter your email address in the provided field. Choose an email address that you have access to as you will need to verify it later.
- Create a strong and unique password for your account. Make sure it contains a combination of letters, numbers, and special characters.
- Once you have entered your email and password, tap on the “Sign Up” button to proceed.
- Check your email inbox for a verification email from Wyze. Open the email and click on the verification link to confirm your account.
- Return to the Wyze App and sign in using your newly created account credentials.
You’ve done it! You now have a Wyze account, giving you access to all the features and benefits of your Wyze Cam. In the next step, we will guide you through connecting your Wyze Cam to your account and completing the setup process. Stay tuned!
Step 3: Powering Up The Wyze Cam
Now that you have positioned your Wyze Cam in the desired location and have connected the included USB cable to it, it’s time to power it up. Follow these simple steps to ensure a smooth installation process.
Plugging in the power adapter
The first thing you need to do is plug the power adapter into an electrical outlet. Locate a nearby outlet that is easily accessible and provides a stable power source. Make sure the outlet is not controlled by a switch, as you wouldn’t want to accidentally turn off the power to your Wyze Cam.
Connecting the Wyze Cam to a power source
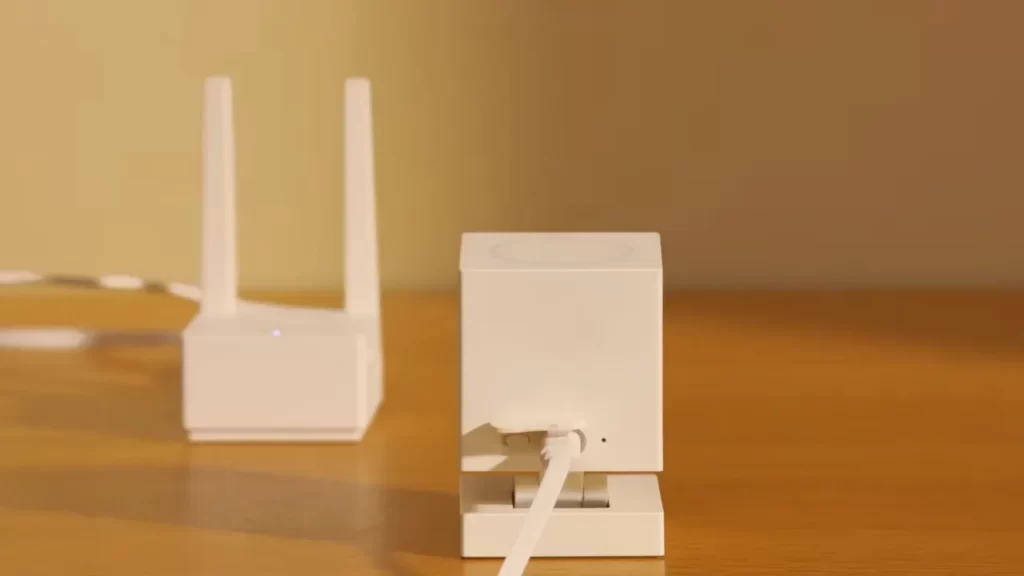
With the power adapter plugged in, now it’s time to connect the Wyze Cam to it. Take the other end of the USB cable, which should have a micro-USB connector, and insert it into the power input port on the back of the camera. Ensure that it is securely plugged in.
Ensuring a stable power connection
A stable power connection is crucial for the optimal performance of your Wyze Cam. To ensure a secure and uninterrupted power supply, consider the following tips:
- Make sure the power adapter is firmly connected to the electrical outlet.
- Check that the USB cable is securely plugged into both the power adapter and the camera.
- Avoid using extension cords or power strips if possible. Directly plugging the power adapter into a wall outlet is recommended.
- Keep the power cables away from any potential sources of interference, such as other electronics or appliances.
Verifying the power status
Once you have completed the power connection, you can verify if the Wyze Cam is receiving power. Look for a small LED indicator light on the camera. If it is lit up and solid, it means the camera is properly powered. If the light is not lit or blinking, double-check your connections and ensure that the power source is functioning correctly.
With the Wyze Cam powered up and ready to go, the next step is to connect it to your Wi-Fi network. Stay tuned for Step 4 of our tutorial!
Step 4: Connecting To Wi-Fi
Opening the Wyze app and navigating to the Wi-Fi settings
If you’re ready to connect your Wyze Cam to your home Wi-Fi network, it’s time to open the Wyze app and navigate to the Wi-Fi settings. Here’s how:
- Launch the Wyze app on your smartphone or tablet.
- Ensure that you are logged into your Wyze account. If you don’t have an account yet, simply create one by following the on-screen instructions.
- Once you’re logged in, locate and tap on the Wyze Cam device you want to connect to Wi-Fi.
- On the device settings page, find and select the “Wi-Fi Settings” option.
Connecting the Wyze Cam to your home Wi-Fi network
Now that you’ve accessed the Wi-Fi settings, it’s time to connect your Wyze Cam to your home Wi-Fi network. Follow these steps:
- In the Wi-Fi settings, tap on the “Add a Network” button. This will start the process of searching for available Wi-Fi networks.
- From the list of detected networks, locate and select your home Wi-Fi network. If you don’t see your network listed, try refreshing the list.
- Enter your Wi-Fi network password in the provided field. Make sure to double-check for any typos to avoid connectivity issues.
- Once you’ve entered the correct password, tap on the “Save” or “Connect” button to establish the connection between your Wyze Cam and the Wi-Fi network.
After following these steps, your Wyze Cam should now be successfully connected to your home Wi-Fi network. This will enable you to remotely monitor any activity captured by the camera and receive notifications on your Wyze app.
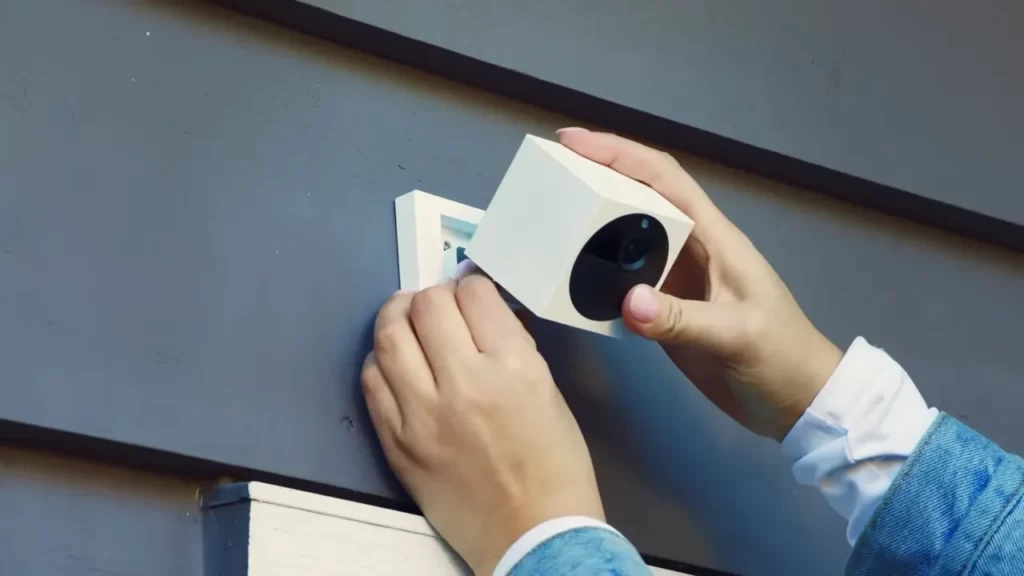
Step 5: Mounting The Wyze Cam
Mounting the Wyze Cam is an essential step to ensure optimal coverage and functionality of your security camera. Choosing the right location for mounting and considering various mounting options are crucial for capturing the best footage and maximizing the effectiveness of your Wyze Cam.
Choosing the right location for optimal coverage
When selecting the location for your Wyze Cam, keep in mind that it should have a clear line of sight to the area you want to monitor. This will help avoid obstructions and ensure that the camera captures the desired footage without any hindrances. Here are a few factors to consider:
- Viewing angles: Determine the specific areas you want to monitor and choose a location that provides the best viewing angles. For example, if you want to monitor your front porch and driveway, positioning the Wyze Cam near the entrance would be ideal.
- Height: Mount the camera at an appropriate height to get a clear view of the intended area. Generally, mounting the camera around 8 to 10 feet high is recommended. This will help ensure that the camera captures the desired details and is out of reach from potential tampering.
- Power source: Ensure that the mounting location is close to a power outlet or an extension cord to provide a continuous power supply to the camera.
Mounting options and considerations
Now that you’ve determined the ideal location for the Wyze Cam, let’s explore the different mounting options available:
| Mounting Option | Description |
|---|---|
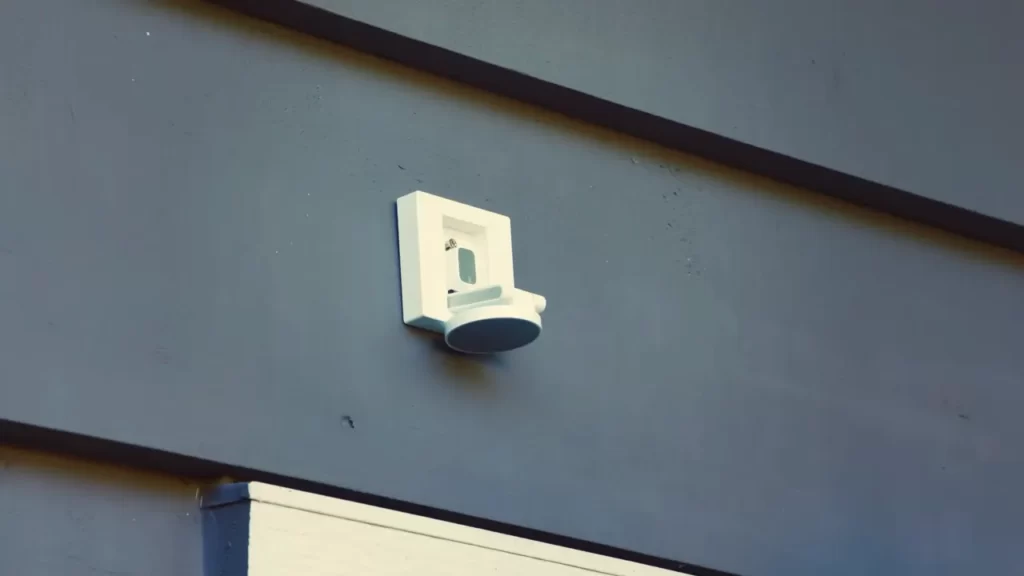
| Wall Mount | Using the included adhesive tape or screws, you can easily attach the Wyze Cam to a wall. Ensure that the mounting surface is flat and secure to prevent the camera from falling or being easily dislodged. |
| Magnetic Mount | The Wyze Cam is designed with a built-in magnetic base, allowing it to easily attach to any metal surface. This option provides flexibility and easy repositioning of the camera if needed. |
| Camera Tripod | If you prefer a portable or adjustable mounting option, you can use a camera tripod with a compatible mount to position the Wyze Cam at the desired height and angle. |
Regardless of the mounting option you choose, make sure the installation is secure and stable to prevent the camera from shifting or falling over time. Consider the surface type and weight-bearing capacity for installations like wall mounts.
Remember, proper installation and mounting of the Wyze Cam are vital to achieve the best possible coverage and functionality. Take your time to evaluate the location, choose the right mounting option, and ensure a secure setup. With these steps followed, you’ll be on your way to enhancing the security of your home or office with the Wyze Cam!
Step 6: Adjusting Camera Settings
Once you have successfully set up your Wyze Cam, it’s time to configure the camera settings to optimize its performance. This step ensures that your camera is customized to meet your specific needs and preferences. Let’s dive into some key camera settings that you can adjust:
Configuring Motion Detection and Alerts
One of the most crucial settings on your Wyze Cam is configuring motion detection and alerts. By fine-tuning these settings, you can ensure that your camera captures important events while minimizing false notifications. Here’s how you can do it:
- Launch the Wyze app on your mobile device and navigate to the camera’s live feed.
- Tap on the gear icon located in the top right corner of the screen to access the camera’s settings.
- Select the “Detection Settings” option from the list of available settings.
- Adjust the sensitivity slider to determine how sensitive you want the camera to be in detecting motion.
- Enable or disable the “Detection Zone” feature to specify the areas of the camera’s view that you want to monitor for motion.
- In the “Notifications” section, toggle the switch to enable or disable push notifications for motion events.
- Customize the “Detection Sound” to set a unique sound alert for motion detection.
With these configurations, your Wyze Cam will be better equipped to capture and notify you about motion events that matter the most to you.
Enabling Night Vision and Other Camera Settings
In addition to motion detection, you can also enhance your Wyze Cam’s performance by adjusting other camera settings. Here are some crucial settings you should consider:
- Night Vision: Enable or disable night vision based on your camera’s location and lighting conditions. Night vision allows your Wyze Cam to capture clear footage in low-light or dark environments.
- Audio: Adjust the camera’s audio settings to enable two-way communication or to configure specific sound alerts.
- Video Quality: Customize the video quality settings to optimize the camera’s resolution and frame rate based on your preferences and available internet bandwidth.
- Time Lapse: Explore the time-lapse feature to create captivating videos by capturing frames at preset intervals.
By enabling night vision and fine-tuning other camera settings, you can ensure that your Wyze Cam operates at its full potential, delivering superior video quality and enhanced monitoring capabilities.
Step 7: Testing And Troubleshooting
Verifying the camera’s functionality
After completing the installation process of your Wyze Cam, it is crucial to ensure that the camera is functioning correctly. This step allows you to see if everything is working as expected and if any adjustments or further troubleshooting is required.
Here’s how you can verify the functionality of your Wyze Cam:
- Check the camera’s live feed: Access the Wyze app on your smartphone or tablet and navigate to the camera’s view. Make sure you can see a clear and real-time video stream. Additionally, test the camera’s audio by listening for any sounds or voices.
- Test the camera’s motion detection: Move in front of the camera and check if it captures your movement accurately. An effective motion detection feature is essential for optimal security.
- Verify night vision capabilities: Ensure the camera’s night vision mode is working correctly by turning off the lights in the room and checking if the camera can still capture clear images in low-light conditions.
- Test the two-way audio: Use the Wyze app to initiate a two-way audio conversation. Speak into your phone’s microphone and check if the camera’s speaker captures your voice clearly. Similarly, listen to the audio coming from the camera to ensure excellent sound quality.
- Confirm the camera’s remote access: Leave the house and connect to the camera using the Wyze app while being away from home. Ensure you can still access the camera’s live feed and perform other functionalities without any issues.
Troubleshooting common issues
While Wyze Cam offers a user-friendly experience, there may be instances when you encounter common issues during or after installation. Here are some troubleshooting steps to help you resolve any problems:
- Check power supply: Ensure the camera is properly connected to a power outlet and the power cable is securely attached. If necessary, try a different power outlet or cable.
- Verify Wi-Fi connection: Make sure your Wyze Cam is connected to a stable Wi-Fi network. Check if your Wi-Fi password is correct and the signal strength is strong enough for reliable performance.
- Restart camera and app: Sometimes, a simple restart can resolve minor issues. Try restarting both the Wyze Cam and the Wyze app on your device.
- Reset camera: If the camera continues to malfunction, you can perform a factory reset. Refer to the camera’s user manual for specific instructions on how to reset it.
- Contact customer support: If none of the previous troubleshooting steps solve the issue, consider reaching out to Wyze’s customer support for further assistance. They have knowledgeable representatives who can provide guidance in resolving more complex problems.
Tips For Enhancing Your Wyze Cam Experience
If you’re a proud owner of the Wyze Cam, you already know the impressive capabilities this compact security camera brings to the table. Offering crisp HD video, real-time alerts, and seamless integration with popular smart home platforms, the Wyze Cam has become a favorite among homeowners and tech enthusiasts alike. But did you know that there are ways you can further enhance your experience with this innovative device?
Using microSD cards for local storage
When it comes to ensuring you have a constant record of activities inside and around your home, using a microSD card for local storage is a game-changer.
The Wyze Cam already offers free 14-day cloud storage for event recordings, but by using a microSD card, you can extend your storage capacity to suit your needs. Whether you want to keep a longer archive of footage or simply prefer storing your recordings locally, using a microSD card is a simple and effective solution.
To take advantage of this feature:
- Ensure that your Wyze Cam is powered on and connected to the Wyze app on your mobile device.
- Locate the microSD card slot on the back of the camera.
- Gently insert the microSD card into the slot until it clicks into place.
- Open the Wyze app and go to the camera’s settings.
- Select “Advanced Settings” and then “Local Storage.”
- You can now format the microSD card and adjust recording settings to your preference.
Once set up, your Wyze Cam will automatically start recording and storing footage directly to the microSD card, providing you with peace of mind and easy access to stored video clips.
Exploring additional features and integrations
The Wyze Cam is more than just a security camera. In addition to its core features, it offers a range of additional functionalities and integrations that can significantly enhance your user experience.
Some notable features and integrations to explore include:
- Wyze Sense: Extend the capabilities of your Wyze Cam by pairing it with Wyze Sense, a smart home sensor kit. This allows you to monitor doors, windows, and other areas of your home, resulting in a more comprehensive security solution.
- IFTTT integration: Connect your Wyze Cam to other smart devices and services using IFTTT. Create custom automation rules and unlock endless possibilities for integrating your camera into your smart home setup.
- Continuous recording: By subscribing to the Wyze Cam Plus service, you can unlock the option for continuous recording. This ensures that every moment is captured and preserved, providing you with an even greater level of protection.
By venturing beyond the basics, you’ll discover the full potential of your Wyze Cam, transforming it into a versatile and powerful tool.
So, whether you want to optimize your storage capabilities or explore exciting integrations, these tips are sure to enhance your Wyze Cam experience. Unlock the full potential of your device and take your home security to the next level.
Final Words
Summarizing the Installation Process
Installing the Wyze Cam is a breeze, making it a perfect addition to your home security setup. To help you get started quickly and easily, here is a brief summary of the installation steps:
- Begin by unboxing the Wyze Cam and preparing it for installation.
- Connect the provided USB cable to the camera and then plug it into a power outlet.
- Download the Wyze app on your smartphone or tablet.
- Launch the app and create an account if you haven’t done so already.
- Add the Wyze Cam to your account by following the on-screen instructions.
- Position the camera where you want it and adjust the angle for the best view.
- Complete the setup process by connecting the Wyze Cam to your Wi-Fi network.
- Enjoy the peace of mind that comes with having a reliable and affordable home security solution.
Benefits of Using Wyze Cam
Investing in a Wyze Cam offers a multitude of benefits that go beyond just basic home security. Here are some reasons why this camera stands out from the competition:
- High-Quality Video: The Wyze Cam captures 1080p Full HD video, ensuring clear and detailed footage.
- Two-Way Audio: Communicate with family members or greet visitors through the built-in speaker and microphone.
- Smart Motion Detection: Receive instant notifications on your smartphone whenever motion is detected within the camera’s field of view.
- Night Vision: Equipped with infrared LEDs, the Wyze Cam provides excellent visibility even in low light or complete darkness.
- Flexible Storage Options: Choose between local storage on a microSD card or optional cloud storage for video playback.
- Integration with Voice Assistants: Control your Wyze Cam hands-free using popular voice assistants such as Amazon Alexa or Google Assistant.
Exploring Further Functionalities and Accessories
Now that you have successfully installed your Wyze Cam and experienced its core features, it’s time to unleash the full potential of this impressive device. Wyze offers a range of additional functionalities and accessories to enhance your home security experience:
- Explore the Advanced Settings within the Wyze app to customize your camera’s behavior and optimize its performance.
- Consider purchasing additional Wyze Cams to cover multiple areas of your home, extending your surveillance coverage.
- Discover Wyze Sense, a sensor kit that seamlessly integrates with the Wyze Cam to detect and notify you of doors and windows opening or closing.
- Upgrade your Wyze Cam with Wyze Cam Pan, which offers 360-degree coverage and the ability to automatically track motion.
- Protect your Wyze camera from the elements by utilizing the Outdoor Housing, allowing you to place it outdoors without worrying about exposure to weather conditions.
With these additional functionalities and accessories, you can truly customize and expand your home security system to fit your specific needs.
So don’t wait any longer – start enjoying the peace of mind and convenience that the Wyze Cam brings to your home security setup. Get yours today and experience the state-of-the-art features and affordable pricing that make Wyze Cam a top choice for homeowners everywhere.
Frequently Asked Questions On How To Install Wyze Cam
What Do I Need To Install A Wyze Camera?
To install a Wyze camera, follow these steps: 1. Download the Wyze app on your smartphone. 2. Create an account or log in if you already have one. 3. Connect the camera to a power source. 4. Open the Wyze app and tap the “+” button to add a camera.
5. Follow the on-screen instructions to connect the camera to Wi-Fi.
How Do I Set Up My Wyze Camera?
To set up your Wyze camera, follow these steps: 1. First, download and install the Wyze app on your smartphone. 2. Power on the camera and wait for the status light to flash yellow. 3. Open the app and tap the “+” icon to add a device.
4. Select the Wyze Camera and follow the on-screen instructions to connect it to your Wi-Fi network. 5. Once connected, you can customize your camera settings and start monitoring.
How Do I Connect My Wyze To Wifi?
To connect your Wyze to WiFi, open the Wyze app, go to the device tab, select the Wyze device you want to connect, tap on the settings gear icon, choose the WiFi network, and input the correct password. Confirm the connection and your Wyze device will be connected to WiFi.
How Do I Connect My Wyze Camera To My Phone?
To connect your Wyze camera to your phone: 1. Download the Wyze app from your phone’s app store. 2. Open the app and create an account if you don’t have one. 3. Tap the ‘+’ button to add a new device.
4. Select the Wyze camera model and follow the on-screen instructions to complete the setup. 5. Once connected, you can view and control your camera from your phone.
How Do I Set Up My Wyze Cam?
Setting up your Wyze Cam is easy! Simply download the Wyze app, create an account, and follow the on-screen instructions to connect your camera to your Wi-Fi network.
Conclusion
Installing Wyze Cam is a breeze with these simple steps. By following the guide, you can ensure a secure and reliable home surveillance system. With its user-friendly interface and versatile features, Wyze Cam provides peace of mind and convenience. So go ahead and start monitoring your home like a pro.