To install a door jamb, measure and mark the desired height, cut the jamb to size, and secure it to the door frame with screws.
Factors To Consider For Door Jamb Selection
When it comes to installing a door jamb, there are several factors to consider for door jamb selection. These factors play a crucial role in ensuring the functionality, durability, and overall aesthetic appeal of your door jamb. In this article, we will delve into the three important factors you should take into account before choosing a door jamb: material compatibility, door type and size, and design preferences.
Material Compatibility

One of the key considerations when selecting a door jamb is material compatibility. The material you choose should align with the overall style of your home and the door itself. Additionally, it should be able to withstand different weather conditions and provide adequate security.
Here are some common door jamb materials:
| Material | Description |
| Wood | Offers a classic and natural look, providing good insulation and durability. |
| Steel | Provides enhanced security and is highly durable, but may lack the visual appeal of other materials. |
| Fiberglass | Resistant to moisture and temperature changes, making it ideal for exterior door jambs. |
| Composite | Combines the benefits of wood and fiberglass, providing the look of wood with added durability and weather resistance. |
Door Type and Size
The type and size of your door are important factors to consider when choosing a door jamb. Different types of doors, such as standard interior doors, exterior doors, and sliding doors, may require specific jamb configurations for optimal performance.
Additionally, you need to measure the dimensions of your door accurately to ensure a proper fit. This includes measuring the height and width of the door as well as the thickness of the door slab. An ill-fitting door jamb can lead to issues with functionality and security.
Design Preferences
Design preferences also play a significant role in door jamb selection. The style and finish of the jamb should complement the overall design aesthetic of your home and the door itself.
Consider factors such as the architectural style of your home, the color palette, and the desired level of decoration or simplicity. Whether you prefer a traditional, modern, or rustic look, there are door jamb options available to suit your preferences.
In conclusion, when selecting a door jamb, it’s important to consider factors such as material compatibility, door type and size, and design preferences. By taking these factors into account, you can ensure a well-chosen door jamb that enhances the functionality, durability, and overall visual appeal of your door.
Essential Tools For Door Jamb Installation
When it comes to installing a door jamb, having the right tools at your disposal is essential. These tools not only make the installation process easier but also ensure that your door jamb is properly aligned, secure, and functional. In this section, we will highlight the essential tools you will need for a successful door jamb installation.
<Measuring tape>
The first tool you’ll need is a measuring tape. This tool is indispensable when it comes to accurately measuring the dimensions of your door jamb and ensuring a proper fit. Use the measuring tape to measure the height and width of the doorway opening, as well as the depth of the existing jamb if you are replacing it.
<Level>
Another essential tool you’ll need is a level. The level helps you ensure that your door jamb is installed perfectly straight and level. Make sure to check both the vertical and horizontal alignment of the jamb using the level. This will prevent any future problems with the door’s operation and provide a visually appealing finish.
<Hammer>
A hammer is a versatile tool that will come in handy during the door jamb installation process. It is useful for various tasks such as driving in nails, making adjustments, or tapping the jamb into place. Make sure to use a hammer with a comfortable grip to avoid any hand fatigue during the installation process.
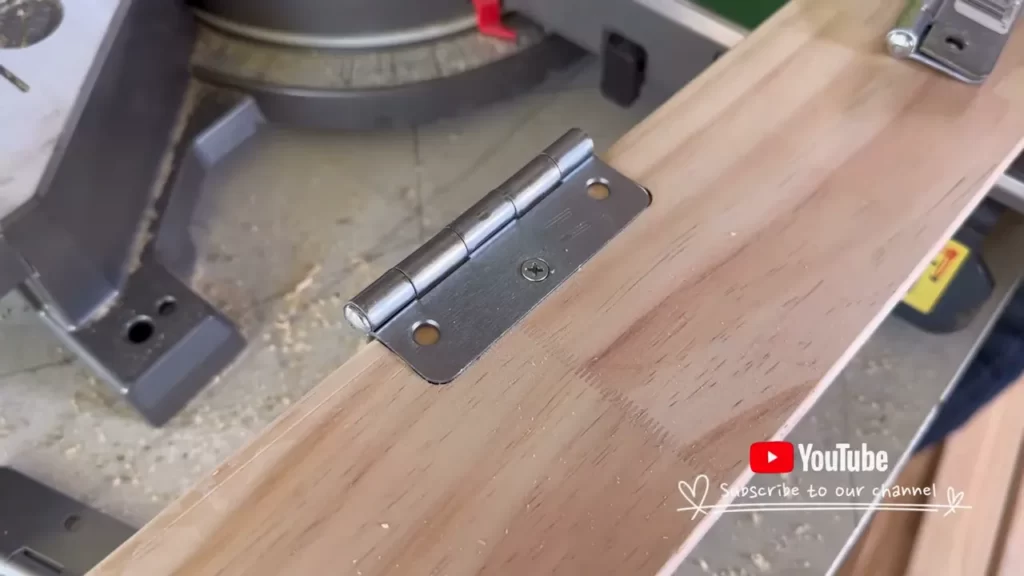
<Chisel>
A chisel is another important tool that will help you properly fit and align the door jamb. It allows you to remove any excess wood or make slight adjustments to ensure a snug fit. Use the chisel to clean up the mortise for the hinges and strike plate, creating a clean and professional finish.
<Screwdriver>
A screwdriver is an essential tool for installing the hinges and strike plate onto the door jamb. Make sure to choose the right type and size of screwdriver to match the screws you will be using. Whether it’s a Phillips or flathead screwdriver, having one on hand will save you time and frustration during the installation process.
In conclusion, these essential tools are necessary for a successful door jamb installation. By using a measuring tape, level, hammer, chisel, and screwdriver, you can ensure that your door jamb is properly installed, aligned, and functioning smoothly. With these tools in your toolkit, you’ll be well-equipped to tackle any door jamb installation project.
Required Materials For Door Jamb Installation
When it comes to installing a door jamb, there are a few essential materials that you’ll need to have on hand. These materials not only ensure a secure and stable installation but also make the process smoother and more efficient. In this section, we will discuss the required materials for door jamb installation.
Door jamb kit
A door jamb kit is the foundation of any door installation project. It includes all the necessary components to create a sturdy door frame, such as the jamb legs and head, as well as the door stop. These kits are available in various sizes to accommodate different door sizes and are typically made from durable materials like wood or composite.
Screws
Screws are an integral part of securing the door jamb in place. It is essential to use the right type and size of screws to ensure a secure fit. Generally, it is recommended to use long screws that penetrate deep into the wall framing for maximum stability. These screws should be rust-resistant and strong enough to withstand the pressure of daily use.
Shims
Shims are small wedges made from wood or plastic that are used to level and align the door jamb during installation. They are placed between the jamb and the rough opening to ensure that the jamb sits plumb, level, and square. By using shims strategically, you can eliminate any gaps or unevenness, resulting in a perfectly fitted door jamb.
Wood glue
Wood glue is an optional but highly recommended material for door jamb installation. Applying wood glue between the jamb and the rough opening helps to strengthen the bond and increase the overall stability of the installation. It also helps to fill any small gaps that may exist, providing additional support and preventing any potential squeaks or creaks in the future.
By having these required materials at your disposal, you can ensure a successful and durable door jamb installation. Remember to choose high-quality materials and carefully follow the manufacturer’s instructions for the best results.
Removing The Old Door Jamb
Removing the old door jamb is an important step in the process of installing a new door jamb. Evaluating the condition of the existing door jamb, removing the door casing and hinges, and taking measurements for the new door jamb are crucial tasks that need to be done properly. In this section, we will guide you through each step in a clear and concise manner. Let’s dive in! Evaluating the condition of the existing door jamb Before removing the old door jamb, it’s essential to assess its condition. This will help you determine if any repairs or replacements are needed. Here’s how to evaluate the condition of the existing door jamb: 1. Inspect for any visible signs of damage, such as cracks, rot, or warping. This can affect the functionality and security of your door. 2. Check if there are any gaps between the door jamb and the wall. These gaps can allow drafts, insects, or even unwanted pests to enter your home. 3. Test the door for proper alignment and smooth operation. Ensure that it opens and closes smoothly without any sticking or dragging. Removing the door casing and hinges Once you have assessed the condition of the existing door jamb, it’s time to remove the door casing and hinges. This step is necessary to create a clean slate for installing the new door jamb. Here’s how to remove the door casing and hinges: 1. Start by using a pry bar or a small crowbar to gently pry off the door casing from the wall. Begin at one corner and work your way around. Be careful not to damage the surrounding wall or trim. 2. Once the casing is removed, you can access the hinges. Use a screwdriver to remove the screws that secure the hinges to the door frame. Repeat this process for all the hinges. 3. Set aside the door casing and hinges, as they may be reused if they are still in good condition. Otherwise, it’s recommended to replace them for a fresh look and improved performance. Taking measurements for the new door jamb With the old door casing and hinges removed, it’s time to take precise measurements for the new door jamb. This ensures a proper fit and smooth installation. Follow these steps to take measurements accurately: 1. Measure the height of the door opening from the floor to the top of the opening. Take measurements on both sides and in the middle to account for any variations. 2. Measure the width of the door opening from one side to the other. Again, take measurements at the top, middle, and bottom to accommodate any irregularities. 3. Note down these measurements and use them as a reference when selecting or custom-ordering your new door jamb. By following these steps, you can efficiently remove the old door jamb, assess its condition, and prepare for the installation of the new door jamb. Remember to be cautious during the removal process and take accurate measurements for a successful and hassle-free installation.
Preparing The Door Casing
Before we proceed with installing the door jamb, it is essential to properly prepare the door casing for a seamless and professional-looking result. This involves removing any debris or nails, sanding and smoothing the surface, and applying a primer or sealant. Let’s go through each step in detail:
Removing any debris or nails
Begin by thoroughly inspecting the door casing for any debris, such as dirt, dust, or loose paint. Use a stiff brush or a vacuum cleaner to remove these particles from the surface. Additionally, check for any nails that might be sticking out or loose. Remove them carefully using pliers or a claw hammer to ensure a smooth and even surface.
Sanding and smoothing the surface
To achieve a flawless finish, it is crucial to sand and smooth the door casing. Start by using medium-grit sandpaper to gently sand the entire surface. This will help remove any imperfections, rough edges, or bumps. Make sure to sand in the direction of the wood grain for the best results. Once the surface feels smooth to the touch, switch to fine-grit sandpaper to further refine the surface and create a perfectly even finish.
Applying a primer or sealant
Before installing the door jamb, it is essential to apply a primer or sealant to the prepared door casing. This not only enhances the durability of the wood but also ensures that the paint or stain adheres well to the surface. Choose a high-quality primer or sealant suitable for your specific door casing material. Using a brush or a roller, apply an even coat of primer or sealant to the casing, making sure to cover all exposed surfaces. Allow it to dry thoroughly according to the manufacturer’s instructions.
By following these steps, you will have a well-prepared door casing ready for the installation of the door jamb. It is important to take the time to properly prepare the surface to achieve a professional-looking result and ensure the longevity of your door jamb.
Positioning The New Door Jamb
Aligning the top piece of the door jamb
When it comes to positioning the new door jamb, aligning the top piece is crucial for a secure installation. Start by placing the top piece horizontally at the desired height, ensuring it is level with the help of a bubble level. Use a measuring tape to confirm that the distance between the top piece and the door frame is consistent on both sides.
If needed, make adjustments by adding or removing shims to achieve a tight fit. Shims are thin wedges that are used to fill gaps and provide stability. Insert the shims where necessary to ensure the top piece is level and securely positioned against the door frame. Remember to check the level again after adding the shims to guarantee a precise alignment.
Positioning the side pieces
After aligning the top piece, it’s time to position the side pieces of the door jamb. Carefully place one side piece vertically against the door frame, ensuring it is level and flush with the top piece. Use a level to double-check the alignment and make any adjustments with shims if needed.
Next, repeat the process with the other side piece, ensuring it mirrors the position and alignment of the first side piece. Take extra care to ensure both side pieces are parallel to each other and perpendicular to the floor. Use the level to verify the vertical alignment, making adjustments as necessary to achieve a perfect fit.
Using shims for stability
Once the top and side pieces are aligned, it’s time to stabilize the door jamb using shims. Start by inserting shims into the gaps between the door jamb and the door frame, placing them at strategic points along the length of the jamb. This will help prevent any movement or shifting once the door is installed.
Use a hammer or a mallet to gently tap the shims into place, ensuring they are snug and firmly holding the jamb in position. Be cautious not to over-tighten and risk damaging the door or frame. Continuously check the alignment and levelness of the door jamb as you secure it with the shims, making any necessary adjustments to maintain a precise and stable positioning.
By following these steps and paying attention to the alignment and stability of each component, you can successfully position a new door jamb with confidence. Remember to always double-check the levelness and alignment throughout the installation process to ensure a secure and professional result.
Securing The Door Jamb
Securing the door jamb is an important step in the installation process that ensures your door frame is stable and properly aligned. In this section, we will cover the steps involved in securing the door jamb, including pre-drilling holes for screws, attaching the door jamb to the doorway frame, and checking for level and making necessary adjustments.
Pre-drilling holes for screws
Before attaching the door jamb to the doorway frame, it is crucial to pre-drill holes for the screws. This helps to prevent the wood from splitting and allows for easier installation. To pre-drill the holes, follow these steps:
- Measure and mark the desired location for the screws on the door jamb.
- Choose an appropriately sized drill bit that matches the diameter of the screws you will be using.
- Secure the door jamb in a stable position and begin drilling the holes at each marked location.
Attaching the door jamb to the doorway frame
Once the pre-drilled holes are in place, it is time to attach the door jamb to the doorway frame. Follow these steps for a secure installation:
- Align the door jamb with the doorway frame, ensuring it sits flush against the wall.
- Use screws that are long enough to penetrate through the door jamb and into the doorway frame, but not so long that they penetrate through the other side.
- Insert the screws into the pre-drilled holes and use a screwdriver or drill to tighten them securely. Ensure that the screws are evenly spaced along the door jamb for optimal stability.
- Repeat this process for each pre-drilled hole until the door jamb is securely attached to the doorway frame.
Checking for level and adjusting as needed
After attaching the door jamb, it is essential to check for level and make any necessary adjustments. This step ensures that your door will function properly and align correctly. Follow these steps to check for level:
- Place a level on top of the door jamb and check for any discrepancies.
- If the door jamb is not level, adjust the screws by loosening them slightly and repositioning the door jamb until it is level.
- Once the door jamb is level, retighten the screws to secure it in place.
By following these steps, you can confidently secure your door jamb, ensuring a stable and properly aligned door frame. Remember to double-check your work and make any necessary adjustments for a flawless installation.
Installing The Door Casing
Installing the door casing is a crucial step in completing the installation of your door jamb. The door casing not only adds a finished look to your door but also helps to provide stability and insulation. In this section, we will guide you through the process of cutting and measuring the casing pieces, attaching the casing to the door jamb, and ensuring a snug fit. Follow these steps to successfully install your door casing.
Cutting and measuring the casing pieces
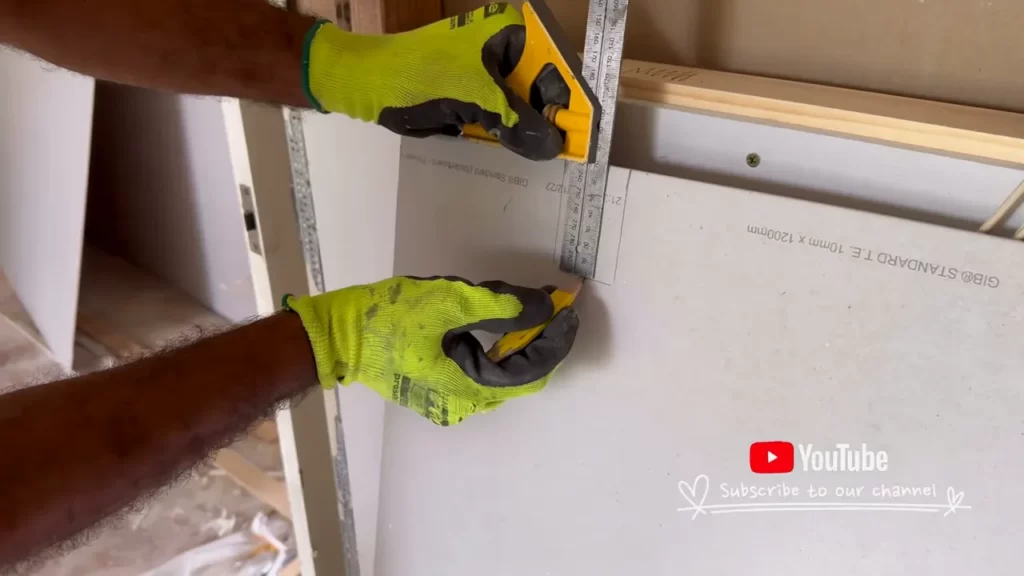
Prior to cutting the casing pieces, it is important to measure the length and width required for each piece. You can easily do this using a measuring tape. Measure the length of the door jamb from the inside and add an additional inch for an overlap at each end. This will ensure a seamless fit and allow room for adjustments.
Once you have measured the length, you can move on to measuring the width. Measure the width of the door jamb and again add an extra inch for overlapping. This will ensure that the casing fully covers the door jamb and provides a neat appearance.
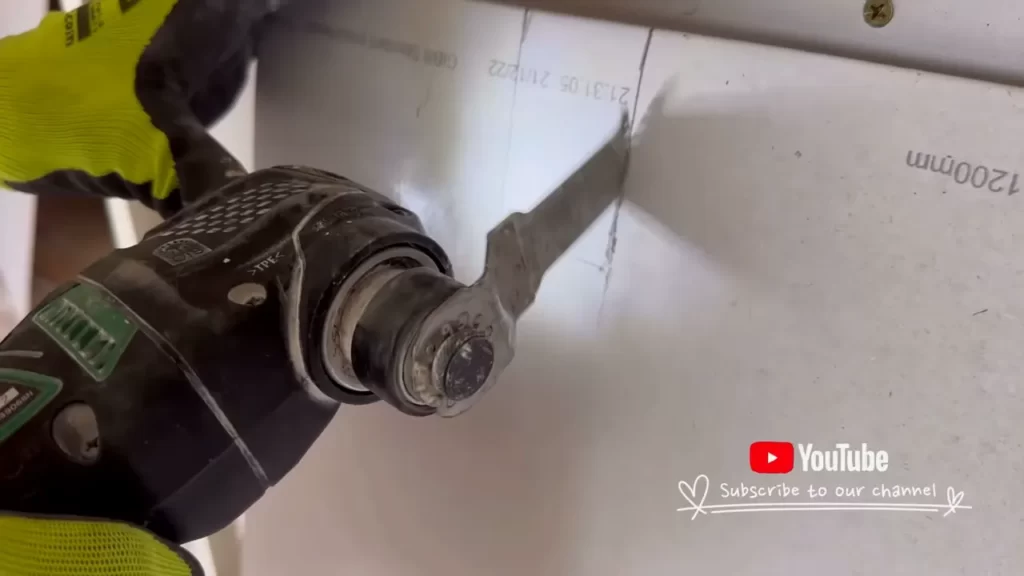
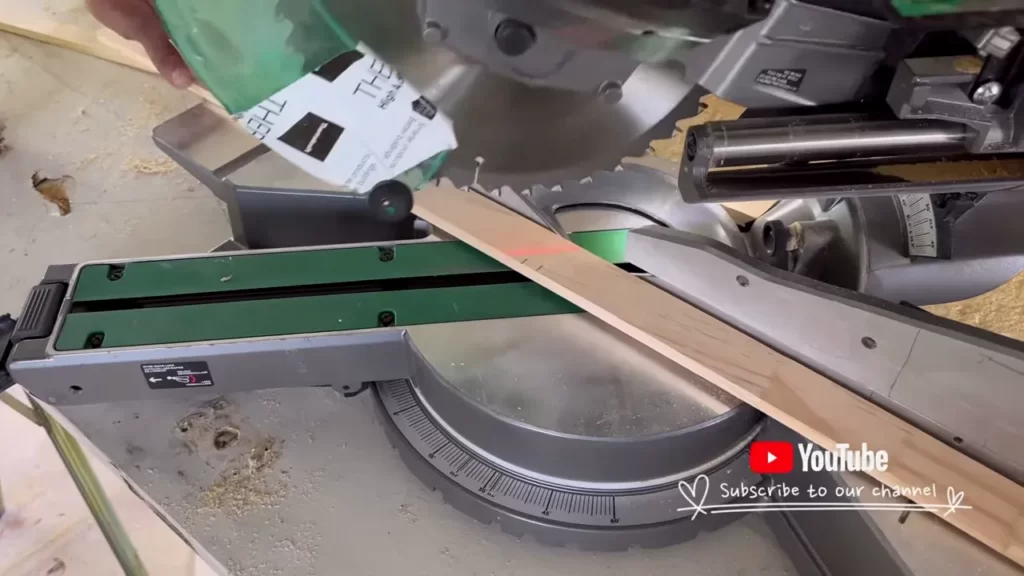
With the measurements in hand, it’s time to cut the casing pieces. Using a miter saw or a miter box, cut the casing pieces according to your measurements. Make sure to cut each piece at a 45-degree angle for a clean and professional look. Double-check your measurements before making any cuts to avoid any wastage or incorrect pieces.
Attaching the casing to the door jamb
Once you have cut all the casing pieces, it’s time to attach them to the door jamb. Start by positioning the first piece at the top of the door jamb. Ensure that it aligns with the edge of the jamb and overlaps at each end. Use finishing nails or a brad nailer to secure the casing in place. Place the nails at regular intervals to maintain stability.
Repeat the same process for the remaining pieces, working your way down to the sides and finally the bottom of the door jamb. As you attach each piece, make sure they align perfectly with the edges of the jamb and that there are no gaps between the casing and the jamb. This will ensure a tight and seamless fit.
Ensuring a snug fit
After you have attached all the casing pieces, it’s crucial to check for a snug fit. Run your hand along the edges of the casing to make sure there are no protruding nails or loose areas. If you encounter any, gently tap them into place or use a nail set to sink the nails deeper.
Additionally, check for any gaps between the casing and the door jamb. If you notice any, you can use a small piece of wood or caulk to fill in the gaps and create a smooth finish. Pay attention to detail and ensure that the casing is securely attached and fits snugly against the door jamb.
By following these steps, you can successfully install the door casing for your door jamb. This will add a polished and finished look to your door as well as provide stability and insulation. Take your time, measure accurately, and secure the casing properly to achieve the best results.
Filling Gaps And Gaps
Using wood filler for small gaps
One of the most common issues when installing a door jamb is dealing with small gaps. These small gaps can occur due to variations in the wall or floor, leaving unsightly spaces that need to be filled. Luckily, you can easily fix this problem by using wood filler.
Wood filler is a versatile material that can be used to fill in small gaps and cracks in the door jamb. It is a putty-like substance that can be easily applied and molded to match the surrounding wood. To use wood filler for small gaps:
- First, clean the area around the gap to remove any debris or dust that may interfere with the adherence of the filler.
- Next, squeeze a small amount of wood filler onto a putty knife or similar tool.
- Apply the wood filler to the gap, pressing firmly to ensure it fills the entire space.
- Once the filler is in place, use the putty knife to smooth it out and remove any excess.
- Allow the wood filler to dry completely according to the manufacturer’s instructions.
Applying caulk for any visible cracks
In addition to small gaps, visible cracks can also occur during the installation process. These cracks can compromise the appearance of the door jamb and may even impact its functionality. To address this issue, you can simply apply caulk to the cracks.
Caulk is a flexible material typically used for sealing gaps or joints. It can be applied in a precise manner to fill in small cracks and cover up imperfections. Here’s how to apply caulk for visible cracks:
- Clean the cracks to remove any dust or debris that may hinder the adhesion of the caulk.
- Load a caulk gun with the appropriate caulk for your project, ensuring it is compatible with the material of your door jamb.
- Cut the nozzle at a 45-degree angle to create a small opening.
- Place the caulk gun at one end of the crack and slowly squeeze the trigger, applying a smooth and even bead of caulk along the entire length of the crack.
- Use a caulk smoothing tool or your finger to smooth out the caulk, ensuring it blends seamlessly with the surrounding surface.
Sanding and painting the door jamb
Once you have filled in the gaps and cracks in your door jamb, it’s time to give it a finished look by sanding and painting.
Sanding the door jamb ensures a smooth surface and helps blend the wood filler and caulk with the surrounding wood. Use a medium-grit sandpaper to gently sand the filled areas, being careful not to oversand or damage the jamb.
After sanding, you can go ahead and paint the door jamb to match your desired color scheme. Choose a high-quality paint suitable for your door jamb material and apply a thin, even coat. Allow the paint to dry completely before applying additional coats if necessary.
By following these steps, you can fill gaps and cracks in your door jamb, creating a seamless and visually appealing result. Remember to always pay attention to the manufacturer’s instructions for any products you are using and take the necessary precautions to ensure a successful installation.
Installing The Door Hardware
Installing door hardware is an essential step in the door jamb installation process. Proper installation of the doorknob and lock is crucial for both functionality and security. In this section, we will guide you through the process of marking and drilling holes for the doorknob and lock, as well as installing the doorknob and lock set. Let’s get started!
Marking and drilling holes for the doorknob and lock
Before you begin marking and drilling holes, ensure that you have the appropriate measurements for your doorknob and lock set. Each manufacturer may have specific instructions, so it’s essential to refer to the manual that came with your hardware. Follow the steps below to mark and drill holes for the doorknob and lock:
- Measure the distance from the edge of the door to the center of the doorknob hole. This measurement is typically around 2-3/8 inches, but it may vary.
- Mark the doorknob hole’s center point on the face of the door using a pencil.
- Using an appropriately sized drill bit, drill a hole through the door at the marked center point. Take caution and ensure the drill bit is perpendicular to the door surface.
- Next, measure and mark the location for the lock set. The height and position can vary, so refer to the manufacturer’s instructions.
- Drill holes for the lock set using the appropriate drill bit sizes as specified in the instructions.
Installing the doorknob and lock set
With the holes drilled, it’s time to install the doorknob and lock set. Follow these steps to complete the installation:
- Insert the latch into the doorknob hole, ensuring that it is properly aligned and functioning smoothly.
- Attach the exterior side of the doorknob to the door by aligning it with the latch mechanism. Secure it in place using the provided screws.
- Install the interior side of the doorknob, aligning it with the exterior side and the latch. Attach it firmly with the screws provided.
- Next, insert the lock set into the pre-drilled holes, ensuring that it fits properly.
- Attach the strike plate to the door frame, aligning it with the lock set. Secure it in place with screws.
Testing the functionality of the door
Once the doorknob and lock set are installed, it’s crucial to test the functionality of the door to ensure that everything works as intended. Follow these steps to test your door:
- Turn the doorknob to ensure smooth operation and proper latching.
- Lock and unlock the door using the key to verify that the lock set is functioning correctly.
- Open and close the door multiple times to check for any misalignment or sticking.
- Additionally, test the deadbolt (if applicable) to ensure it extends and retracts smoothly.
By following these steps, you can successfully install the doorknob and lock set on your door jamb. Remember to refer to the manufacturer’s instructions for specific guidance and always prioritize safety during the process. Now that your door hardware is properly installed, you can enjoy a secure and functional entrance.
Checking For Proper Alignment And Operation
After installing a door jamb, it is crucial to check for proper alignment and operation to ensure that the door functions smoothly. By doing so, you can identify any potential issues and make adjustments as necessary. In this section, we will discuss three key steps to check for alignment and operation: opening and closing the door, adjusting the door jamb if necessary, and inspecting for any gaps or misalignments.
Opening and closing the door to check for smooth operation
To begin, open and close the door multiple times to evaluate its smoothness of operation. Pay attention to any signs of resistance or dragging when opening or closing the door. If you notice any difficulties, it may indicate an alignment issue that needs to be addressed.
Adjusting the door jamb if necessary
If the door does not open or close smoothly, you may need to adjust the door jamb. Start by checking the hinges for any loose screws. Tighten them as needed to ensure a secure fit. If the issue persists, you may need to use a level to check the alignment of the jamb. Adjust the jamb by loosening the screws slightly and tapping it with a mallet or a hammer until it is properly aligned. Once aligned, tighten the screws again to secure the jamb in place.
Inspecting for any gaps or misalignments
In addition to checking the door’s operation, it is important to inspect for any gaps or misalignments in the door jamb. Look for visible gaps between the door and the frame, as well as any uneven spaces around the edges. These gaps can impact the door’s energy efficiency and security. If you notice any gaps, you may need to adjust the weatherstripping or add additional insulation to improve the seal.
Furthermore, check for any misalignments between the door and the jamb. A misaligned door can cause drafts, making it less efficient and compromising the door’s security. If you find any misalignments, you can use shims or wood wedges to adjust the positioning and ensure that the door properly aligns with the jamb.
By carefully following these steps to check for proper alignment and operation, you can ensure that your newly installed door jamb functions smoothly, providing security and energy efficiency to your home.
Frequently Asked Questions On How To Install Door Jamb
Do You Nail Door Jamb?
Yes, we nail door jambs. Our experts carefully install nails to secure the door jamb in place.
Where Do You Screw In A Door Jamb?
Screw the door jamb into the door frame using screws.
What Is The Recommended Gap Between A Door And A Jamb?
The recommended gap between a door and a jamb is usually around 1/8 to 3/16 of an inch. This allows for smooth operation and prevents any rubbing or sticking when opening or closing the door.
How Do You Install A Pocket Door Jamb Kit?
To install a pocket door jamb kit, start by measuring and cutting the track and header to fit your door opening. Then, attach the track and header to the studs using screws. Next, install the jamb studs and position them correctly.
Lastly, attach the door hangers to the track and hang the door.
How Do You Install A Door Jamb?
To install a door jamb, start by measuring and cutting the jamb to fit the door frame. Then, attach the jamb to the frame using screws and shims for stability. Finally, check the alignment and add weatherstripping for a proper finish.
What Tools Do You Need To Install A Door Jamb?
To install a door jamb, you will need a miter saw, a drill, a screwdriver, a level, a tape measure, a chisel, screws, shims, and weatherstripping. These tools will help you accurately measure, cut, and secure the jamb in place.
Conclusion
To summarize, installing a door jamb may seem like a daunting task, but with the right tools and guidance, it can be a straightforward process. By following these step-by-step instructions, you can ensure a secure and professional-looking door installation. Remember to take accurate measurements, use quality materials, and pay attention to detail.
With patience and persistence, you’ll have a sturdy door jamb in no time. Happy installing!