To install a door handle, first, mark the holes on the door where the handle will be installed. Then, drill pilot holes for the screws and attach the handle using a screwdriver.
Installing a door handle can be a simple task that enhances the functionality and aesthetic appeal of your doors. By following a few steps, you can quickly and easily install a door handle yourself. In this guide, we will walk you through the installation process, providing clear instructions to ensure a successful outcome.
Whether you are replacing an old door handle or installing a new one, this guide will help you achieve a professional and secure installation. So, let’s get started with the steps to install a door handle effectively.
Gathering The Required Tools And Materials
Gathering the required tools and materials is the first step in installing a door handle. By having everything you need on hand, you can ensure a smooth and efficient installation process. In this section, we will discuss the essential tools for door handle installation, as well as the importance of choosing the right door handle for your needs. Additionally, we will guide you through the process of measuring and marking the door to ensure the perfect fit for your new handle.
Essential Tools for Door Handle Installation
Before you begin installing a door handle, it’s important to gather all the necessary tools. Here is a list of essential tools you will need:
| Tool | Description |
|---|---|
| Screwdriver | A screwdriver will be required to remove the existing door handle and attach the new one. |
| Measuring tape | A measuring tape is essential for accurate measurements, ensuring the door handle is placed in the right position. |
| Pencil | A pencil will be used to mark the door where the holes for the handle will be drilled. |
| Drill | You will need a drill to create the holes in the door for the handle and latch. |
| Chisel | A chisel will come in handy for making clean and precise cuts in the door for the latch plate. |
| Screws | Make sure to have the appropriate screws for attaching the new door handle and latch. |
Having these tools ready before you start the installation process will save you time and frustration, ensuring a successful outcome.
Choosing the Right Door Handle
Selecting the right door handle is crucial for both functionality and aesthetics. Here are some key factors to consider when choosing a door handle:
- Style: Determine the style that complements your door and overall interior design. Consider options like modern, traditional, or antique.
- Functionality: Decide on the type of handle that suits your needs, whether it’s a lever handle, knob, or a handle with a push-button lock.
- Finish: Choose a finish that matches the existing door hardware or other elements in the room, such as brass, chrome, or nickel.
- Quality: Opt for a door handle made of durable materials to ensure longevity and reliable performance.
By carefully considering these factors, you will be able to find the perfect door handle that enhances both the appearance and functionality of your door.
Measuring and Marking the Door
Properly measuring and marking the door is essential to ensure that the door handle is installed in the correct position. Follow these steps:
- Measure the backset: Measure the distance from the edge of the door to the center of the handle hole on the existing door handle. This will help you position the new handle correctly.
- Mark the centerline: Use a measuring tape to find the center point of the door’s edge. Mark this point with a pencil, as it will serve as a reference for the handle’s placement.
- Mark the holes: Using the measurements provided by the manufacturer, mark the precise positions for the handle and latch holes on the door using a pencil. Double-check the measurements to ensure accuracy.
By carefully measuring and marking the door, you can ensure that the new door handle is installed in the right position and functions properly.
Preparing The Door For Installation
Before installing a new door handle, it’s important to properly prepare the door to ensure a smooth and secure installation. This involves removing the old door handle, filling any holes, sanding the surface, and determining the ideal placement for the new handle. By following these steps, you’ll have a solid foundation for installing your new door handle.
Removing the old door handle
To begin, you’ll first need to remove the old door handle. This typically involves unscrewing the handle and detaching it from the door. Start by locating the screws or bolts that hold the handle in place. Using a screwdriver or an appropriate tool, carefully remove these screws to release the old handle. Once the screws are completely removed, you should be able to easily take off the old handle.
Filling holes and sanding
After removing the old door handle, you may notice holes or indentations left behind. It’s crucial to fill these holes to ensure a clean and secure installation of the new handle. To do this, use a wood filler or putty that matches the color of your door. Apply the filler into the holes and smooth it out using a putty knife or a similar tool. Allow the filler to dry completely and then sand the surface until it’s smooth and flush with the rest of the door. Sanding helps to create an even surface for attachment and allows for a professional-looking finish.
Determining the handle placement
Before attaching the new door handle, it’s important to determine the ideal placement for it. Consider the ergonomics and functionality of the handle, ensuring it’s easily accessible and comfortable to use. Measure and mark the desired height for the handle, taking into account any existing holes or markings from the old handle. Additionally, ensure that the placement aligns with the standard height for door handles, typically around 36 inches from the bottom edge of the door. Once you’ve determined the perfect placement, use a tape measure and a pencil to mark the exact spot for the handle installation.
By carefully following these steps to prepare your door for installation, you’ll have a solid foundation for attaching the new handle. Remember to remove the old handle, fill any holes, sand the surface, and determine the appropriate placement. With proper preparation, your door handle installation will be a breeze, and you’ll soon enjoy the convenience and aesthetic appeal of your new handle.
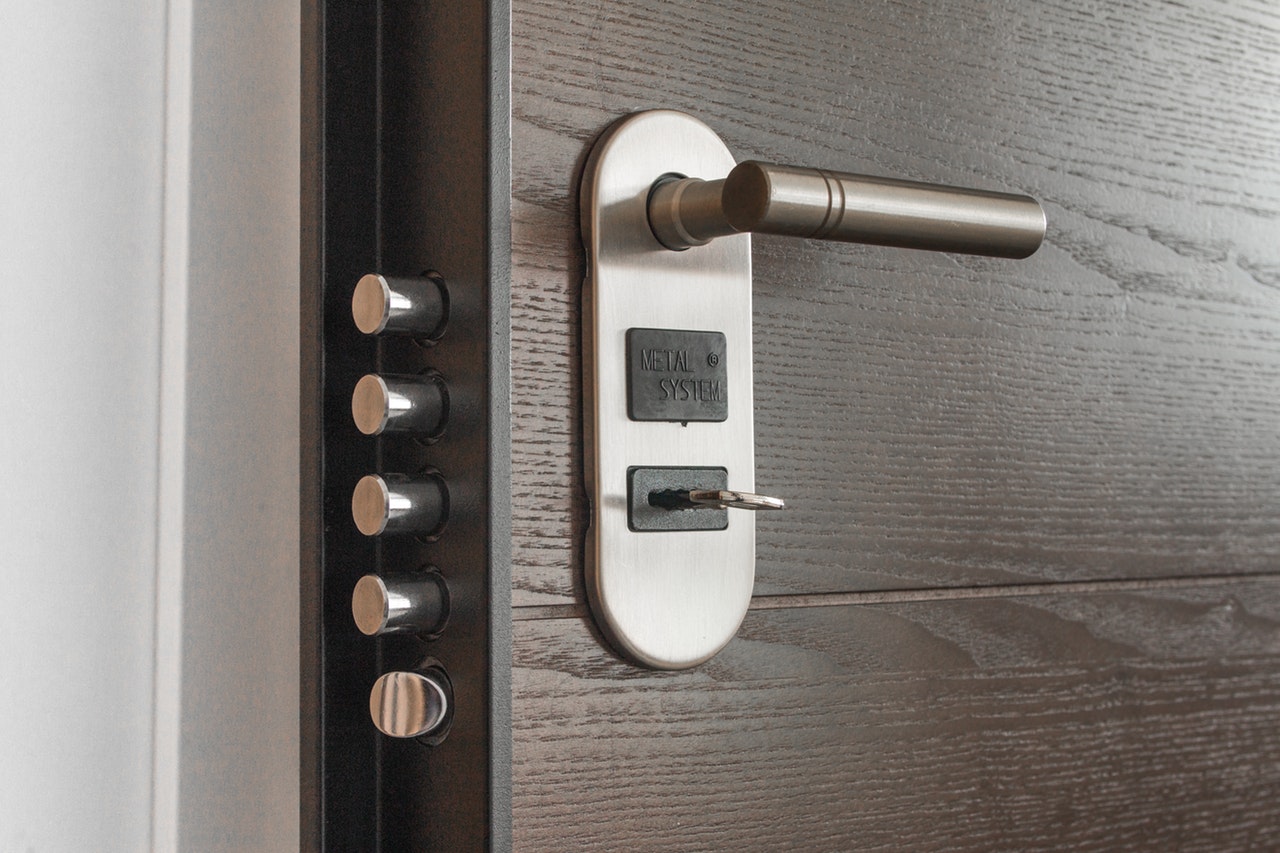
Installing The Door Handle
Once you have chosen the perfect door handle for your door, it’s time to install it. Proper installation ensures that the door handle functions smoothly and securely. In this guide, we will walk you through the process of installing a door handle, from attaching the latch and strike plate to tightening and securing the handle.
Attaching the latch and strike plate
Before you can install the door handle components, you need to attach the latch and strike plate. Follow these steps:
- Measure and mark the position of the latch and strike plate on the door edge.
- Use a chisel to create a recess for the latch plate and strike plate. Make sure the recesses are deep enough for the plates to sit flush with the door edge.
- Insert the latch plate into its recess and secure it with screws.
- Place the strike plate over the latch plate and align it with the latch mechanism. Secure the strike plate with screws.
Installing the door handle components
Now that the latch and strike plate are in place, you can proceed with installing the door handle components:
- First, insert the spindle into the latch mechanism.
- Next, place the inner handle over the spindle and align it with the screw holes. Attach the handle to the door using the provided screws.
- Slide the outer handle over the spindle and align it with the screw holes. Secure the handle to the door with screws.
- Ensure that the handles are properly aligned and operate smoothly before moving on to the next step.
Tightening and securing the handle
Once the door handle components are in place, it’s important to tighten and secure them properly. Follow these steps:
- Tighten all screws on the door handle, ensuring that they are securely fastened.
- Check the handle for any wobbling or looseness. If necessary, tighten the screws further until the handle feels firm and stable.
- Test the handle by turning it and operating the latch mechanism. Make sure the handle operates smoothly and without any resistance.
- Finally, inspect both sides of the door to ensure that the latch and strike plate align properly and engage smoothly when the door is closed.
Remember: Proper installation of the door handle is crucial for its functionality and security. Take your time and follow the manufacturer’s instructions to ensure a successful installation.
Credit: yardyum.com
Frequently Asked Questions On How To Install Door Handle
Can You Install A Door Handle Yourself?
Yes, you can install a door handle yourself. It’s a simple task that doesn’t require professional assistance. Just follow the instructions provided and you’ll be able to successfully install it on your own.
How Do You Attach A Door Handle To A Door?
To attach a door handle, first, mark the desired position on the door. Then, drill holes to fit the handle and latch mechanism. Insert the handle and screw it into place. Finally, attach the latch mechanism to complete the installation.
Do You Need A Drill To Fit A Door Handle?
Yes, you need a drill to fit a door handle properly. Drilling helps create the necessary holes for mounting the handle securely on the door.
How Do You Replace A Door Handle And Latch?
To replace a door handle and latch, follow these steps: 1. Remove the old handle and latch from the door. 2. Measure the distance between the handle and latch holes. 3. Choose a new handle and latch that matches the measurements.
4. Install the new handle and latch using screws and a screwdriver. 5. Test the door to ensure the handle and latch are working properly.
Can I Install A Door Handle Myself?
Yes, installing a door handle is a simple DIY task that can be easily done.
What Tools Do I Need To Install A Door Handle?
To install a door handle, you will need a screwdriver, a tape measure, and a drill.
Conclusion
Installing a door handle is a simple task that can enhance the overall functionality and aesthetic appeal of your doors. By following the step-by-step instructions in this blog post, you can successfully complete this DIY project. Remember to gather the necessary tools, measure and mark the correct placement, and secure the handle in place.
With a little bit of patience and effort, you’ll be enjoying the convenience and style of your newly installed door handle in no time.