o install a sliding barn door track, first measure and mark the desired position on the wall. Then, attach the track using provided hardware and align it properly before securing it firmly.
Prepare Your Door And Wall For Installation
Before you begin the installation process for your sliding barn door track, it is important to properly prepare your door and wall. Taking the time to measure and mark the door, choose the appropriate height for the track, determine the location of the studs, and pre-drill holes will ensure a smooth and successful installation. Follow the steps below to prepare your door and wall for installation.
Measure and mark the door for track placement
The first step in preparing your door for installation is to measure and mark the door for track placement. Start by measuring the width of your door and then determining where the track should be positioned. Using a pencil, make marks on the door that correspond to the desired location of the track ensuring that it is level and symmetrical.
Choose the appropriate height for the track
Selecting the appropriate height for the track is crucial to ensure that the sliding barn door functions properly. Measure the height of the door and determine the desired placement of the track based on your aesthetic preferences and practical needs. Mark the chosen height on the side of the door using a pencil for reference during installation.
Determine the location and mark the stud positions
Prior to installing the track, it is important to locate the wall studs to ensure a secure installation. Use a stud finder to locate the position of the studs along the wall where the track will be mounted. Mark the stud positions with a pencil to guide you during the installation process.
Pre-drill holes for the track and spacers
Pre-drilling holes for the track and spacers will help to ensure a secure and stable installation. Using an appropriate drill bit, carefully drill pilot holes into the door and wall at the marked positions for the track and spacers. Make sure to align the holes with the stud positions for added stability.
Attach spacers to the door
Attach spacers to the door using the pre-drilled holes. These spacers will ensure that the track is positioned away from the door, allowing it to slide smoothly. Secure the spacers in place with the provided screws, making sure they are level and aligned with the marked track position on the door.
Install the track onto the wall
Finally, it’s time to install the track onto the wall. Align the track with the pre-drilled holes and stud positions, ensuring it is level and straight. Secure the track to the wall using the appropriate screws or bolts, making sure that it is securely fastened to provide stability for the sliding barn door.
By following these steps to prepare your door and wall for installation, you will be well on your way to enjoying the functionality and aesthetic appeal of a sliding barn door. With careful preparation and attention to detail, you can ensure a successful installation that will enhance the overall look and feel of your space.
Mounting The Door And Track System
Once you have successfully installed the sliding barn door track, it’s time to move on to the next important step – mounting the door and track system. This step-by-step guide will walk you through the process from start to finish, ensuring a smooth and efficient installation.
Attach the hangers to the door

The first step in mounting the door and track system is attaching the hangers to the door. Start by measuring and marking the desired placement of the hangers on the top edge of the door. Make sure the hangers are evenly spaced and secure them firmly to the door using the provided screws or bolts.
Hang the door onto the track
Once the hangers are securely attached to the door, it’s time to hang the door onto the track. Lift the door and carefully align the hangers with the track. Gently lower the door onto the track, making sure that the hangers fit securely into the track and the door is level. Use a level tool to ensure the door is straight and adjust the hangers if necessary.
Adjust the door for proper alignment
After hanging the door onto the track, it’s essential to adjust the door for proper alignment. Start by checking the door’s vertical alignment by measuring the distance between the bottom of the door and the floor. Make sure the door is parallel to the floor and adjust the hangers if needed.
Next, check the horizontal alignment of the door by measuring the gap between the door and the sidewalls. Ensure that the gap is even on both sides and adjust the hangers accordingly. A properly aligned door will not only enhance the visual appeal but also ensure smooth and effortless sliding motion.
Ensure smooth sliding motion
After adjusting the door for proper alignment, it’s crucial to ensure smooth sliding motion. Test the door by sliding it back and forth along the track. Pay attention to any resistance or sticking points while sliding the door. If you encounter any issues, double-check the alignment of the hangers, adjust them if necessary, and test the door’s motion again until it slides smoothly.
Test the door’s functionality
Now that the door is mounted and adjusted, it’s time to test its functionality. Open and close the door multiple times to ensure it operates smoothly and effortlessly. Listen for any noises that indicate misalignment or friction. If needed, make final adjustments to the hangers to eliminate any issues and repeat the functionality test until you are satisfied with the door’s performance.
By following these steps, you can successfully mount the door and track system, ensuring a functional and visually appealing sliding barn door. Remember to take your time during the installation process and double-check all the adjustments to achieve the desired results. Happy sliding!
Securing The Track And Finishing Touches
Once you have successfully installed the sliding barn door track, it is time to secure it in place and add those finishing touches that will elevate the overall look and functionality of your new door. Follow these steps to ensure a secure installation and a polished final result:
1. Secure the track with screws
Using the appropriate screws for your track and wall material, secure the track firmly in place. Make sure to choose screws that are long enough to penetrate the wall studs for maximum stability. It is crucial to ensure a secure attachment, as this will bear the weight of the sliding door and any stress it may endure during operation.
2. Conceal the screws with track covers
To achieve a seamless and professional appearance, consider using track covers to conceal the screws. These covers are available in various finishes and easily snap onto the track, effectively hiding any unsightly screw heads. Not only do they provide an aesthetic appeal, but they also provide added protection against dirt and debris build-up inside the track.
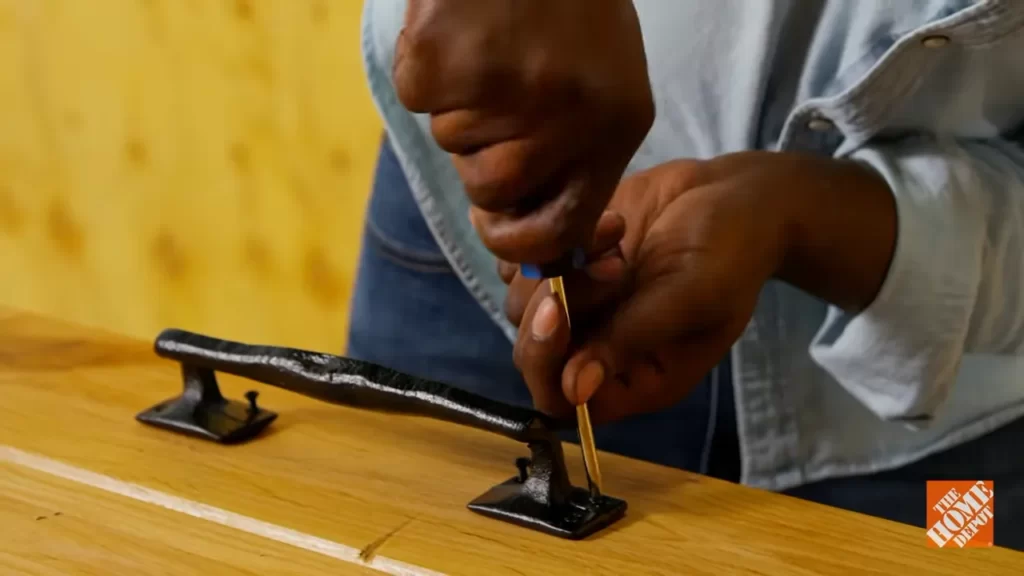
3. Install a door guide to prevent swinging
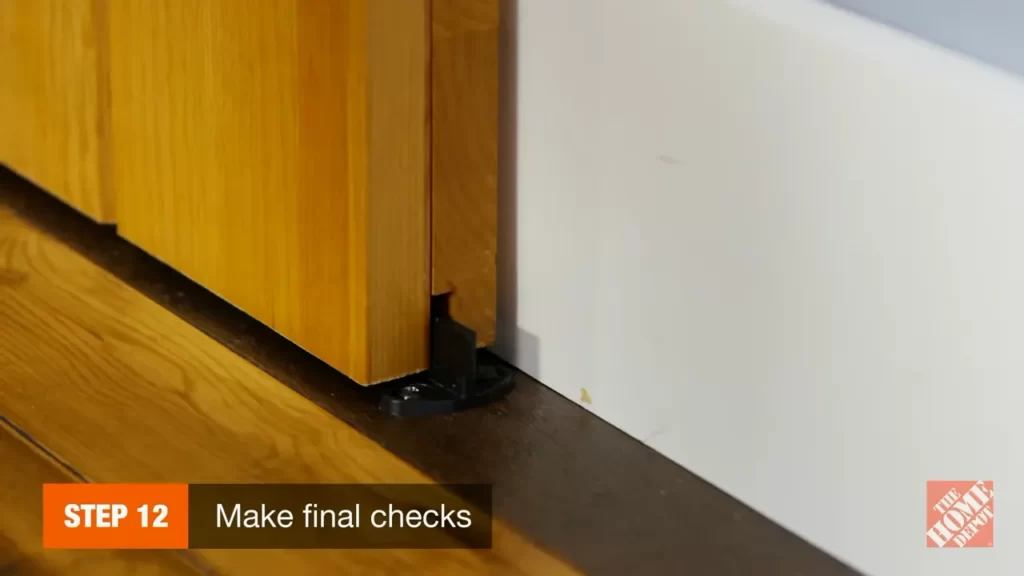
To prevent any swinging or excessive movement of the sliding barn door, it is essential to install a door guide. This guide ensures that the door remains stable and aligned with the track, preventing it from swaying or bumping into walls. Whether you opt for a floor-mounted or wall-mounted guide, be sure to follow the manufacturer’s instructions for proper installation.
4. Apply a protective finish to the door
To prolong the life and enhance the appearance of your sliding barn door, applying a protective finish is highly recommended. Depending on the type of wood or material your door is made of, you may choose to use a stain, paint, or clear sealant. This not only adds a layer of protection against moisture and wear but also helps highlight the natural beauty of the door.
5. Enjoy your newly installed sliding barn door track
With all the necessary steps completed, it’s time to sit back and enjoy your newly installed sliding barn door track. Take a moment to admire the seamless operation, enhanced aesthetics, and improved functionality that the track brings to your space. Whether you’re adding a touch of rustic charm or saving space, a sliding barn door is sure to make a lasting impression.
Frequently Asked Questions For How To Install Sliding Barn Door Track
Do All Barn Doors Need A Bottom Track?
No, not all barn doors require a bottom track. Some barn doors can be installed with a top-mounted track, eliminating the need for a bottom track. This allows for a cleaner and more modern look, while still maintaining the functionality of the door.
How Do You Install A Barn Door Track With Soft Close?
To install a barn door track with soft close, follow these steps: 1. Measure and mark the desired height and width for the track. 2. Attach the track to the wall using screws, making sure it’s level. 3. Install the door hangers on the top of the door.
4. Hang the door onto the track and adjust the hangers for a smooth sliding motion. 5. Attach the soft close mechanism to prevent slamming and ensure a quiet closure.
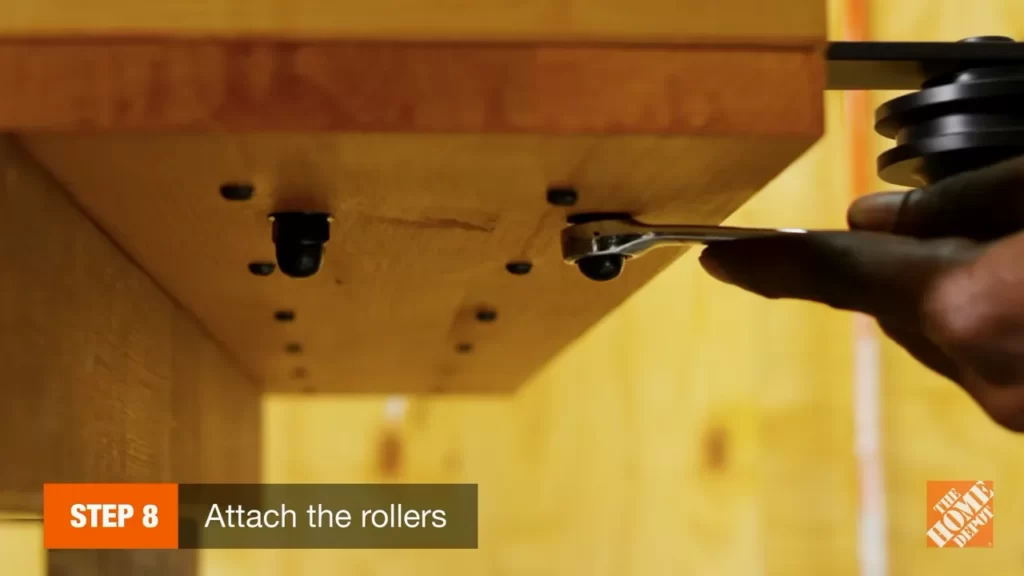
How Do You Install A Double Barn Door Track?
To install a double barn door track, first, measure and mark the placement on the wall. Then, attach the track using mounting brackets and screws. Next, hang the door rollers onto the track and adjust them for proper alignment. Finally, test the doors for smooth operation before finishing the installation.
Do You Need A Bottom Track For A Sliding Door?
Yes, a bottom track is necessary for a sliding door as it provides stability and ensures smooth movement. The track helps to guide the door along the desired path, preventing it from swinging or swaying. It also helps distribute the weight of the door evenly, preventing strain on the hinges and prolonging the door’s lifespan.
How Do I Choose The Right Sliding Barn Door Track?
Choosing the right sliding barn door track involves considering the weight and size of the door, the style and finish of the track, and the installation requirements.
Conclusion
Installing a sliding barn door track adds functionality and style to any space. With these easy-to-follow steps, you can transform your room into a rustic haven. From choosing the right track to attaching it securely, this guide has covered all aspects of installation.
So, get ready to embark on this DIY project and enjoy the convenience and beauty of sliding barn doors in your home. Happy installing!