To install a wired security camera system, find the right camera placement, connect the cables, weather seal the connections, and set up the NVR system. It’s important to plan out camera coverage and use proper equipment for installation.
Running wires through the attic or crawl space may be necessary, and using a screwdriver or drill for mounting is common. With careful planning and basic DIY skills, you can successfully install a wired security camera system yourself without much hassle.
Planning And Preparation
Installing a wired security camera system requires careful planning and preparation to ensure a successful installation. This section will guide you through the key steps involved in this process, including assessing your security needs and camera placement, choosing the right security cameras and equipment, understanding the wiring requirements, and gathering the necessary tools and materials.
Assessing your security needs and camera placement
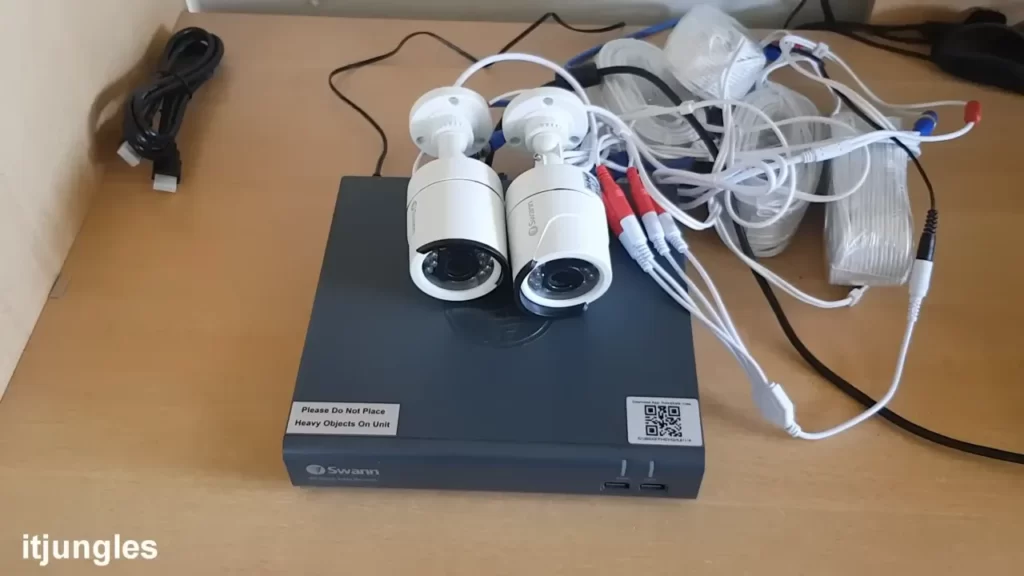
Before you begin the installation process, it’s important to assess your security needs and determine the most suitable locations for placing your security cameras. Consider the following factors:
- The areas you want to monitor: Identify the specific areas you want to keep an eye on, such as entrances, driveways, or backyards.
- The coverage angle: Determine the field of view needed for each camera to effectively cover the desired area.
- The lighting conditions: Take into account the lighting conditions in each area, both during the day and at night, to choose appropriate cameras with the right features.
- The potential blind spots: Identify any potential blind spots or obstructions that may hinder the camera’s view.
Choosing the right security cameras and equipment
Once you have assessed your security needs and camera placement, it’s time to choose the right security cameras and equipment for your system. Consider the following:
- The type of cameras: Decide between dome cameras, bullet cameras, or PTZ cameras, depending on your specific requirements.
- The resolution: Choose cameras with appropriate resolution, such as 1080p or higher, to ensure clear and detailed images.
- The connectivity: Decide whether you want wired cameras or wireless cameras, keeping in mind the advantages and limitations of each option.
- The additional equipment: Consider if you need a network video recorder (NVR), power over Ethernet (PoE) switches, and other accessories to complete your system.
Understanding the wiring requirements
Wiring is a crucial aspect of installing a wired security camera system. Here are the key considerations:
- The cable type: Choose the appropriate cable type for your system, such as Cat5e or Cat6 Ethernet cables for video transmission and power cables for providing power to the cameras.
- The cable length: Ensure you have sufficient cable length to cover the distance between the cameras, NVR, and power source.
- The cable routing: Plan the route for the cables, considering the most efficient and discreet path that ensures optimal performance.
- The cable connectors: Prepare the necessary cable connectors and tools for crimping and terminating the cables.
Gathering the necessary tools and materials
Before starting the installation process, gather all the necessary tools and materials to ensure a smooth workflow. Here are the essential items you’ll need:
- Security cameras and related equipment
- Ethernet cables and power cables
- Cable connectors and termination tools
- Screwdrivers and drill
- Cable clips or adhesive mounts
- Ladder or step stool for reaching high areas
- Power supply or PoE switch
By following these planning and preparation steps, you’ll be well-prepared to tackle the installation process and set up your wired security camera system effectively. Stay tuned for the next section, which will guide you through the actual installation steps.
Running Ethernet Cables
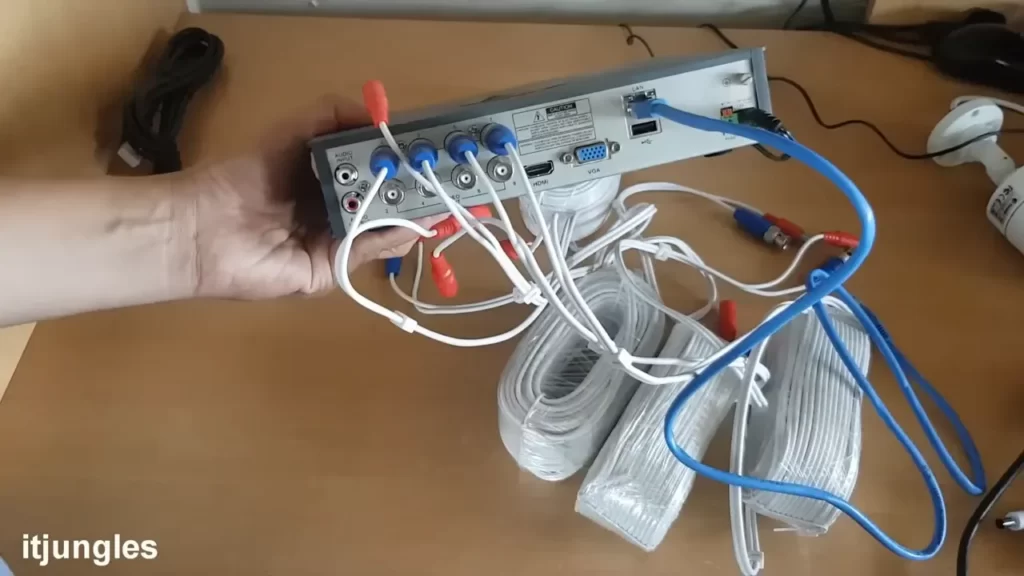
Running Ethernet cables is an essential step when installing a wired security camera system. Proper installation of the cables ensures a reliable and stable connection for your security cameras. In this section, we will guide you through the process of running Ethernet cables, including identifying the best path for installation, cutting out drywall, and running the cables in the attic and crawl space.
Identifying the best path for Ethernet cable installation
Before you start running Ethernet cables, it’s important to identify the best path for installation. This involves assessing the layout of your home or building and determining the most direct route from your security camera to the network video recorder (NVR) or power over Ethernet (PoE) switch.
To identify the best path for Ethernet cable installation, follow these steps:
- Locate the area where the security camera will be installed.
- Identify nearby electrical outlets or Ethernet ports for easy connectivity.
- Observe the walls and floors to determine the most discreet and efficient path for the cables.
- Consider the distance and any potential obstacles or obstructions that may affect the cable’s performance.
- Create a plan for running the Ethernet cables, ensuring they are hidden or concealed to maintain a clean and professional installation.
Cutting out drywall for Ethernet cables
Once you have identified the best path for Ethernet cable installation, the next step is to cut out drywall to create a pathway for the cables. This allows you to conceal the cables within the walls, providing a neat and aesthetically pleasing installation.
To cut out drywall for Ethernet cables, follow these steps:
- Measure and mark the area on the wall where the cables will be installed.
- Use a stud finder to locate any studs or obstructions behind the wall.
- Using a drywall saw or utility knife, carefully cut along the marked lines to create a rectangular opening.
- Remove the cut-out section of drywall to reveal the cavity behind the wall.
- Feed the Ethernet cables through the cavity, ensuring they are properly secured and protected to prevent any damage.
- Once the cables are in place, cover the opening with a wall plate or patch the drywall using joint compound and sand it down for a seamless finish.
Running Ethernet cables in the attic
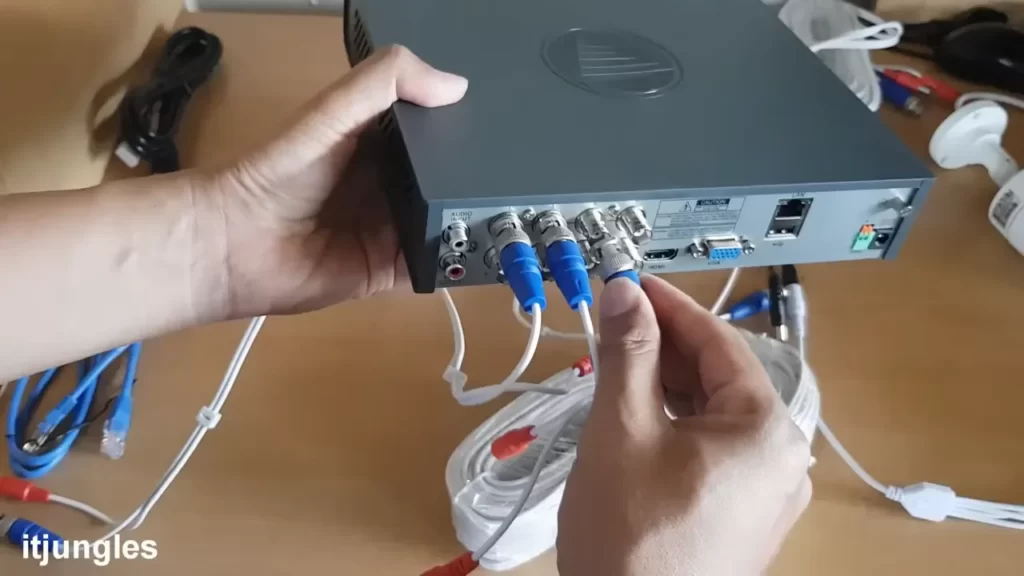
If your home or building has an accessible attic, running Ethernet cables through this space can be an efficient and convenient option. Running cables in the attic keeps them hidden from view and provides easy access to different areas of the property.
To run Ethernet cables in the attic, follow these steps:
- Access the attic through a designated entry point, such as a crawl space or attic hatch.
- Plan the route for the cables, taking into account any existing wiring or obstructions.
- Secure the cables to the attic joists using cable clips or zip ties, ensuring they are properly supported and protected from potential damage.
- Carefully run the cables along the planned route, avoiding any sharp edges or potential sources of interference.
- Ensure the cables are adequately labeled and organized for easy identification and troubleshooting.
- Once the cables are in position, seal any openings or gaps in the attic insulation to maintain energy efficiency and prevent pests from entering.
Running Ethernet cables in the crawl space
If your property has a crawl space, running Ethernet cables in this area can be an effective solution for concealing the cables and providing easy access for installation and maintenance.
To run Ethernet cables in the crawl space, follow these steps:
- Access the crawl space through a designated entry point, such as a basement or exterior access.
- Assess the crawl space to determine the best route for the cables, considering any existing infrastructure or potential obstacles.
- Secure the cables to the crawl space beams or supports using cable clips or zip ties, ensuring they are properly supported and protected.
- Carefully run the cables along the planned route, avoiding any sharp edges or areas with moisture or excessive heat.
- Label and organize the cables for easy identification and troubleshooting.
- Once the cables are in position, seal any openings or gaps in the crawl space to maintain energy efficiency and prevent pests from entering.
By following the steps outlined above, you can successfully run Ethernet cables for your wired security camera system. Remember to always prioritize safety and ensure the cables are properly secured and protected throughout the installation process.
Installing And Setting Up The Cameras
Once you have your wired security camera system ready, it’s time to install and set up the cameras. This crucial step ensures that your cameras are securely mounted, connected to the ethernet cables, weather-sealed, and finished professionally with a trim kit. Here’s how you can easily complete each of these tasks:
Mounting the cameras securely
The first step in setting up your wired security camera system is to mount the cameras securely. Properly mounting the cameras ensures accurate and effective surveillance coverage. Here are the steps to follow:
- Select the desired location for each camera, ensuring optimal visibility and coverage.
- Using a drill and appropriate screws, mount the camera brackets to the chosen surfaces. Make sure the brackets are tightly secured to prevent any movement.
- Attach the cameras to the brackets and adjust them to the desired angle and focus. Tighten all the necessary screws to ensure the cameras stay in place.
Connecting the cameras to the Ethernet cables
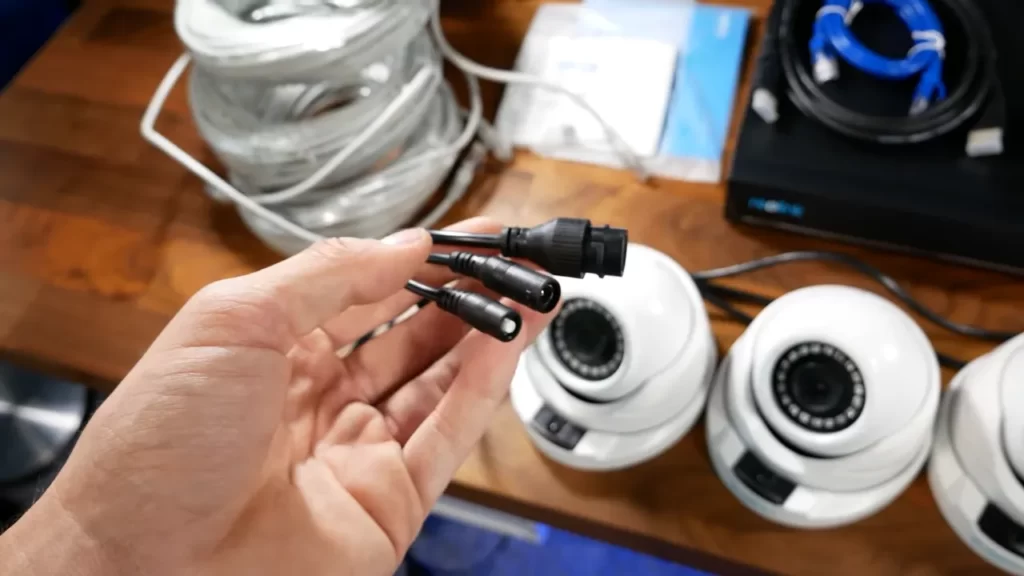
To make your wired security camera system functional, you need to connect the cameras to the ethernet cables. This step allows you to transmit video and power signals to the cameras. Follow these steps to successfully connect the cameras:
- Identify the ethernet cables included with your security camera system. These cables are responsible for providing power and data transmission.
- Locate the ethernet ports on the cameras and carefully insert the corresponding cables. Ensure a secure and tight connection to avoid any signal loss or disconnection.
- Once connected, gently tug on the cables to check their stability. If they come loose, reinsert them and secure them firmly.
Weather sealing the camera connections
To protect your camera connections from harsh weather conditions, it’s essential to weather seal them. Weather sealing adds a layer of protection and ensures the longevity and reliability of your surveillance system. Follow these steps to effectively weather seal the camera connections:
- Use weatherproof junction boxes to enclose the camera connections. These boxes prevent moisture and debris from entering the connections.
- Seal the junction boxes with silicone caulk or weatherproof tape to create a tight seal. This prevents water from seeping in and causing damage.
- Inspect the sealed connections for any gaps or potential leaks. Make adjustments as necessary to ensure a watertight seal.
Installing the trim kit for a professional finish
To give your wired security camera system a polished and professional appearance, installing a trim kit is essential. This step ensures that all the exposed cables are neatly concealed, enhancing the overall aesthetic. Follow these steps to install the trim kit:
- Measure and cut the trim kit pieces according to the length and location of the cables.
- Attach the trim kit pieces to the walls or ceilings using appropriate screws or adhesive.
- Carefully route the cables through the trim kit channels, ensuring a clean and organized look.
- Secure the cables within the trim kit using clips or cable ties to prevent any sagging or tangling.
By following these steps, you can successfully install and set up your wired security camera system. Remember to carefully mount the cameras, connect them to the ethernet cables, weather seal the connections, and install the trim kit for a professional finish. With your cameras set up, you can now enjoy enhanced security and peace of mind.
Setting Up The Nvr System
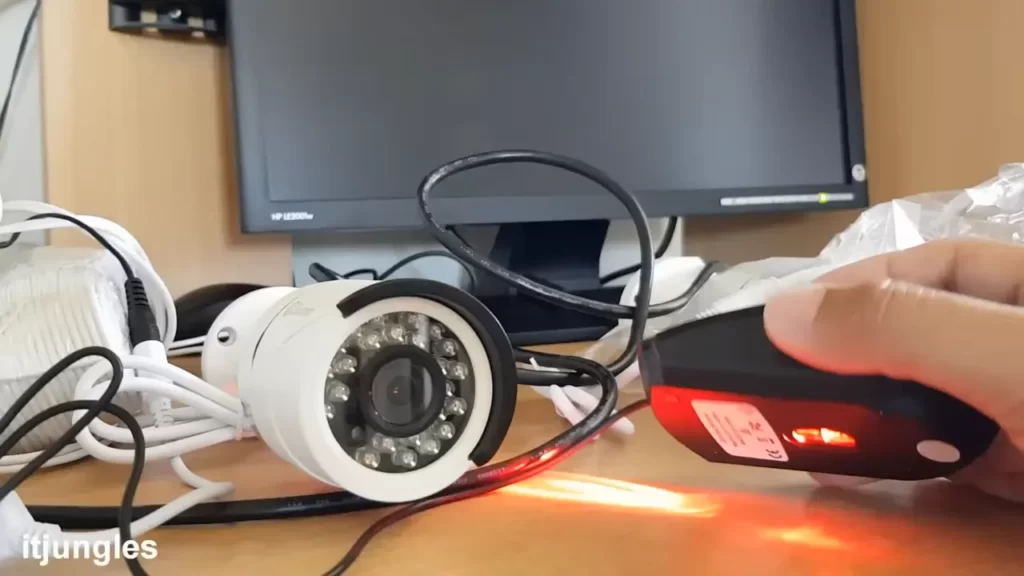
Now that you have chosen and placed your wired security cameras, it’s time to set up the Network Video Recorder (NVR) system. The NVR serves as the central hub for your security camera system, allowing you to store, view, and manage the video footage captured by the cameras. In this section, we will guide you through the process of placing the NVR in an optimal location, connecting it to the cameras and the network, configuring the NVR settings for remote access, and testing and troubleshooting the NVR system.
Placing the NVR in an optimal location
When it comes to placing the NVR, it is important to consider factors such as accessibility, ventilation, and security. Here are some tips for finding the perfect spot:
- Choose a secure and easily accessible location, preferably near the center of your property.
- Ensure that the NVR is placed on a stable surface, such as a shelf or a table.
- Keep the NVR away from direct sunlight, moisture, and extreme temperatures to prevent damage.
- Make sure that there is enough ventilation around the NVR to prevent overheating. Avoid placing it in an enclosed cabinet.
- Consider hiding the NVR or placing it in a locked room to prevent tampering or theft.
Connecting the NVR to the cameras and the network
To connect the NVR to the cameras and network, follow these steps:
- Connect the power adapter to the NVR and plug it into a power outlet.
- Connect the NVR to your router or modem using an Ethernet cable.
- Ensure that each camera is securely connected to the NVR using the provided cables.
- If necessary, use extension cables or junction boxes to reach cameras that are located further away from the NVR.
Configuring the NVR settings for remote access
To access your security camera system remotely, you need to configure the NVR settings. Here’s how:
- Access the NVR’s interface by connecting a monitor or TV to the NVR using an HDMI cable.
- Using the NVR’s menu, navigate to the network settings and assign a static IP address to the NVR.
- Enable port forwarding on your router to allow external access to the NVR. Consult your router’s manual for specific instructions.
- Create a username and password for the NVR to ensure secure remote access.
- Download and install the manufacturer’s mobile app or desktop software to remotely view and manage your security cameras.
Testing and troubleshooting the NVR system
Once you have completed the setup process, it’s important to test and troubleshoot the NVR system to ensure everything is functioning properly. Here are some steps you can take:
- Check the live view of each camera on the NVR to verify the video feed.
- Test the motion detection and recording features to ensure they are working as expected.
- Verify that you can access the NVR remotely using the mobile app or desktop software.
- If you encounter any issues, refer to the manufacturer’s manual or support website for troubleshooting steps.
- Consider upgrading the firmware or software of the NVR to access new features and improve performance.
By following these steps, you can successfully set up your NVR system for your wired security camera installation. Remember to consult the manufacturer’s manual or support resources for specific instructions and troubleshooting advice. With a properly configured and tested NVR system, you can have peace of mind knowing that your property is secure and protected.
Frequently Asked Questions For How To Install A Wired Security Camera System
Can I Install Wired Security Cameras Myself?
Installing wired security cameras yourself is possible. Indoor cameras are typically easy to install, requiring only finding the right spot and plugging them in. Some may require drilling, but most only need a screwdriver. However, for more complex installations, it is advisable to consult a professional.
How Hard Is It To Install A Wired Security Camera System?
Installing a wired security camera system is relatively easy. It involves finding the right spot, plugging it in, turning it on, and syncing it with your mobile or desktop app. Some cameras may require drilling, but most indoor cameras only need a screwdriver.
You can install wired security cameras yourself.
How Do You Hook Up A Wired Security Camera?
To hook up a wired security camera, find the right spot, plug it in, turn it on, and sync it with your app. Some may require drilling, but most indoor cameras only need a screwdriver. It’s easy to install them yourself.
No professional help is needed.
What Do You Need For Wired Security Cameras?
Installing wired security cameras is relatively easy. Simply find the right spot, plug it in, turn it on, and sync it with your app. Most indoor cameras don’t require more than a screwdriver, while outdoor cameras may require drilling. It’s a DIY project that doesn’t require much technical expertise.
Conclusion
Installing a wired security camera system may seem like a daunting task, but with the right guidance, it can be a manageable DIY project. By following the steps outlined in this blog post, you can ensure the successful installation of your wired security camera system.
From camera placement to running ethernet cables and setting up the NVR system, each aspect is covered in detail. So, take control of your security and protect your home or business with a reliable wired security camera system.
