To install a Nest Camera, first, open the app and create an account. Then, scan the QR code on the back of the camera or continue without scanning.
Finally, follow the on-screen instructions to complete the installation process.
Preparing For Installation
Before you begin installing your Nest Camera, it is important to properly prepare to ensure a smooth installation process. This involves checking the compatibility of your camera, gathering the necessary tools and equipment, and choosing the optimal location for your camera.
Checking Nest Camera compatibility
Before proceeding with the installation, make sure your Nest Camera is compatible with your existing devices and network. You can do this by referring to the manufacturer’s specifications or checking the compatibility list on the official Nest website.
Gathering necessary tools and equipment
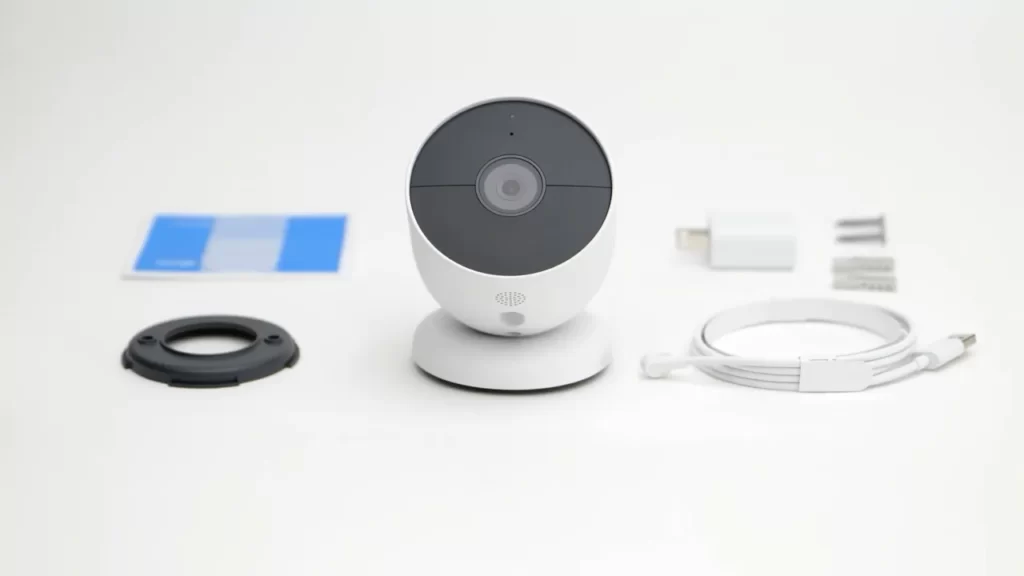
Make a list of all the tools and equipment you will need for the installation. This may include a power drill, screws, a level, a ladder, and any additional mounting brackets or accessories specific to your camera model. Having all the necessary tools on hand will make the installation process quicker and more efficient.
Choosing the optimal camera location
Take the time to carefully choose the location for your Nest Camera. Consider factors such as the area you want to monitor, the camera’s field of view, and potential obstructions such as walls or objects that may interfere with the camera’s performance. It is also important to ensure that the camera is within reach of a power outlet or has access to a power source.
Once you have determined the optimal location, use a level and measuring tape to ensure the camera is properly aligned. This will help maximize the camera’s efficiency and coverage.
Overall, preparing for the installation of your Nest Camera involves checking compatibility, gathering the necessary tools, and choosing the optimal location. By taking these steps, you can ensure a successful and efficient installation process.
Setting Up Your Nest Account
Before you can start using your Nest camera, you’ll need to set up a Nest account. This will allow you to securely access and manage your camera from anywhere.
Creating a Nest Account
- Download and open the Nest app on your smartphone.
- Tap on the “Create Account” button.
- Fill in your email address and create a strong, unique password.
- Agree to the terms and conditions, and tap on the “Create Account” button.
- Check your email inbox for a verification email from Nest.
- Click on the verification link in the email to confirm your account.
- Once your account is verified, you can log in to the Nest app using your email and password.
Downloading and installing the Nest app
To access and control your Nest camera, you’ll need to download and install the Nest app on your smartphone. Follow these steps:
- Open the App Store (iOS) or Google Play Store (Android) on your smartphone.
- Search for “Nest” in the search bar.
- Click on the “Install” button next to the Nest app.
- Wait for the app to download and install on your smartphone.
- Once the installation is complete, open the Nest app.
- Log in to your Nest account using your email and password.
Connecting the Nest camera to your account
Now that you have a Nest account and the app installed on your smartphone, it’s time to connect your Nest camera to your account:
- Make sure your Nest camera is powered on and connected to your home’s Wi-Fi network.
- Open the Nest app on your smartphone.
- Tap on the “+” button to add a new device.
- Select “Nest camera” from the list of available devices.
- Follow the on-screen instructions to scan the QR code on the back of your camera or enter the camera’s unique identifier manually.
- Once the app recognizes your camera, it will guide you through the process of connecting it to your Nest account.
- Once the camera is successfully connected, you can customize its settings and start using it to monitor your home.
Setting up your Nest account is an essential step in installing your Nest camera. By following these simple steps, you’ll be able to create a Nest account, download and install the Nest app, and connect your camera to your account seamlessly.
Installing Nest Camera
Installing Nest Camera
Connecting the camera to a power source
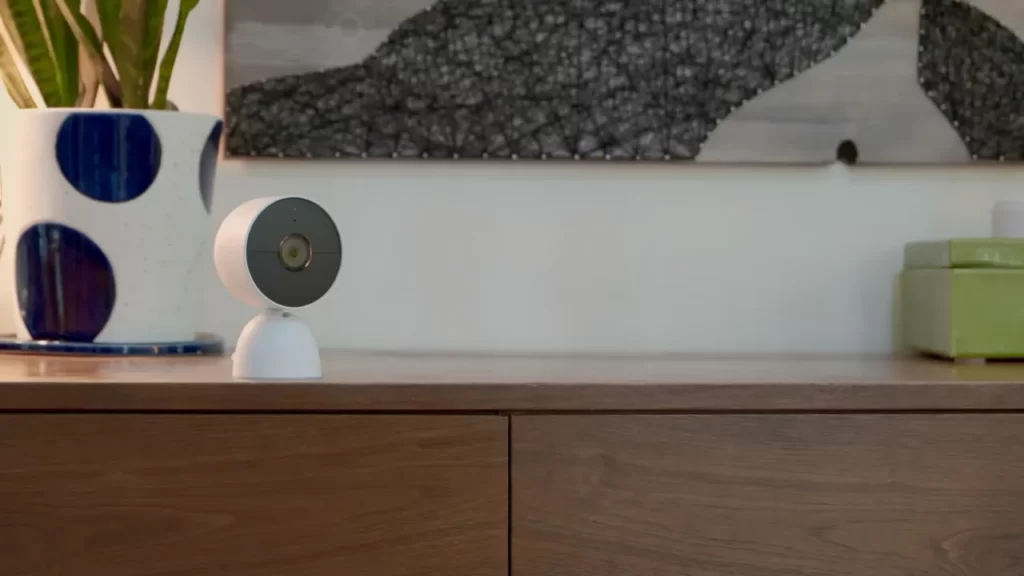
To begin the installation process of your Nest Camera, start by connecting it to a power source. Ensure that you have a power outlet nearby the desired camera location. Plug the power cable into the camera’s port and the other end into the power outlet. Make sure the camera is receiving power by checking for a solid LED light indicator.
Connecting the camera to Wi-Fi
The next step in installing your Nest Camera is to connect it to your Wi-Fi network. Open the Nest app on your smartphone or tablet and create an account or log in if you already have one. Tap on the “Add” button on the app’s home screen to start the setup process. Follow the on-screen instructions to scan the QR code on the back of your camera or manually enter the camera’s serial number. Once the camera is recognized, select your Wi-Fi network from the available options and enter the password. Wait for the camera to establish a connection to your Wi-Fi network, which may take a few moments.
Adjusting camera settings
After successfully connecting your Nest Camera to Wi-Fi, it’s time to adjust the camera settings according to your preferences. Open the Nest app and select the camera from the list of connected devices. From here, you can customize various settings such as video quality, motion detection sensitivity, and notifications. Take some time to explore the different options and make any desired changes to optimize the camera’s performance.
Testing the camera functionality
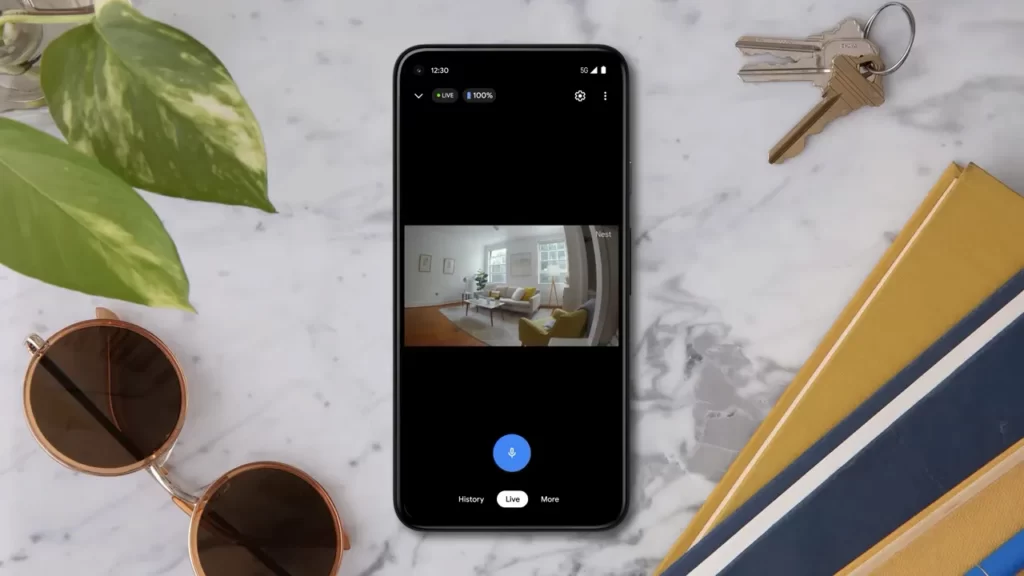
Once you have completed the initial setup and adjusted the camera settings, it’s essential to test the camera’s functionality to ensure everything is working correctly. Open the live feed of your Nest Camera in the app and check if the video is clear and stable. Move around the camera’s field of view and see if the motion detection feature is accurately capturing any movement. Additionally, test the two-way audio feature to ensure clear communication. If you notice any issues, refer to the Nest support documentation or contact customer support for further assistance.
Mounting The Camera
Choosing the right mounting option
When it comes to installing your Nest Camera, choosing the right mounting option plays a crucial role in ensuring the security and functionality of your camera. Different mounting options are available depending on whether you plan to mount the camera indoors or outdoors.
Mounting the camera indoors
If you decide to mount your Nest Camera indoors, there are a few things to keep in mind. First, choose a strategic location that provides a wide field of view while ensuring the camera remains inconspicuous. Mounting the camera at eye level is usually recommended for the best coverage. To mount the camera indoors, you can use the included wall plate and mount provided in the Nest Camera package. Simply attach the wall plate to the desired location using screws or adhesive, and then securely mount the camera to the wall plate.
Mounting the camera outdoors
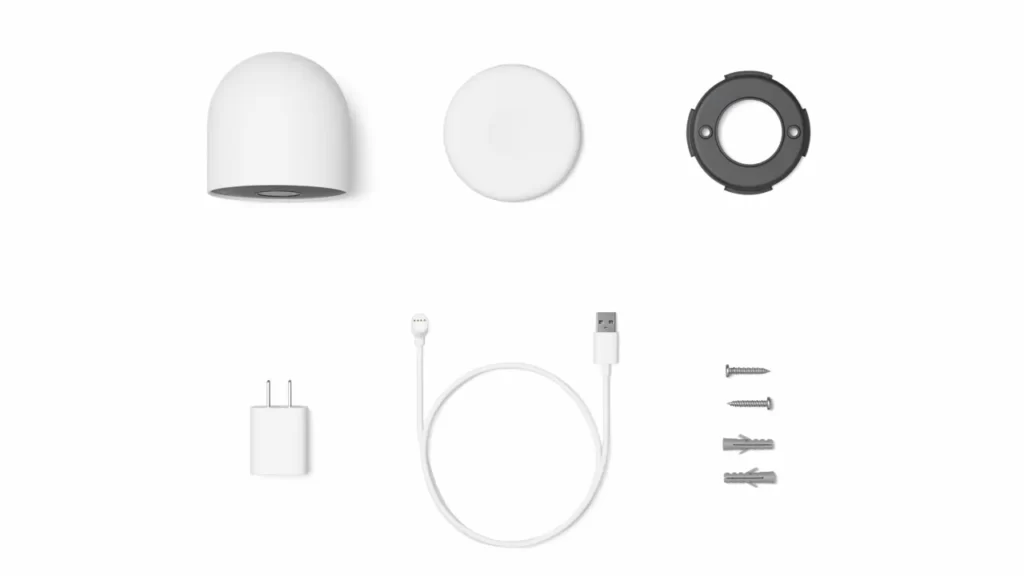
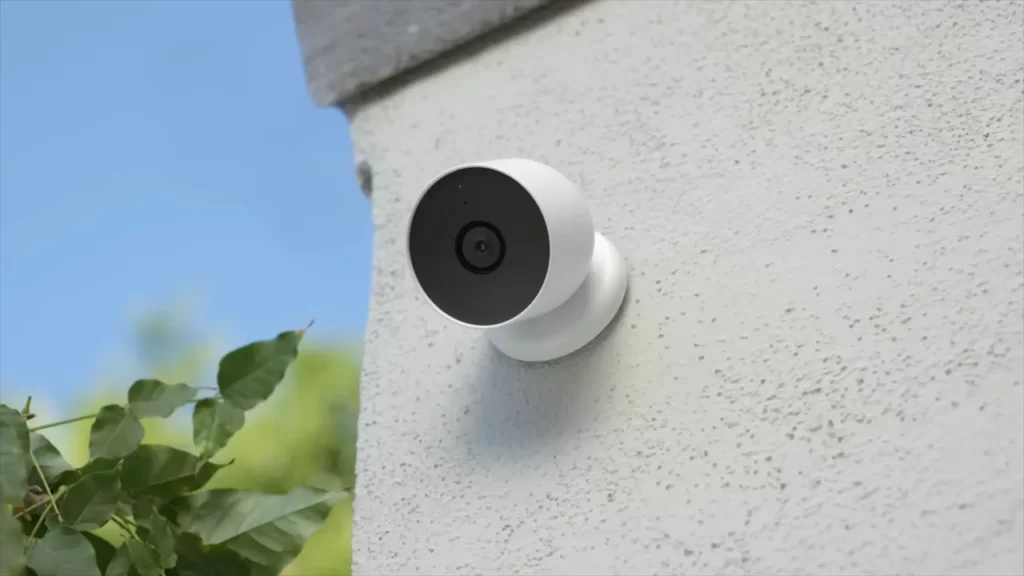
Mounting your Nest Camera outdoors requires some additional considerations. You’ll need to ensure the camera is protected from the elements and potential vandalism. To accomplish this, Nest provides a weatherproof housing for outdoor installation. Before mounting the camera outdoors, ensure there is a power source nearby. You can route the power cable along the exterior of your house, making sure it is securely attached to prevent tampering or accidental disconnection. To mount the camera outdoors, use the included outdoor mount and attach it securely to the desired location using screws. Make sure the camera is positioned in a way that avoids obstructions and provides the best angle of view. Additionally, consider using a silicone sealant around the mounting screws to further protect against moisture.
Ensuring proper positioning and angle
Proper positioning and angle are crucial for maximizing the effectiveness of your Nest Camera. Here are a few tips to ensure you achieve the best results: 1. Position the camera towards the areas you want to monitor, such as entrances, driveways, or high-traffic areas. 2. Mount the camera at a height that offers a clear view and discourages tampering. 3. Avoid direct sunlight and glare by selecting a location with adequate shade or using a sunshade accessory. 4. Make use of the camera’s adjustable angle feature to fine-tune the viewing angle. By following these tips and guidelines when mounting your Nest Camera, you can ensure optimal performance and the best security coverage for your home or business.
Troubleshooting And Maintenance
When it comes to installing your Nest camera, there may be times when you encounter common issues that could hinder the setup process. Troubleshooting and maintenance play a crucial role in ensuring that your Nest camera functions optimally. In this section, we will cover common issues during installation, troubleshooting connectivity problems, updating firmware and software, as well as maintaining and cleaning your camera.
Common issues with Nest camera installation
During the installation of your Nest camera, you may come across some common issues that can be easily resolved. Here are a few:
- Incorrect Wi-Fi password: Double-check that the password you entered is correct. A simple typo can cause connectivity problems.
- Weak Wi-Fi signal: If your camera is located far from your router, it may have trouble connecting to the internet. Consider moving the router closer or using a Wi-Fi extender.
- Outdated firmware: Make sure your Nest camera’s firmware is up to date. Outdated firmware can cause compatibility issues and lead to connectivity problems.
- Alignment and positioning: Ensure that your camera is properly aligned and positioned. A misaligned camera may not capture the desired field of view or produce clear images.
Troubleshooting connectivity problems
If you are experiencing connectivity problems with your Nest camera, follow these troubleshooting steps:
- Restart your camera: Power off your camera and unplug it for a few seconds before plugging it back in. This simple step can often resolve connectivity issues.
- Check your Wi-Fi signal: Ensure that your camera is within range of your Wi-Fi network and that the signal is strong enough for a stable connection. Consider moving your camera closer to the router if needed.
- Reset your Wi-Fi router: If your camera still can’t connect to the Wi-Fi network, try resetting your Wi-Fi router. This can clear any temporary network issues that may be affecting the connection.
- Contact technical support: If the above steps don’t resolve the issue, reach out to Nest’s technical support for further assistance. They can provide more specialized troubleshooting tailored to your specific setup.
Updating firmware and software
Regularly updating your Nest camera’s firmware and software is essential for performance enhancements and bug fixes. Here’s how to update your camera:
- Open the Nest app: Launch the Nest app on your mobile device.
- Select your camera: Choose the camera you want to update from the list of available devices.
- Check for updates: Look for the “Settings” or “Update” option in the app’s menu. Tap on it to check for any available firmware or software updates.
- Update your camera: If updates are available, follow the on-screen instructions to initiate the update process. Make sure your camera remains connected to the internet throughout the update.
- Restart your camera: After the update is complete, restart your camera to ensure that the changes take effect.
Maintaining and cleaning the camera
Proper maintenance and regular cleaning help prolong the lifespan of your Nest camera. Follow these steps to maintain and clean your camera:
- Gently wipe the camera lens: Use a soft cloth or lens cleaning cloth to remove any smudges or fingerprints on the camera lens. Avoid using harsh chemicals or abrasive materials that may damage the lens.
- Clean the housing: Use a damp cloth to clean the camera housing. Remove any dust or debris that may have accumulated over time. Be sure to dry the housing thoroughly to prevent water damage.
- Check for loose connections: Periodically inspect the cables and connections to ensure they are secure and haven’t become loose. Tighten any loose connections if necessary.
By troubleshooting common installation issues, ensuring a stable network connection, regularly updating firmware and software, and maintaining the cleanliness of your Nest camera, you can enjoy uninterrupted surveillance and peace of mind. Remember to consult the official Nest documentation or reach out to their support team for further assistance if needed.
Frequently Asked Questions On How To Install Nest Camera
How Do I Install Nest Security Camera?
To install a Nest security camera: 1. Set up a Nest account. 2. Test the Wi-Fi connection outside. 3. Route and connect the power cable. 4. Mount the camera on a wall. 5. Attach and secure the camera. For more detailed instructions, refer to the Nest Cam installation guide or watch a tutorial video on YouTube.
How Do I Connect Nest Camera To Wi-Fi?
To connect your Nest camera to Wi-Fi, follow these steps: 1. Download the Nest app and create an account. 2. Open the app and tap on “Add” on the home screen. 3. Scan the QR code on the back of your camera or tap on “Continue without scanning.
” 4. Follow the app’s instructions to connect your camera to Wi-Fi. 5. Ensure that your Wi-Fi signal is strong and enter the correct password if prompted.
How Do You Secure An Outdoor Nest Camera?
To secure an outdoor Nest camera, use clips and screws to fasten the cable to a wall or surface. Place a clip near the camera to prevent tampering. Hide the cable along edges or eaves. Paint the cable and clips to match your home.
These steps will help protect against theft.
Why Is My Nest Camera Not Connecting To Wifi?
If your Nest camera is not connecting to wifi, it could be due to an incorrect password, weak signal, outdated firmware, or an issue with the Nest app. To troubleshoot, reset your camera and router, ensure a strong wifi signal, and verify the password.
Conclusion
Installing your Nest Camera is a straightforward process that can be done in just a few easy steps. From setting up a Nest account and testing the Wi-Fi connection to mounting the camera and attaching it securely, each step is essential for optimal performance.
Remember to follow the manufacturer’s instructions carefully and ensure the camera is placed in a strategic location for maximum coverage. By following these steps, you can enjoy the peace of mind that comes with having a Nest Camera installed in your home.
