To install a floating shelf, start by locating the studs in the wall and marking their positions. Then, attach the shelf brackets to the wall using screws and a level to ensure they are straight.
Finally, slide the shelf onto the brackets and secure it in place with screws or adhesive. Floating shelves provide an elegant and practical solution for displaying décor, storing items, or organizing space. These minimalist shelves create the illusion of floating on the wall, adding a touch of modernity to any room.
Installing floating shelves is a straightforward process that requires a few tools and basic handyman skills. Whether you want to enhance the aesthetics of your living area or optimize the storage in your kitchen, this guide will walk you through the step-by-step process of installing floating shelves. With the right preparations and a little patience, you can have beautiful and functional floating shelves in no time.
Getting Started With Floating Shelves
Understanding the Floating Shelf Concept
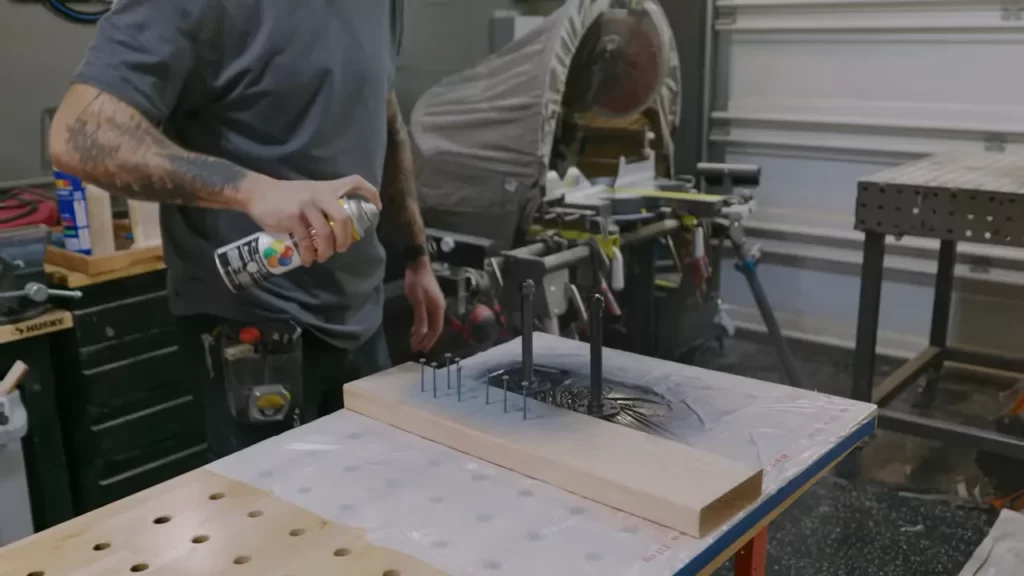
Floating shelves are a popular choice for homeowners who are looking to add both style and functionality to their living spaces. With their sleek and minimalist design, these shelves provide a modern and contemporary feel to any room. Unlike traditional shelves, a floating shelf is mounted directly to the wall, creating the illusion that it is floating in mid-air. This unique installation method makes it a popular choice for those who want to maximize their storage space without sacrificing aesthetics.
Wall-Mounted Storage Solution
One of the main advantages of floating shelves is their wall-mounted installation. This not only helps to save valuable floor space but also provides a clean and clutter-free look to your room. By mounting the shelves directly to the wall, you can effectively utilize the vertical space in your home. Whether you’re looking to display decorative items, store books, or organize your essentials, floating shelves offer a practical and efficient storage solution.
Aesthetically Pleasing Option
Floating shelves are not only a functional storage solution but also a visually appealing addition to your home decor. Their minimalist design and absence of visible brackets create a seamless and sophisticated look. Whether you opt for a rustic wooden shelf or a sleek glass shelf, floating shelves can complement any interior style. The clean lines and open space underneath the shelf create a sense of airiness and lightness, making your room feel more spacious and inviting.
Versatility in Design and Functionality
Another major advantage of floating shelves is their versatility in both design and functionality. These shelves come in a wide range of materials, sizes, and shapes, allowing you to find the perfect fit for your space. Whether you need a small shelf for your bathroom or a long shelf to display your favorite artwork, there is a floating shelf to suit every need. Additionally, these shelves can be used in various rooms, such as the kitchen, living room, bedroom, or even the hallway, making them a versatile storage solution for any part of your home.In conclusion, floating shelves offer a modern and practical way to enhance both the storage and aesthetics of your living space. With their unique wall-mounted installation, sleek design, and versatility, these shelves are a popular choice among homeowners. So, if you’re looking to maximize your storage space while adding a touch of style to your home, consider installing floating shelves. Note: – Try to make your response unique and adjust the length of the content as per the requirement.
Choosing The Right Floating Shelf
Selecting the Ideal Shelf Material
When it comes to choosing the right floating shelf, one of the most important factors to consider is the shelf material. The material you choose will not only affect the overall look and style of your shelf, but also its durability and strength. Wood is a popular choice for floating shelves due to its natural warmth and versatility. It can easily be stained or painted to match any room’s decor and can withstand everyday wear and tear. However, it may be more prone to warping or expanding in humid environments. Metal floating shelves, on the other hand, offer a sleek and modern look. They are often made from stainless steel or aluminum, making them sturdy and resistant to rust. They are a great choice for minimalist or industrial-style rooms. However, keep in mind that metal shelves may not be suitable for heavy items. Alternatively, if you are looking to add a touch of elegance to your space, consider glass floating shelves. Glass shelves can create a light and airy feel, making them ideal for smaller rooms. They are easy to clean and maintain, but they may not be as durable as wood or metal shelves.
| Material | Pros | Cons |
|---|---|---|
| Wood | Natural warmth, versatile, can be stained or painted | Prone to warping in humid environments |
| Metal | Sleek and modern, resistant to rust | Not suitable for heavy items |
| Glass | Elegant and light, easy to clean | Less durable compared to wood or metal |
Considering Weight Capacity and Durability
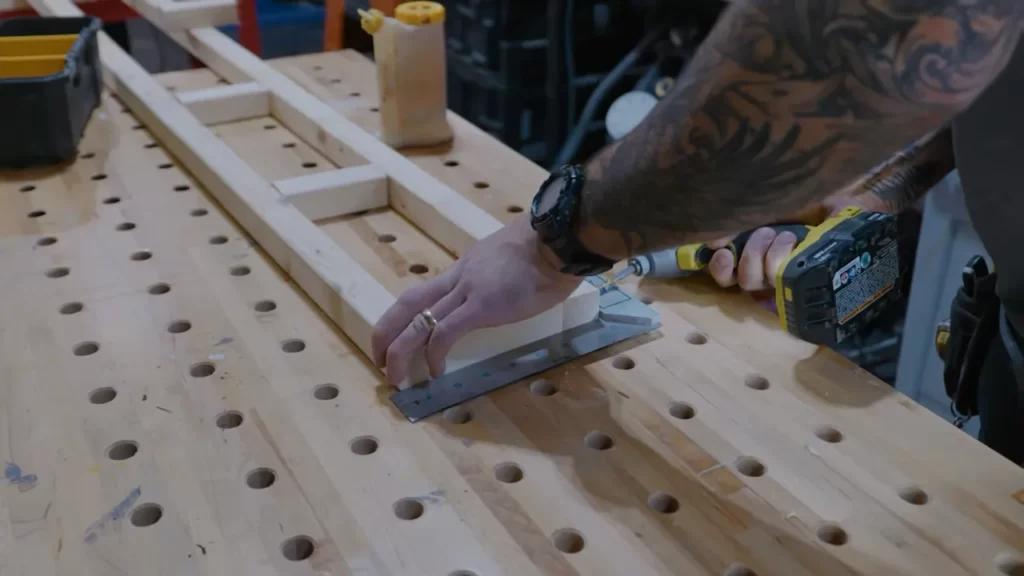
Another important factor to consider when choosing a floating shelf is its weight capacity and durability. It is crucial to ensure that the shelf can safely support the items you plan to place on it. Wood shelves are generally known for their sturdiness and ability to hold heavier items. However, it is important to check the weight capacity specified by the manufacturer to avoid overloading the shelf. Metal shelves, depending on their design and construction, can also provide excellent weight capacity. Make sure to choose a metal shelf that is designed to handle the weight you intend to place on it. Glass shelves, although they may not have the same weight capacity as wood or metal, can still hold lightweight objects such as decorations or small books. It is important to follow the manufacturer’s guidelines and avoid placing heavy items on glass shelves to prevent accidents or damage.
Matching the Shelf to the Room’s Style
To create a cohesive and aesthetically pleasing space, it is essential to match the floating shelf to the room’s style. Consider the overall theme, color scheme, and existing furniture and decor. For a rustic or traditional room, a wooden floating shelf in a warm stain or natural finish can complement the space perfectly. It adds warmth and character to the room, while also providing practical storage. In a contemporary or modern room, a sleek metal floating shelf can enhance the minimalist look and feel. Choose a metallic finish that coordinates with other metal accents in the room for a cohesive and stylish appearance. Glass floating shelves are a great choice for rooms with a more delicate or elegant design. They can create an illusion of space and openness, adding a touch of sophistication to the room. Remember, the key is to choose a floating shelf that not only fits your personal style and preferences but also complements the overall design of the room.
Preparing And Measuring The Wall Space
Before you start installing a floating shelf, it is crucial to properly prepare and measure the wall space. This will ensure that the shelf is secure, level, and aesthetically pleasing once installed. In this section, we will guide you through the process of assessing the wall for installation, ensuring sufficient wall support, checking for electrical wiring or studs, and measuring the available space.
Assessing the Wall for Installation
Before you begin any installation, it is important to assess the wall where you plan to install the floating shelf. Take some time to carefully examine the condition of the wall. Look for any cracks, damaged paint, or uneven areas. Addressing these issues beforehand will help ensure a smooth installation process.
Ensuring Sufficient Wall Support
Once you have assessed the condition of the wall, the next step is to ensure that it can adequately support the weight of the floating shelf. This is especially important if you plan to display heavy or bulky items on the shelf. Use a stud finder to locate the studs in the wall, as they provide the strongest support. If using a stud is not an option, you may consider using wall anchors or toggle bolts for additional support.
Checking for Electrical Wiring or Studs
Prior to drilling any holes, it’s essential to check for electrical wiring or studs within the wall. Accidentally drilling into electrical wires can pose a safety hazard, while drilling into studs provides a more secure mounting point. Use an electrical wire detector to locate any hidden wires, and mark the locations of the studs for reference during the installation process.
Measuring the Available Space
Before you mount the floating shelf, it is crucial to measure the available space to ensure a proper fit. Using a tape measure, measure the width and depth of the wall space where you plan to install the shelf. Consider any obstructions, such as light switches or power outlets, and adjust your measurements accordingly. This will help you determine the appropriate size and placement of the floating shelf to achieve the desired look.
By taking the time to properly prepare and measure the wall space, you can ensure a successful installation of your floating shelf. Assessing the wall, ensuring sufficient support, checking for wires or studs, and accurately measuring the available space will help you create a functional and visually pleasing display in your home.
Gathering The Required Tools And Materials
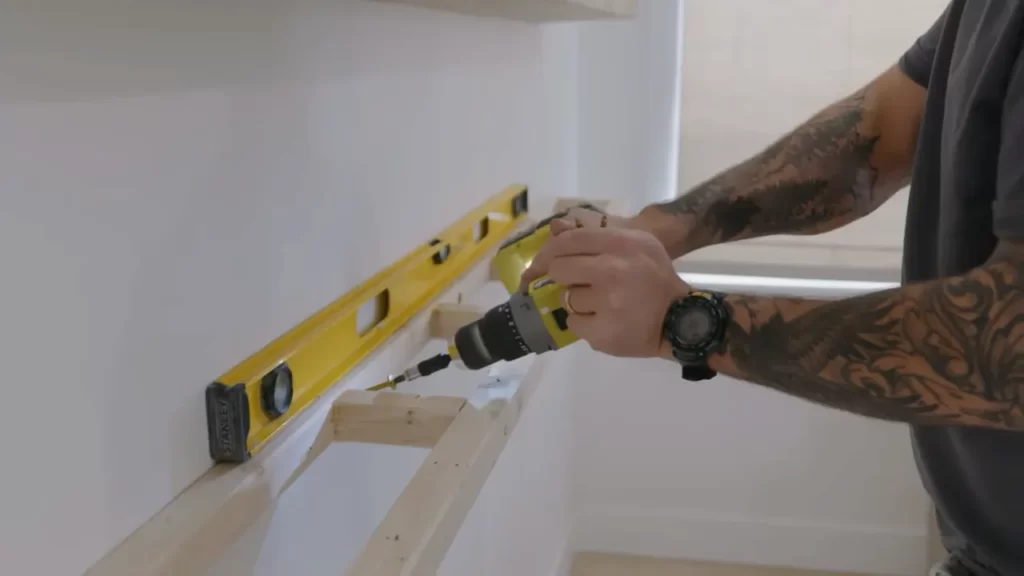
Before you begin the installation process for your floating shelf, it’s important to gather all the necessary tools and materials. Having everything ready will ensure a smooth and efficient process. In this section, we will discuss the essential tools and materials you’ll need for a successful installation.
Essential Tools for Floating Shelf Installation
When it comes to installing a floating shelf, there are a few tools that are absolutely essential. These tools will help you achieve a level and secure shelf installation. Here are the key tools you’ll need:
- Drill: A drill will be required to create the necessary holes in the wall for the screws and anchors.
- Level: To ensure your floating shelf is straight and aligned, a level is essential. A small bubble level will suffice for this task.
- Stud Finder: In order to securely anchor your shelf to the wall, you’ll need to locate the studs. A stud finder will help you identify the optimal placement for your screws.
Screws, Anchors, and Wall Plugs
In addition to the essential tools, you will also need screws, anchors, and wall plugs to secure your floating shelf to the wall. These are crucial to provide the necessary support and stability. It’s important to choose screws and anchors that are appropriate for the weight of your shelf, ensuring they are strong enough to hold it securely in place.
Measuring Tape and Pencil
Accurate measurements and marking are key to a successful floating shelf installation. To accomplish this, you’ll need a measuring tape and a pencil. The measuring tape will help you determine the exact placement and measurements for your shelf. Using a pencil, mark the spots where you’ll need to drill holes or insert anchors. This will prevent any guesswork and ensure a precise installation.
Step-By-Step Guide To Installing A Floating Shelf
Installing a floating shelf can be a great way to add both functionality and style to any room. Whether you’re looking to display decorative items or create extra storage space, a floating shelf is a versatile and modern choice. To ensure a successful installation, follow this step-by-step guide:
Marking the Shelf Placement
The first step in installing a floating shelf is to mark the desired placement on the wall. Using a pencil, carefully measure and mark the location where you want the shelf to be installed. Take into account any furniture or other objects nearby that may affect the placement.
Determining the Ideal Height and Location
Next, consider the ideal height and location for your floating shelf. This will depend on both your personal preference and the intended use of the shelf. For example, if you’re planning to display artwork or vases, a higher placement may be more suitable. Take measurements and mark the ideal height on the wall.
Ensuring Level Alignment
Before you start drilling, it’s essential to ensure that the shelf will be level. Use a level to check the alignment of the marks you made in the previous steps. Adjust as necessary to ensure a straight and level installation.
Marking Drilling Points
Using a tape measure, determine the distance between the intended drilling points for the floating shelf. Mark these points on the wall, ensuring they align with the desired placement and height.
Drilling Holes and Installing Wall Anchors
Now it’s time to make the necessary holes for the wall anchors. Start by choosing the right drill bit for the material of your wall. Refer to the manufacturer’s instructions for the specific size and type of drill bit to use.
Create the necessary holes by drilling at the marked points on the wall. Once the holes are made, insert wall anchors into each hole.
Ensuring Stability and Load Capacity
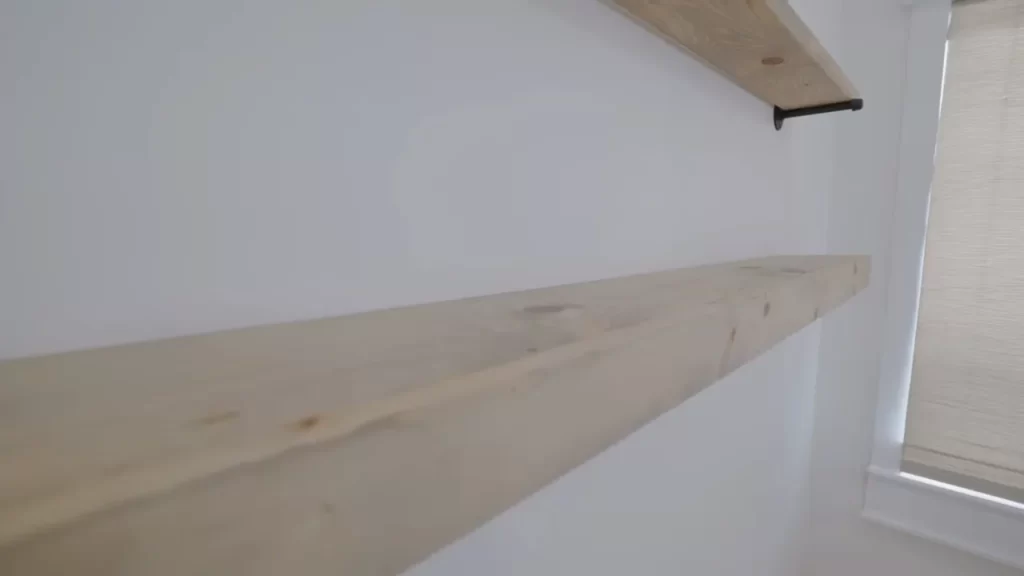
Ensuring the stability and load capacity of the floating shelf is essential to prevent any accidents or damage. Be sure to check the weight capacity of your chosen shelf and keep that in mind when determining what items you will place on it.
Mounting the Floating Shelf
With the wall anchors in place, it’s time to mount the floating shelf. Carefully align the holes on the back of the shelf with the wall anchors and gently push the shelf onto the anchors.
Attaching the Shelf to the Anchors
Once the shelf is positioned on the wall anchors, secure it by fastening screws through the holes on the back of the shelf and into the wall anchors. Use a screwdriver or drill for this step, ensuring the shelf is securely attached to the wall.
Securing and Leveling the Shelf
After attaching the shelf to the wall, use a level once again to ensure it is straight and level. Make any necessary adjustments by tightening or loosening the screws until the shelf is level.
Double-checking Stability
Finally, take a moment to double-check the stability of your installed floating shelf. Gently apply pressure and ensure that the shelf is secure and can hold the intended weight. If needed, make any further adjustments or reinforce the installation.
Following this step-by-step guide will help you install a floating shelf correctly, allowing you to enjoy its functionality and aesthetics in your space. Remember to take your time, measure accurately, and prioritize stability for a successful installation.
Troubleshooting And Overcoming Common Challenges
Installing a floating shelf can be a rewarding and visually appealing addition to your space. However, like any home improvement project, it may come with its fair share of challenges. In this section, we will discuss some common issues that may arise during the installation process and provide practical solutions to overcome them.
Dealing with Uneven Walls
Uneven walls can pose a challenge when installing a floating shelf, as they can affect the overall stability and levelness of the shelf. To address this issue, you can use shimming and leveling techniques.
Shimming and Leveling Techniques
Shimming involves inserting small pieces of material, such as cardboard or wood shims, behind the floating shelf brackets to level them and compensate for any unevenness in the walls. A level or a laser level can be used to ensure that the shelf is straight and properly aligned.
Using Drywall Anchors for Hollow Walls
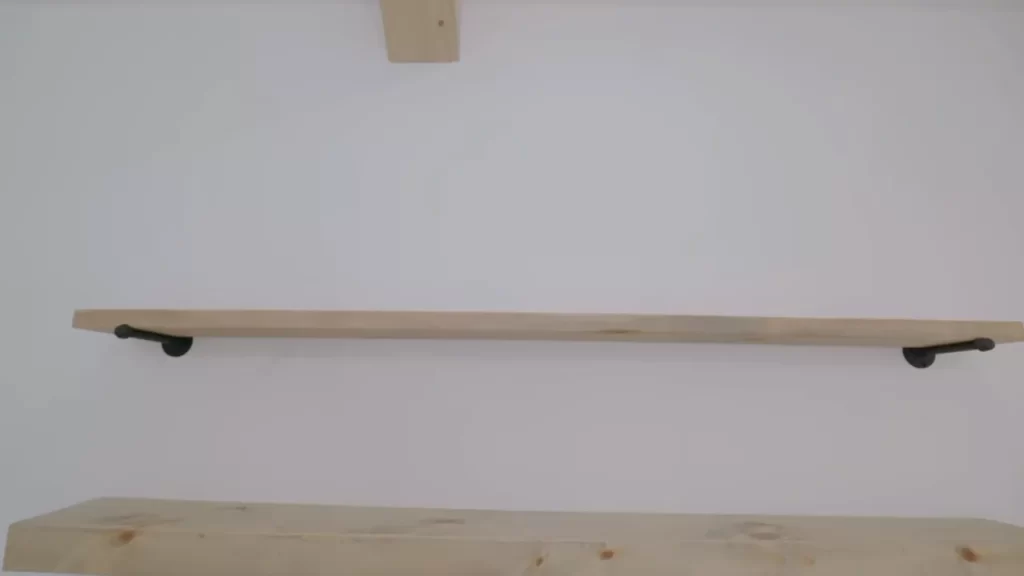
When installing a floating shelf on a hollow wall, it is essential to use drywall anchors to provide additional support. Drywall anchors come in various types, such as plastic anchors and toggle bolts, each designed to hold different weight capacities. Be sure to choose the appropriate anchor based on the weight of the shelf and follow the manufacturer’s instructions for installation.
Adjusting Support Brackets
If you notice that your floating shelf is tilting or sagging, it may be necessary to adjust the support brackets. This can be achieved by loosening the screws or bolts that secure the brackets to the wall and repositioning them to create a more level and stable foundation for the shelf.
Maintaining and Cleaning Floating Shelves
Maintaining the cleanliness of your floating shelves is crucial for their longevity and overall appearance. Regular dusting and cleaning will help prevent the accumulation of dirt, dust, and grime.
Regular Dusting and Cleaning Methods
When dusting your floating shelves, use a soft, lint-free cloth to gently wipe away any dust or debris. For tougher stains or spills, you can dampen the cloth with a mild cleaning solution or a mixture of vinegar and water. Avoid using harsh chemicals or abrasive cleaners, as they can damage the finish of the shelves.
Preventing Water Damage
To prevent water damage to your floating shelves, avoid installing them near areas that are prone to moisture, such as above sinks or near windows. It is also a good idea to seal any gaps or joints in the shelves with waterproof sealant to provide an extra layer of protection.
Restoring and Repairing Damaged Shelves
If your floating shelves become damaged or show signs of wear and tear over time, it is possible to restore and repair them. For minor scratches or dents, you can use wood filler or a touch-up pen that matches the color of the shelf to disguise the imperfections. For more significant damage, you may need to consult a professional or consider replacing the shelf altogether.
Frequently Asked Questions Of How To Install A Floating Shelf
Do Floating Shelves Have To Be Installed Into Studs?
Floating shelves should ideally be installed into studs for maximum stability and weight support. However, there are alternative options available such as using anchor screws or toggle bolts to secure the shelves onto drywall. It is important to follow the manufacturer’s instructions and consider the weight capacity of the shelves.
Are Floating Shelves Easy To Install?
Floating shelves are easy to install. They require minimal effort and can be accomplished in a few simple steps. With the right tools and proper measurements, you can have your floating shelves up and ready in no time.
How Do You Install Floating Shelves In Drywall?
To install floating shelves in drywall, follow these steps: 1. Find the wall studs using a stud finder. 2. Mark the desired height of the shelves. 3. Use a level to ensure the shelves will be straight. 4. Install the brackets with screws into the studs.
5. Attach the shelves to the brackets.
What Is The Best Way To Anchor A Floating Shelf?
To anchor a floating shelf, first, find a stud in the wall. Then, use a level to ensure the shelf is straight. Install brackets directly into the stud and secure them with screws. Finally, place the shelf onto the brackets for a secure and sturdy installation.
Conclusion
To conclude, installing a floating shelf is a simple yet impactful way to add storage and style to any room. By following the step-by-step guide we provided, you can confidently tackle this DIY project. Remember to gather all the necessary tools, measure and mark accurately, and secure the shelf properly.
With a little time and effort, you’ll have a beautiful floating shelf that enhances your space and keeps your belongings organized. Happy shelf installing!
