To install a door handleset, start by removing the old handle and latch. Then, align and attach the new handleset using the provided screws and a screwdriver.
Factors To Consider When Selecting A Stylish Door Handleset
Finding the perfect door handleset for your home involves more than just selecting a functional piece of hardware. A stylish handleset can enhance the overall aesthetic of your home, while also providing essential functionality and security features. Therefore, it is important to consider several factors before making a decision. In this section, we will explore the key factors to consider when selecting a stylish door handleset.
Aesthetics
The appearance of the handleset is an essential consideration. It should complement the overall style of your home, whether it is traditional, modern, or somewhere in between. Look for handlesets that are available in a variety of finishes, such as polished brass, satin nickel, or oil rubbed bronze, to ensure you can find the right match for your door and existing hardware. Additionally, consider the design of the handleset, including the shape and detailing, to find a style that appeals to your personal taste.
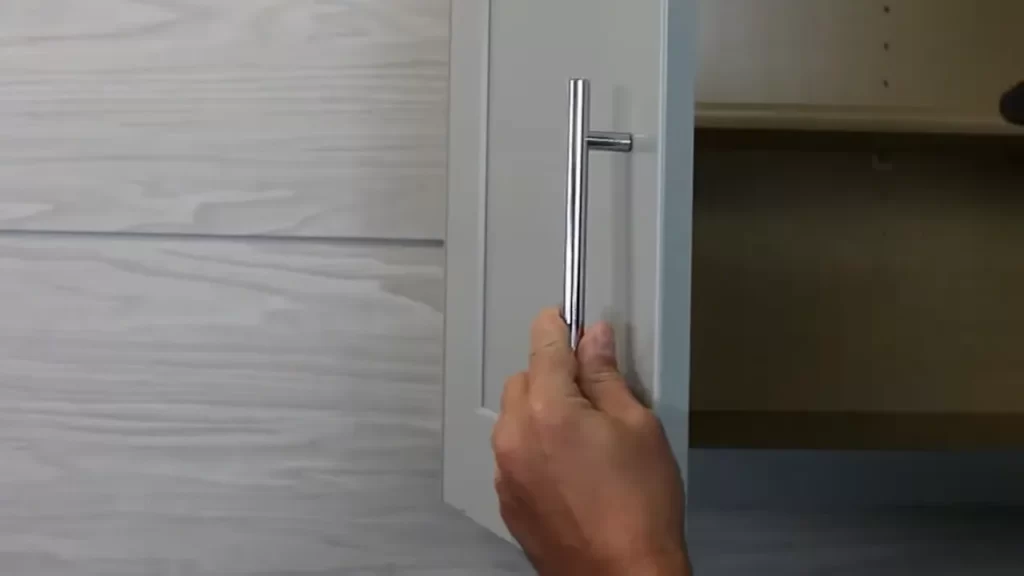
Functionality and Security Features
In addition to aesthetics, functionality and security features are crucial aspects to keep in mind. Look for handlesets that offer smooth operation, ensuring that the handle turns and locks smoothly without any resistance. Consider the security features as well, such as a deadbolt lock, which provides an extra level of protection for your home. Look for handlesets that are equipped with a sturdy latch mechanism and durable construction to ensure long-lasting performance.
Compatibility with the Door
Before purchasing a handleset, it is essential to ensure its compatibility with your door. Measure the thickness of your door to ensure the handleset will fit properly. Additionally, consider the backset, which is the distance from the edge of the door to the center of the handleset’s borehole. Most handlesets are designed for a standard 2 3/8″ or 2 3/4″ backset, so ensure your door matches these specifications. You should also check the handing of your door, as handlesets are available for both right-handed and left-handed doors.
By considering these key factors – aesthetics, functionality and security features, and compatibility with the door – you can confidently select a stylish door handleset that not only enhances the beauty of your home but also provides the necessary functionality and security.
Materials And Finishes For Stylish Door Handleset
When it comes to choosing a door handleset, not only do you want it to be functional for everyday use, but you also want it to be stylish and enhance the overall aesthetic of your door. The materials and finishes of a door handleset play a crucial role in achieving both of these objectives. In this blog post, we will explore the different types of materials used in door handlesets and the popular finishes available, along with their durability.
Different Types of Materials
Door handlesets are available in a variety of materials, each offering its unique characteristics and advantages:
- Brass: Known for its durability and timeless appeal, brass handlesets bring an elegant and luxurious feel to any door. They are resistant to rust and corrosion, making them suitable for both indoor and outdoor applications.
- Stainless Steel: If you are looking for a more modern and contemporary look, stainless steel handlesets are a popular choice. They are highly durable, easy to clean, and resistant to tarnish and scratches.
- Bronze: Bronze handlesets, whether oil-rubbed or aged, add a warm and rustic charm to your door. They are often used in traditional and rustic architectural styles, providing a vintage aesthetic.
- Aluminum: Lightweight yet sturdy, aluminum handlesets are ideal for entrance doors. They are corrosion-resistant and remain unaffected by varying weather conditions, making them perfect for exterior use.
- Iron: Iron handlesets exude strength and durability, often found in contemporary and industrial designs. They require proper maintenance to prevent rusting but can add a striking element to any door.
Popular Finishes and Their Durability
The finish of a door handleset not only enhances its appearance but also determines its durability. Here are some popular finishes and their characteristics:
| Finish | Durability | Description |
|---|---|---|
| Polished Brass | High | A shiny and lustrous finish that requires regular maintenance to prevent tarnishing. |
| Satin Nickel | High | A subtle and sophisticated finish that withstands daily wear and tear, hiding fingerprints and scratches. |
| Oil-Rubbed Bronze | Medium to High | A dark, rich finish that naturally ages over time, creating a unique patina and providing a rustic charm. |
| Matte Black | High | A bold and contemporary finish that resists fingerprints, smudges, and water spots, making it easy to maintain. |
Choosing the right materials and finishes for your door handleset is essential to achieve the desired style and durability. Consider the overall design of your door and the surrounding decor to make an informed decision that enhances the aesthetic appeal of your space.
Measurements And Preparation For Installation
Before you can install a door handleset, it’s important to take accurate measurements and prepare the door surface. This step is crucial to ensure a proper fit and smooth operation of the handleset. In this section, we will discuss two essential aspects of measurements and preparation: allowing for proper clearance and operational space, and prepping the door surface.
Allowing for Proper Clearance and Operational Space
When installing a door handleset, it’s crucial to allow for proper clearance and operational space. This ensures that the handleset functions smoothly and doesn’t encounter any obstructions. To determine the necessary clearance and space, follow these steps:
- Start by measuring the width of your door. Use a tape measure to determine the exact measurement.
- Add the width of the door handleset and any additional trim or backplates that come with it. This will give you the total width that needs to be accommodated.
- Next, measure the distance from the edge of the door to the center of the doorknob or handleset. This measurement is known as the backset.
- Verify that there is enough space between the edge of the door and any adjacent walls or obstructions to allow for smooth operation of the handleset.
By following these steps, you can ensure that there is sufficient clearance and operational space for your door handleset. It’s important not to overlook this step, as inadequate clearance can result in difficult operation and potential damage to the handleset.
Prepping the Door Surface
Once you have determined the necessary measurements and clearance, it’s time to prepare the door surface for the installation of the handleset. Prepping the door surface involves the following steps:
- Remove any existing door hardware, including the old handleset, locks, or backplates. Make sure to keep the screws and other hardware aside for disposal or reuse.
- Inspect the door surface for any damage or imperfections. Sand down any rough spots or uneven areas to create a smooth and level surface.
- Fill in any existing holes or gaps using a wood filler or putty. Allow the filler to dry completely and sand it down until it’s flush with the surrounding surface.
- Wipe down the door surface to remove any dust, debris, or residue. Ensure that the surface is clean and dry before proceeding with the installation.
Following these steps will help ensure that the door surface is properly prepped and ready for the installation of the handleset. A smooth and even surface will not only enhance the appearance of the handleset, but it will also ensure a secure and reliable installation.
Gathering the Necessary Tools and Hardware
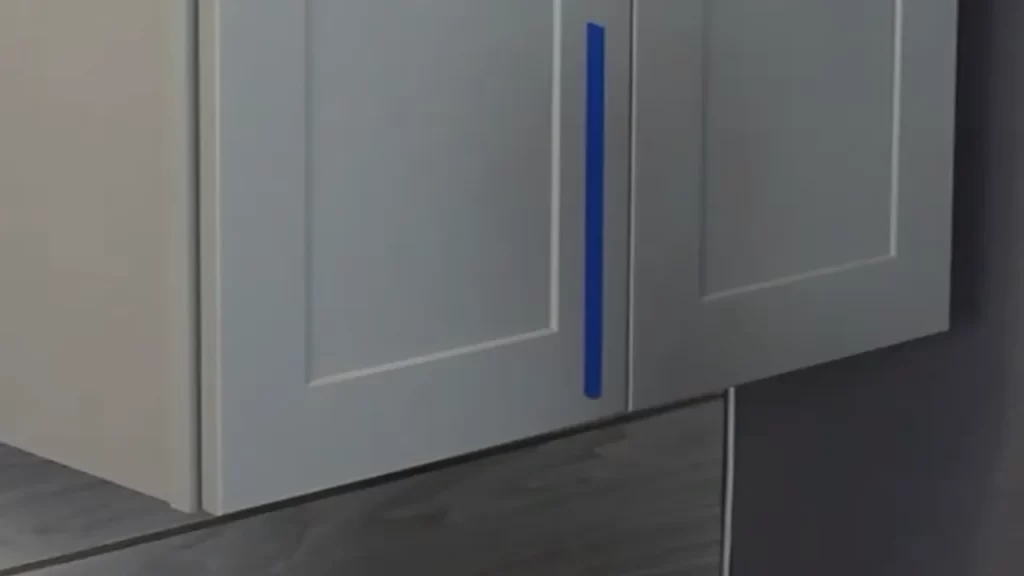
Before you start installing the door handleset, it’s essential to gather all the necessary tools and hardware. Having everything you need within reach will make the installation process smooth and efficient. Here are some of the tools and hardware you may need:
| Tools | Hardware |
|---|---|
| Screwdriver | Handleset assembly |
| Drill | Screws |
| Chisel | Strike plate |
| Tape measure | Spindle |
| Pencil | Strike plate screws |
| Sanding block | Latch plate |
Gather all the necessary tools and hardware before you start the installation process. This will ensure that you have everything you need within reach, saving you time and frustration.
Now that you have the measurements, prepped the door surface, and gathered the necessary tools and hardware, you are ready to move on to the next step of the installation process: actually installing the door handleset. Stay tuned for the next section of this blog post, where we will guide you through the installation process step by step.
Removing The Existing Door Handleset
If you’re looking to upgrade the aesthetic appeal of your home or replace a worn-out door handleset, removing the existing hardware is the crucial first step. By disassembling the old handleset the right way, you can ensure a smooth installation process for the new one. In this blog post, we’ll guide you through the process of removing an existing door handleset, step by step.
Disassembling and Removing the Old Hardware
Before diving into the removal process, let’s gather the tools you’ll need:
- A screwdriver (the type depends on the screws used in your handleset)
- A small flat-head screwdriver (optional, for prying purposes)
- A 3/32-inch hex wrench (only if your handleset has set screws)
- A drop cloth or old sheet to protect the floor or ground from any falling debris or scratches.
Now that you have everything you need, follow these simple steps:
- Start by removing the screws that hold the exterior and interior handlesets together. Using the appropriate screwdriver, carefully unscrew each screw counterclockwise until they are completely loose. Place the screws in a safe location, as you will need them for the installation of your new handleset.
- Next, remove the screws that secure the latch plate to the door edge. These screws are typically located on the side of the door. Use a screwdriver and remove them by turning counterclockwise. Set the screws aside.
- If your old handleset has a deadbolt, locate the screws securing it to the door. Use a screwdriver and remove them in the same counterclockwise motion as before.
- Once the screws are removed, gently pull apart the exterior and interior handlesets. Sometimes, the two parts may be connected by a series of concealed screws. In this case, use a small flat-head screwdriver to carefully pry them apart.
- With the handlesets separated, locate the latch mechanism on the edge of the door. Push the latch back into the door using your thumb or the small flat-head screwdriver. This will release the latch from the frame.
- Lastly, remove the strike plate, which is the metal plate attached to the door frame. Unscrew the screws that secure it, and set the strike plate aside.
Once you’re finished, securely store the old handleset, screws, and strike plate – they may come in handy as replacements or spares later on.
Congratulations! You have successfully disassembled and removed the old door handleset. In the next section, we’ll dive into the exciting process of installing a new handleset that suits your style and enhances the security of your home.
Installing The Exterior Door Handle
Installing a new door handleset can add a touch of elegance and functionality to your front door. The exterior door handle is the first thing people notice when they approach your home, so it’s important to make sure it’s installed properly. In this section, we will guide you through the process of aligning, marking, drilling, and mounting the exterior door handle.
Aligning and Marking the Mounting Holes
Before you begin the installation process, it’s crucial to align and mark the mounting holes accurately. This will ensure that your door handle is securely attached to the door. Follow these steps:
- Place the exterior door handle on the door at the desired height and location.
- Make sure the handle is level and centered on the door.
- Using a pencil or a marker, mark the location of the mounting holes on the door.
Drilling Pilot Holes
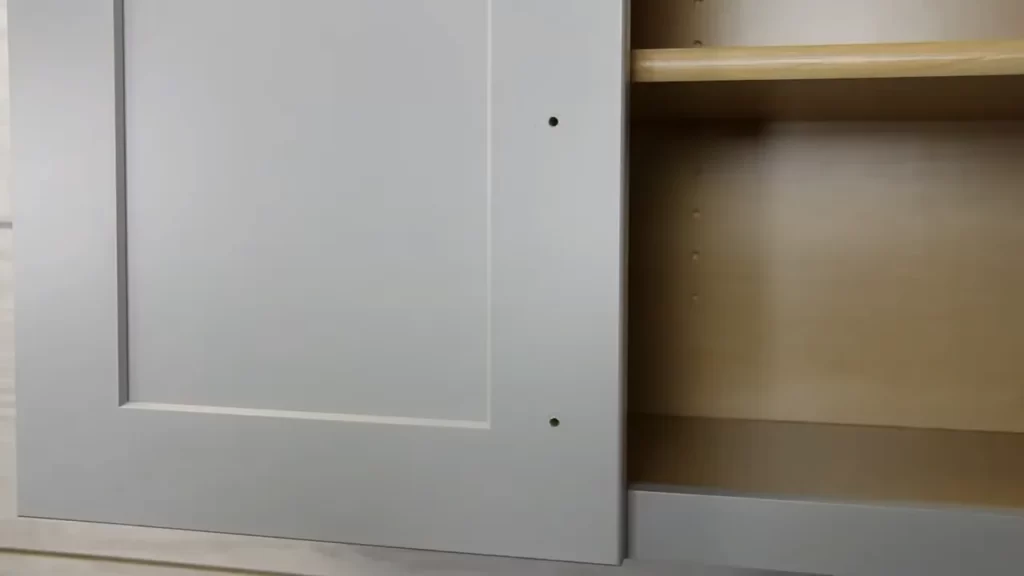
Once you have marked the mounting hole locations, it’s time to drill pilot holes. Pilot holes will guide the screws into the correct position and prevent the door from splitting. Here’s how to do it:
- Choose an appropriate drill bit that matches the size of the screws provided with the handleset.
- Securely hold the drill and position the drill bit on one of the marked mounting hole locations.
- Apply gentle pressure and drill a hole through the door at the marked location. Repeat this step for each marked hole.
Mounting the Exterior Door Handle
Now that you have aligned, marked, and drilled the pilot holes, it’s time to mount the exterior door handle. Follow these steps:
- Take the door handle and line up the holes on the backside of the handle with the pilot holes you drilled.
- Insert the screws provided with the handleset into the pilot holes.
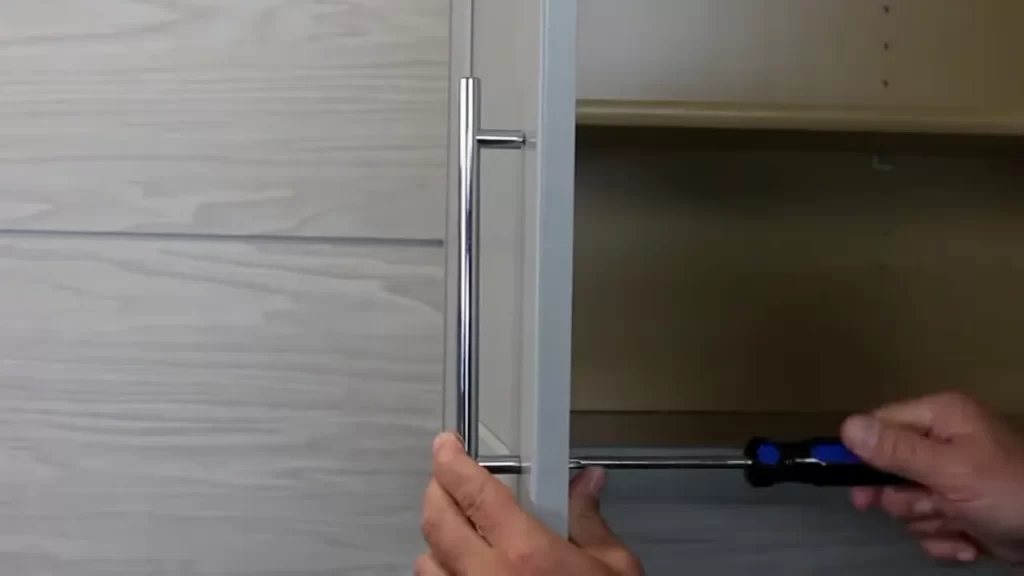
- Using a screwdriver, tighten the screws securely, but be careful not to overtighten and damage the door or handle.
Congratulations! You have successfully installed your new exterior door handle. Make sure to test the handle’s functionality by turning it and ensuring it locks and unlocks smoothly. With a properly installed door handleset, you can enhance the security and beauty of your home.
Installing The Interior Door Handle
When it comes to installing a door handleset, one of the crucial steps is installing the interior door handle. This step helps ensure easy access to the room while complementing the overall aesthetics of the door. In this guide, we will walk you through the process of installing the interior door handle correctly.
Determining the Correct Orientation
Before you start attaching the interior door handle, it is essential to determine the correct orientation. This step ensures that the handle is properly positioned and functions correctly. To determine the correct orientation:
- Examine the interior door handle to identify the side that needs to face the room.
- Taking into consideration the handing of the door, determine whether the handle needs to be mounted on the right or left side.
Attaching the Interior Door Handle to the Spindle
Once you have determined the correct orientation of the interior door handle, it’s time to attach it to the spindle. This step allows for smooth operation and ensures that the handle is securely in place. Follow these instructions for attaching the interior door handle:
- Insert the spindle through the door latch mechanism.
- Place one handle over the spindle from one side of the door.
- Align the screw holes of the handle with the holes on the spindle.
- Insert the screws provided into the aligned holes.
- Tighten the screws using a screwdriver until the handle is securely attached.
- Repeat the process for the other side of the door, ensuring symmetry.
By following these steps, you can successfully install the interior door handle of your door handleset. It is important to ensure that the handle is securely attached to avoid any issues with functionality or safety. Taking the time to install the interior door handle correctly will enhance the overall appearance and functionality of your door.
Installing The Latch And Deadbolt
Installing the latch and deadbolt mechanism is an essential step in the process of installing a door handleset. The latch allows the door to close securely and the deadbolt provides an extra level of security, ensuring that your home is well-protected. In this section, we will guide you through the process of marking and chiseling the strike plate mortise, as well as installing the latch and deadbolt mechanism.
Marking and Chiseling the Strike Plate Mortise
The strike plate mortise is a recessed area on the door jamb where the strike plate, which holds the latch or deadbolt, will be installed. To create this mortise, follow these steps:
- Close the door and mark the location of the latch and deadbolt on the jamb with a pencil. Ensure that the marks are aligned with the corresponding holes on the door.
- Using a chisel and a hammer, carefully chisel out the marked area on the jamb. Start by making shallow cuts and gradually deepen them until you reach the desired depth for the strike plate.
- Ensure that the strike plate fits snugly into the mortise. If needed, make additional adjustments with the chisel until the strike plate sits flush with the jamb.
Installing the Latch and Deadbolt Mechanism
Once the strike plate mortise is prepared, you can proceed to install the latch and deadbolt mechanism. Follow these steps:
- Attach the latch mechanism to the edge of the door, ensuring that it aligns with the hole previously drilled. Secure it in place using the provided screws.
- Insert the latch bolt into the latch mechanism. Test the operation of the latch by turning the doorknob or lever to ensure that it extends and retracts smoothly.
- Next, insert the deadbolt mechanism into the hole drilled in the door. Secure it in place with the provided screws.
- Test the operation of the deadbolt by turning the key or thumbturn to extend and retract it. Ensure that it moves freely without any obstructions.
- Finally, align the strike plate with the latch and deadbolt mechanisms on the door jamb. Secure it in place with screws, ensuring that it aligns with the mortise created earlier.
With the latch and deadbolt mechanism properly installed, your door handleset is now ready to provide both security and convenience. Take a moment to admire your work and revel in the sense of accomplishment that comes with successfully completing this important installation task.
Adjusting And Testing The Handleset
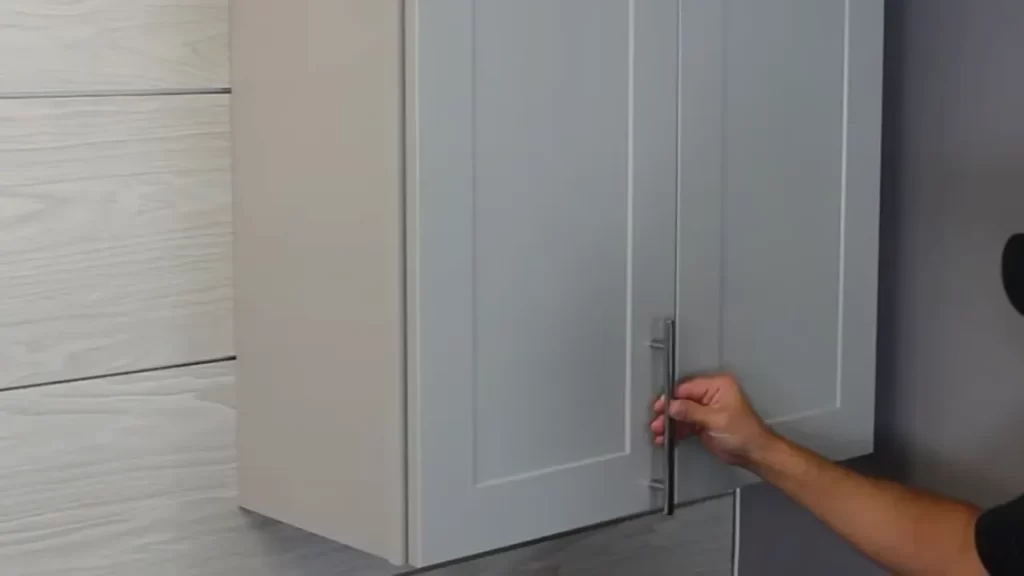
After successfully installing the door handleset, the next crucial step is to adjust and test it to ensure proper alignment and functionality. This will help to guarantee smooth operation and maximum security for your door. In this section, we will explore two important aspects of adjusting and testing the handleset: ensuring proper alignment and functionality, and testing the locking mechanism.
Ensuring Proper Alignment and Functionality
The first step in adjusting the handleset is to ensure that it is properly aligned with the door. This will ensure that the door can open and close smoothly without any obstructions. To do this, follow these steps:
| Steps to Ensure Proper Alignment |
|---|
| 1. Close the door and stand on the inside. |
| 2. Check if the handle and latch are aligned with the door frame. |
| 3. If the alignment is off, loosen the screws holding the handleset in place. |
| 4. Gently adjust the handleset until it is properly aligned. |
| 5. Tighten the screws to secure the handleset in place. |
Ensuring proper functionality is equally important. You want to make sure that the handleset operates smoothly and doesn’t stick or jam. Here are some additional steps to help you achieve this:
- Operate the handle and check for any resistance or sticking.
- If there are any issues, remove the handleset and inspect the latch mechanism for debris or obstructions.
- Clean or lubricate the latch mechanism if necessary.
- Reinstall the handleset and test the functionality again.
Testing the Locking Mechanism
Another important aspect to consider when adjusting and testing the handleset is the locking mechanism. You want to ensure that the lock functions properly and securely locks the door. Follow these steps to test the locking mechanism:
- Close the door and extend the latch bolt by turning the handle or using the thumbturn.
- Attempt to open the door from the outside without using a key.
- If the latch bolt extends fully and prevents the door from opening, the lock is functioning properly.
- Test the lock operation with a key to ensure smooth locking and unlocking.
- If there are any issues, check the alignment of the strike plate and make necessary adjustments.
By following these steps to adjust and test your handleset, you can ensure that it is properly aligned, functions smoothly, and provides maximum security for your door. Take the time to adjust and test your handleset to enjoy peace of mind knowing that your door is secure and operating optimally.
Cleaning And Care For Different Materials And Finishes
Proper cleaning and care are essential to maintain the longevity and appearance of your door handleset. Different materials and finishes require specific cleaning methods to prevent damage and preserve their beauty. In this section, we will discuss the importance of regular cleaning and polishing, as well as the avoidance of harsh cleaning solutions.
Regular Cleaning and Polishing
Regular cleaning is the key to keep your door handleset looking its best. Dust and dirt can accumulate over time, dulling the finish and making it appear less appealing. By following a simple cleaning routine, you can keep your handleset in pristine condition. Here are some steps to follow:
- Start by removing any visible dirt or debris with a soft, dry cloth.
- Mix a mild soap solution with warm water.
- Use a soft, non-abrasive cloth or sponge dampened with the soap solution to gently wipe down the handleset.
- Rinse the handleset thoroughly with clean water to remove any soap residue.
- Dry the handleset with a clean, lint-free cloth.
- To restore shine and prevent tarnishing, apply a non-abrasive metal polish to the handleset. Follow the manufacturer’s instructions carefully.
By incorporating these simple steps into your cleaning routine on a regular basis, you can ensure that your door handleset maintains its original shine and appeal for years to come.
Avoiding Harsh Cleaning Solutions
While it may be tempting to use strong cleaning solutions to tackle stubborn stains or grime, it is important to avoid harsh chemicals or abrasive cleaners that can damage the materials or finishes of your door handleset. Some cleaning solutions to avoid include:
- Bleach or chlorine-based cleaners
- Abrasive scrubbing pads or brushes
- Acidic cleaners
Instead, opt for mild, non-abrasive cleaners specifically designed for the material and finish of your handleset. Always read the manufacturer’s instructions and test any new cleaner on a small, inconspicuous area before applying it to the entire handleset.
Remember that prevention is key when it comes to cleaning and care. Regularly dusting your handleset and wiping away any spills or smudges as soon as possible can help prevent the need for more intensive cleaning down the line.
With the right cleaning routine and proper care, you can keep your door handleset looking as beautiful and functional as the day it was installed.
Troubleshooting Common Issues With Door Handleset
Installing a door handleset can be a straightforward process, but sometimes you may encounter common issues that can hinder the functionality and security of your door. In this section, we will discuss how to troubleshoot and resolve three common issues that may arise with door handlesets. By understanding these issues and their solutions, you can ensure that your handleset operates smoothly and provides the security you need.
Loose Handles or Latch
One common issue that you may come across is loose handles or a latch that doesn’t properly engage. This can lead to difficulties in opening and closing the door, which compromises the security of your entryway. To troubleshoot this issue, follow these steps:
- Check for loose screws: Inspect the handles and screws to ensure they are securely tightened. If any screws are loose, use a screwdriver to tighten them.
- Examine the spindle: The spindle is the metal rod that connects the handles on both sides of the door. Ensure that the spindle is properly inserted into the latch mechanism. If it is loose or misaligned, reposition it correctly to ensure a secure fit.
- Verify the latch alignment: Sometimes, the latch may not align properly with the strike plate on the door frame. To fix this, adjust the strike plate or the position of the latch until they align correctly. This will allow the latch to fully engage when the door is closed.
Sticking or Difficult Locking Mechanism
A sticking or difficult locking mechanism can be frustrating and can compromise the security of your door. Here’s how you can troubleshoot and resolve this issue:
- Check the alignment: Ensure that the handleset is properly aligned with the door. If it is misaligned, it may cause the locking mechanism to stick. Adjust the position of the handleset until it aligns properly with the door.
- Apply lubrication: Over time, dirt and debris can accumulate in the lock mechanism, causing it to stick. Apply a small amount of graphite powder or silicone spray lubricant to the lock mechanism to ensure smooth operation. Be sure to wipe away any excess lubricant.
- Inspect the key: If the locking mechanism still sticks, check the key for any signs of damage or bending. A damaged key can affect the smooth operation of the lock. If necessary, consider getting a new key made.
Misalignment or Misfitting Handleset
If your handleset is misaligned or doesn’t fit properly on the door, it can cause issues with functionality and security. Here’s how you can troubleshoot this problem:
- Verify the door thickness: Ensure that the handleset you’ve chosen is compatible with the thickness of your door. If the handleset is too long or too short for your door, it may not fit properly. Refer to the manufacturer’s guidelines to determine the correct handleset size for your door.
- Adjust the strike plate: The strike plate on the door frame should align with the latch on the handleset. If they don’t align properly, adjust the strike plate to ensure a proper fit. This will help prevent the door from rattling or not closing securely.
- Consider professional help: If you’re experiencing persistent misalignment or misfitting issues, it may be best to consult a professional locksmith or door hardware expert. They can assess the situation and provide a solution tailored to your specific needs.
By troubleshooting and resolving these common issues with door handlesets, you can ensure that your entryway is secure and functions smoothly. Regular maintenance and proper installation techniques go a long way in prolonging the lifespan of your handleset and maintaining the safety of your home.
Frequently Asked Questions For How To Install A Door Handleset
How Do You Install A Front Entry Handleset?
To install a front entry Handleset, first, gather all the necessary tools and materials. Measure and mark the placement on the door, making sure it aligns with the existing holes. Next, carefully remove any existing hardware and prepare the door surface.
Install the new Handleset, making sure all screws are securely fastened. Lastly, test the functionality and ensure smooth operation.
How Do You Install A Kwikset Handleset?
To install a Kwikset handleset, follow these steps: 1. Measure the door’s backset and prepare the holes for the handle and deadbolt. 2. Attach the latch bolt to the door edge and secure it with screws. 3. Connect the exterior and interior handles and secure them tightly.
4. Install the deadbolt mechanism and connect the tailpiece. 5. Test the lock and make adjustments if needed.
How Should A Door Handle Be Installed?
To install a door handle, follow these steps: 1. Measure and mark the ideal height for the handle. 2. Use a template or create one to ensure accurate hole placement. 3. Drill pilot holes for the screws. 4. Attach the handle securely using screws provided.
5. Ensure the handle functions properly by testing its turning and locking mechanisms.
Are Door Handles Hard To Install?
Door handles are not hard to install. They can be easily installed with some basic tools and a few simple steps. Just follow the installation instructions provided with the handle, and you’ll have it installed in no time. It’s a simple and straightforward process that anyone can do.
How Do I Choose The Right Door Handleset?
Choosing the right door handleset involves considering factors like style, material, security, and functionality.
What Tools Do I Need To Install A Door Handleset?
To install a door handleset, you’ll typically need a screwdriver, measuring tape, center punch, and a drill.
Conclusion
Installing a door handleset may seem like a daunting task, but with proper guidance, it can be a breeze. By following the step-by-step instructions provided in this blog post, you are now equipped with the knowledge and confidence to tackle this project successfully.
Remember to choose a handleset that complements your door and enhances the overall aesthetic of your home. With a little patience and the right tools, you’ll have a beautiful and functional door handleset in no time. Happy DIY-ing!
