To install a Ring camera, attach the mounting bracket to a desired location, connect the camera to a power source and establish a Wi-Fi connection. Now, let’s dive deeper into the step-by-step process of installing a Ring camera.
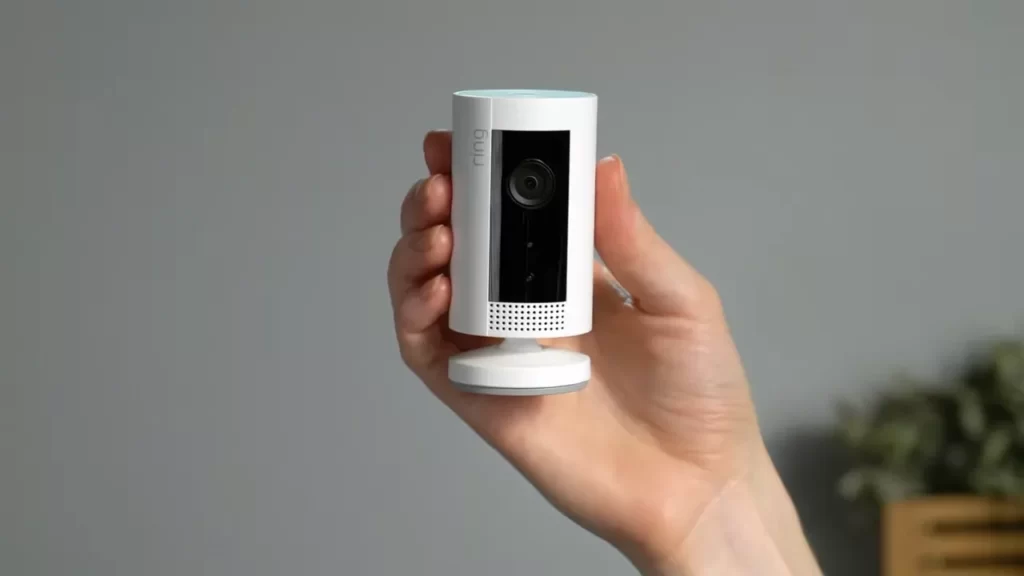
Installing a Ring camera allows you to monitor your home or property remotely from your smartphone or computer. With its easy setup process, you can have your camera up and running in no time. We will guide you through the installation process of a Ring camera.
By following these simple steps, you’ll be able to ensure the safety and security of your home. So, let’s get started!
Choosing The Right Location For Your Ring Camera
Choosing the Right Location for Your Ring Camera
Installing a Ring camera is a great way to enhance the security of your home, but it’s important to choose the right location for optimal functionality and protection. When selecting the installation spot for your Ring camera, there are several factors to consider. Evaluating the Wi-Fi signal strength, identifying potential security blind spots, and considering weather exposure are all crucial steps in finding the ideal location.
Factors to Consider when Selecting the Installation Spot
Before you mount your Ring camera, it’s important to carefully evaluate several factors to ensure you choose the right location. These factors include:
- Evaluating the Wi-Fi Signal Strength
- Identifying Potential Security Blind Spots
- Considering Weather Exposure
Evaluating the Wi-Fi Signal Strength
The success and effectiveness of your Ring camera depend heavily on a reliable Wi-Fi connection. Before deciding on the installation spot, check the Wi-Fi signal strength in the area by using your smartphone or other Wi-Fi-enabled devices. Make sure the signal is strong enough for a seamless connection to the camera.
Identifying Potential Security Blind Spots
When selecting the installation spot, take into consideration any potential blind spots that may compromise the security of your home. These blind spots could be areas that are out of the camera’s field of view or obstructed by objects such as trees, bushes, or walls. Carefully choose a location that provides the broadest coverage without any significant blind spots.
Considering Weather Exposure
Ring cameras are designed to withstand various weather conditions, but it’s still important to consider the exposure to elements when choosing the installation spot. Avoid placing the camera in areas that are directly exposed to heavy rain, snow, or extreme sunlight, as this could potentially damage the camera and affect its performance. Instead, opt for a spot that offers some level of protection from these weather elements, such as under eaves or a covered porch.
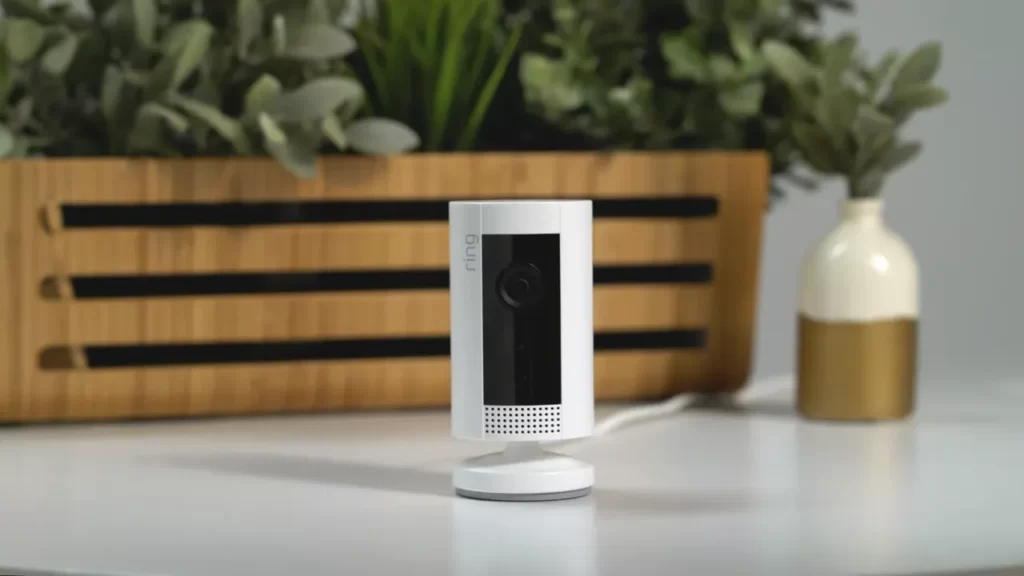
By considering these factors, you can find the perfect location for your Ring camera, ensuring optimal functionality and enhancing the security of your home. Remember to regularly check and maintain the camera’s position to guarantee its effectiveness in keeping your property safe.
Mounting Options For Installing Your Ring Camera
Welcome to our comprehensive guide on how to install a Ring Camera! In this article, we will focus on the different mounting options available to you when installing your Ring Camera. Whether you prefer to mount it on an exterior wall or on an indoor ceiling, we have got you covered. Each mounting option offers its own unique benefits, so let’s dive in and explore the wall and ceiling mounting options for your Ring Camera.
Wall Mounting: Securing the Camera on Exterior Walls
Wall mounting your Ring Camera on an exterior wall is a popular choice for many homeowners. Not only does it provide an optimal vantage point for capturing footage, but it also acts as a deterrent for potential intruders. Here are some key placement considerations to keep in mind before you proceed with wall mounting:
Placement Considerations for Wall Mounting
When selecting the ideal location for your Ring Camera on an exterior wall, consider the following:
- Ensure the camera is placed at a height that captures the desired viewing angle.
- Choose a spot that offers a clear line of sight without obstructions.
- Take into account the camera’s field of view and angle adjustment capabilities.
- Consider accessibility for maintenance and charging, if necessary.
Once you have determined the perfect spot for your Ring Camera, follow these steps for a proper wall mount installation:
Steps for Properly Mounting the Camera on a Wall
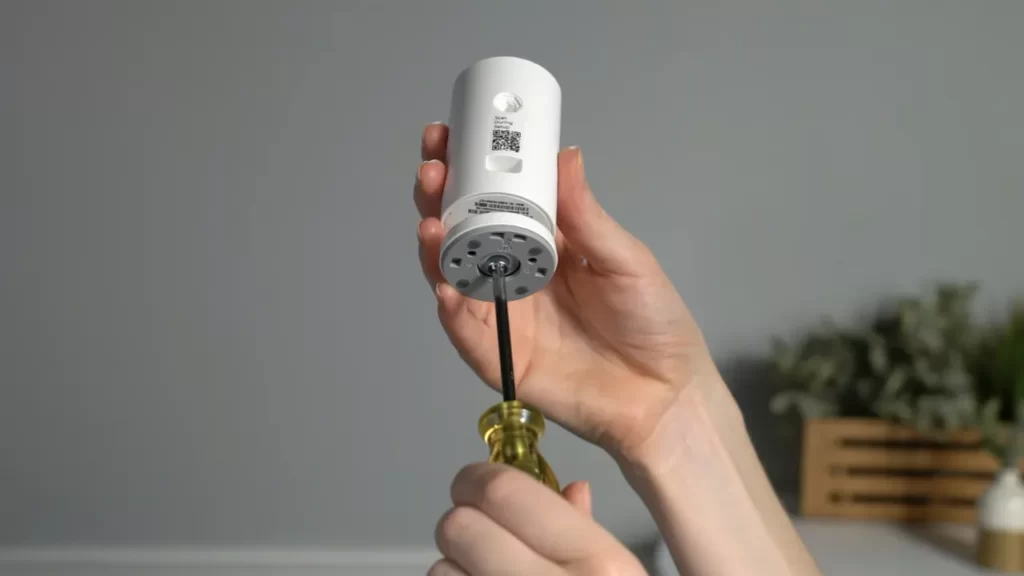
- Using the provided mounting bracket, mark the screw holes on the wall.
- Drill pilot holes at the marked spots to ensure a secure installation.
- Attach the mounting bracket to the wall using screws.
- Align the camera with the bracket and secure it in place.
- Adjust the camera’s angle to capture the desired area.
Ensuring a clean and wire-free installation is crucial for aesthetic purposes and to prevent any damage to the camera. Here are a few tips for concealing wires and cables:
Tips for Concealing Wires and Cables

- Use cable clips or mounting tape to secure wires along walls or trim.
- If possible, hide cables behind outdoor fixtures or vegetation.
- Consider investing in cable covers or conduits to keep wires neatly organized and protected.
Ceiling Mounting: Installing the Camera on Indoor Ceilings
If wall mounting isn’t your preferred option, ceiling mounting can be an excellent alternative for your Ring Camera installation. Here are some advantages of choosing this mounting option:
- Wide coverage: Ceiling mounting allows for a broader field of view, capturing more of the surroundings.
- Discreet placement: Cameras mounted on ceilings can be less noticeable, blending seamlessly with the surroundings.
- Enhanced audio capture: Placing the camera on the ceiling can improve audio quality during recordings.
To install your Ring Camera on an indoor ceiling, follow these steps:
Steps for Ceiling Mount Installation
- Determine the optimal location on the ceiling to mount your camera.
- Using the provided mounting bracket, mark the screw holes on the ceiling.
- Drill pilot holes at the marked spots.
- Secure the mounting bracket to the ceiling using screws.
- Attach the camera to the bracket and adjust the angle as needed.
Once your camera is securely mounted, ensure the best viewing angle by adjusting it to the desired position. This will help optimize the camera’s coverage and capture the most relevant footage.
Now that you’re familiar with both wall and ceiling mounting options, you can choose the option that suits your specific needs and preferences. Enjoy the peace of mind that comes with installing your Ring Camera with confidence!
Connecting And Setting Up Your Ring Camera
Setting up your Ring camera is a simple process that allows you to enjoy a secure and convenient way to monitor your home. Whether you choose a battery-powered, wired, or solar-powered option, connecting your camera to a power source and pairing it with the Ring app are essential steps to get started. In this section, we will walk you through the process step by step.
Connecting the Camera to a Power Source
Choosing Between Battery-Powered, Wired, or Solar-Powered Options
Before connecting your Ring camera, it’s important to consider which power source option best suits your needs. Ring cameras come in three different power options: battery-powered, wired, or solar-powered.
A battery-powered camera offers the flexibility to be placed anywhere, without the need for a power outlet. Wired cameras provide a continuous power supply for uninterrupted operation, while solar-powered cameras harness solar energy to keep the battery charged. Choose the option that aligns with your preferences and the availability of power sources in your desired installation location.
Installing Batteries or Connecting to Power Outlet
If you opt for a battery-powered camera, start by installing the batteries according to the manufacturer’s instructions. Ensure they are fully charged before proceeding with the setup process. If you choose a wired or solar-powered camera, connect it to a power outlet using the provided cables.
Connecting the Camera to the Ring App
Downloading and Installing the Ring App
To connect and control your Ring camera, you will need to download and install the Ring app onto your smartphone or tablet. The Ring app is available for both iOS and Android devices and can be found in the App Store or Google Play Store.
Pairing the Camera with the App
Once you have installed the Ring app, open it and follow the on-screen instructions to create an account or log in if you already have one. To pair your camera with the app, press the setup button on the camera and wait for the LED light to start blinking. Then, follow the prompts in the app to connect your camera to your home Wi-Fi network.
Configuring Camera Settings
Adjusting Motion Detection Zones
To ensure your Ring camera captures motion in the desired areas and minimizes false alerts, you can adjust the motion detection zones. Open the Ring app, select your camera, and navigate to the settings menu. From there, you can customize the motion detection zones by drawing specific areas on the screen where you want the camera to focus on.
Enabling Video Recording and Device Notifications
In the Ring app settings, you have the option to enable video recording and receive device notifications. By enabling video recording, you can capture and review footage from your camera whenever necessary. Device notifications will alert you when motion is detected or when someone rings your Ring doorbell.
Personalizing Camera Sound and Light Settings
The Ring app allows you to personalize the sound and light settings of your camera. You can choose different alerts, adjust the volume, and even customize the light settings to fit your preferences. These personalized settings help enhance the overall security and convenience of your Ring camera.
Troubleshooting And Tips For Successful Installation
Setting up a Ring camera can provide an added layer of security to your home. However, like any electronic device, there can be glitches and obstacles along the way. To ensure a successful installation, it is important to be aware of some common issues and troubleshooting tips. In this section, we will discuss the most common installation issues and provide tips on how to overcome them.
Troubleshooting Common Installation Issues
During the installation process, you may come across some common issues that can be easily resolved with a few simple steps. Here are some troubleshooting tips:
Issues with Wi-Fi Connectivity:
One of the most common issues with Ring camera installation is a weak Wi-Fi signal or connectivity problems. If you experience this issue, try the following:
- Ensure that your camera is within range of your Wi-Fi router.
- Check if there are any obstructions, such as walls or other electronic devices, that may interfere with the signal.
- Consider moving your router to a more centralized location in your home.
- If all else fails, you may need to invest in a Wi-Fi range extender to boost the signal strength.
Dealing with Inadequate Power Supply:
If your camera is not getting enough power, it may not function properly. Here are some steps to troubleshoot power-related issues:
- Ensure that your camera is connected to a power source that is providing a steady power supply.
- Check if the power outlet is working by plugging in another device.
- If you are using a battery-powered camera, make sure the batteries are fully charged or replace them with fresh ones.
- Consider using a wired power source or a solar panel if you are experiencing power supply issues.
Camera Not Pairing with the Ring App:
If your camera is not pairing with the Ring app, try the following troubleshooting steps:
- Ensure that your camera is in setup mode by following the instructions provided with your device.
- Check if your smartphone or tablet is connected to the same Wi-Fi network as your camera.
- Restart the Ring app and try the setup process again.
- If the issue persists, try resetting your camera by pressing and holding the reset button for 15 seconds.
Maximizing Security and Performance
Once you have successfully installed your Ring camera, there are a few additional steps you can take to maximize its security and performance:
Updating Firmware and Software:
Regularly updating your Ring camera’s firmware and the Ring app software is crucial for optimal performance and security. Check for updates in the app’s settings and install them as soon as they are available.
Setting up Two-Factor Authentication:
Two-Factor Authentication adds an extra layer of protection to your Ring account by requiring a verification code in addition to your password. Enable this feature in the Ring app’s settings to enhance your camera’s security.
Using Optional Accessories for Enhanced Security:
Ring offers a range of optional accessories that can further enhance the security features of your camera. These accessories include solar panels for continuous battery charging, corner mounts for better camera angles, and additional motion detectors. Consider these accessories to customize your security setup according to your specific needs.
By being aware of common installation issues and following the troubleshooting tips mentioned above, you can successfully install and optimize your Ring camera to provide effective home security. Additionally, regular updates, Two-Factor Authentication, and optional accessories can further enhance your camera’s security and performance.
Maintenance And Care For Your Ring Camera
When it comes to keeping your Ring camera in optimal condition, regular maintenance and care are essential. By following some simple steps, you can ensure that your camera continues to function at its best, providing you with peace of mind and security.
Cleaning and Protecting the Camera Lens
The camera lens plays a crucial role in capturing clear and crisp video footage. Over time, it can accumulate dust, dirt, and smudges that can affect the camera’s performance. To keep your camera lens clean and protected, follow these steps:
- Gently wipe the lens with a microfiber cloth to remove any loose debris or fingerprints. Avoid using abrasive materials or cleaning solutions as they can cause damage.
- If the lens is particularly dirty, you can use a mild lens cleaner specifically designed for cameras. Apply a small amount to the cloth and gently wipe the lens in a circular motion.
- To protect the lens from dirt and scratches, consider installing a lens cover or hood. These accessories help shield the lens from the elements, ensuring optimal performance.
Regularly Checking Camera Functionality
Regularly checking the functionality of your Ring camera is crucial to detecting any issues early on and resolving them promptly. Here’s what you should do:
- Ensure that the camera is connected and receiving power. Check the power cable or battery status, depending on the model.
- Verify that the camera is connected to your Wi-Fi network. A stable internet connection is essential for seamless operation.
- Test the camera’s motion detection feature by walking in front of it. Confirm that you receive alerts and notifications on your smartphone or other connected devices.
Extending the Camera’s Lifespan with Proper Maintenance
Proper maintenance can significantly extend the lifespan of your Ring camera, helping you get the most out of your investment. Consider the following points:
- Regularly inspect the camera for any signs of corrosion, damage, or wear and tear. If you notice any issues, contact Ring’s customer support for assistance.
- Keep the camera’s firmware up to date by regularly checking for software updates. Updating the firmware ensures that you have access to the latest features and security enhancements.
- Protect the camera from extreme weather conditions, such as heavy rain or extreme heat. Consider installing it under the eaves or using weatherproof enclosures for added protection.
By following these maintenance and care tips, you can maximize the lifespan and functionality of your Ring camera, providing you with reliable security and peace of mind.
Frequently Asked Questions Of How To Install A Ring Camera
Can I Install Ring Camera Myself?
Yes, you can install a Ring camera yourself. It’s easy and doesn’t require professional help. Just follow the provided instructions to set it up and connect it to your Wi-Fi network. Enjoy the benefits of monitoring your home with your self-installed Ring camera.
Do You Need An Electrician To Install A Ring Camera?
No, you don’t need an electrician to install a Ring camera. It’s a simple DIY setup that you can do yourself. Just follow the instructions provided and you’ll have your Ring camera up and running in no time.
Is Ring Security Camera Easy To Install?
Yes, Ring security cameras are easy to install, making it a hassle-free process for users. The straightforward installation process ensures that users can set up their cameras quickly and effortlessly.
How Do You Install An Outdoor Ring Camera?
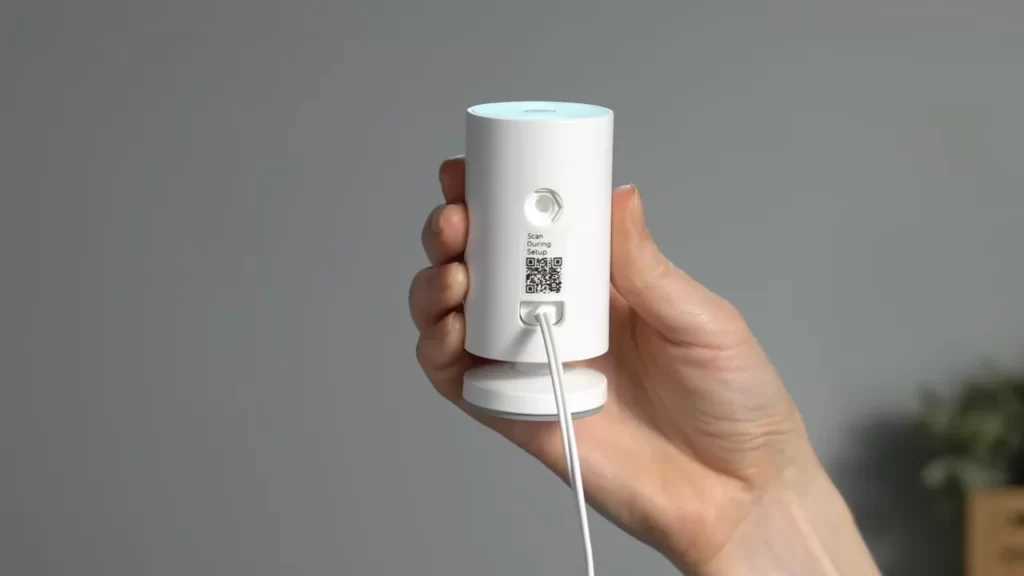
To install an outdoor Ring camera, mount it on a wall or ceiling using the provided screws. Make sure it’s within reach of a power source and Wi-Fi signal. Connect the camera to your Ring app by scanning the QR code or entering the device ID.
Customize your settings and start monitoring your outdoor space.
How Long Does It Take To Install A Ring Camera?
Installing a Ring Camera typically takes around 10 to 15 minutes, depending on the complexity of the setup.
Conclusion
Installing a Ring camera is a straightforward process that anyone can tackle. By following these simple steps, you can have the peace of mind that comes with a reliable home security system. With the proper tools and a little patience, you’ll be able to set up your Ring camera in no time.
Remember to carefully read the instructions and refer to helpful online resources if needed. Stay connected and keep your home protected with Ring.