To install a screen door, measure the door frame, cut the door to fit, attach the hinges, and secure the door with screws. Installing a screen door is a simple process that can enhance the functionality and aesthetics of your home.
A screen door allows fresh air to circulate while keeping insects and debris out. It also provides added security and allows for natural light to enter your living space. By following these easy steps, you can enjoy the benefits of a screen door in no time.
With the right tools and a little bit of patience, anyone can successfully install a screen door and reap its many advantages.
Preparation Checklist For Installing A Screen Door
Before you start installing a screen door, it’s important to properly prepare for the project to ensure smooth and hassle-free installation. This checklist will guide you through the essential steps, from gathering the necessary tools and materials to clearing and cleaning the door frame area. By following this checklist, you’ll be well-prepared and equipped to install your screen door with confidence.
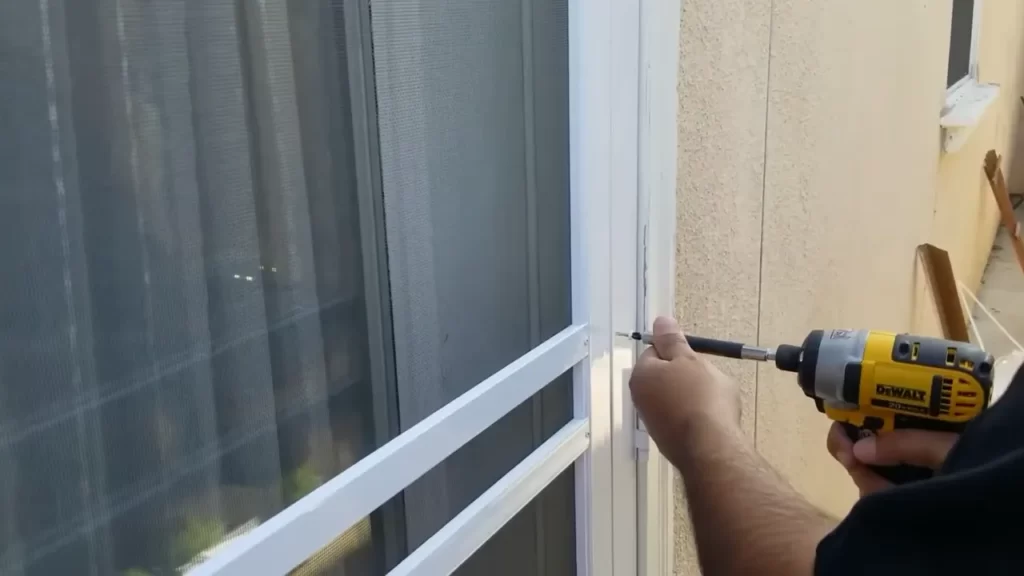
Gather the necessary tools and materials
Before you begin the installation process, make sure you have all the tools and materials you’ll need. Having everything ready from the start will save you time and frustration. Here’s a comprehensive list of what you should have:
- Tape measure
- Screwdriver
- Drill
- Utility knife
- Silicone caulk
- Carpenter’s level
- Pencil
- Screen door kit
- Screws
- Hinges
Measure the door frame accurately
Accurate measurements are crucial for a properly fitting screen door. The last thing you want is to struggle with a door that doesn’t fit or hangs unevenly. To measure your door frame, follow these steps:
- Start by measuring the width of the door frame at the top, middle, and bottom.
- Next, measure the height of the door frame on the left, right, and center.
- Take note of the smallest measurements as they will be the base dimensions for selecting the size of your screen door.
Choose the appropriate screen door type and design
With a variety of screen door types and designs available, it’s important to choose one that suits your needs and complements your home’s aesthetics. When selecting a screen door, consider factors such as:
- The type of screen material (e.g., fiberglass, aluminum, or steel) that offers durability and visibility.
- The design options available, including full-view, half-view, or retractable doors.
- The color and finish that will blend seamlessly with your existing door and exterior.
Clear and clean the door frame area
To ensure a proper installation, you’ll need a clean and clutter-free door frame area. Follow these steps to clear and clean the door frame:
- Remove any furniture or obstacles near the door, creating ample working space.
- Clear away any dust, debris, or old weatherstripping using a vacuum cleaner or mild detergent solution.
- Inspect the door frame for any damage or rot that needs to be repaired before installing the screen door.
- Ensure that all surfaces are smooth, dry, and free from any obstructions that may hinder the installation process.
By following this preparation checklist, you’ll have everything ready and set for a successful screen door installation. Remember, proper preparation is the key to achieving a seamless and functional addition to your home.
Step 1: Removing The Existing Door
When it comes to installing a screen door, the first step is to remove the existing door. This important step sets the foundation for a successful installation. By following the proper procedure, you can ensure that your new screen door fits perfectly and functions smoothly.
Assess the condition of the current door
Before removing the existing door, it is crucial to assess its condition. Check for any signs of damage, including cracks, warping, or rot. Inspect the hinges and frame to ensure they are in good working condition.
If you notice any significant damage, it may be necessary to repair or replace the door frame before installing the new screen door. Taking care of any necessary repairs beforehand will help guarantee a secure and long-lasting installation.
Remove any accessories or hardware
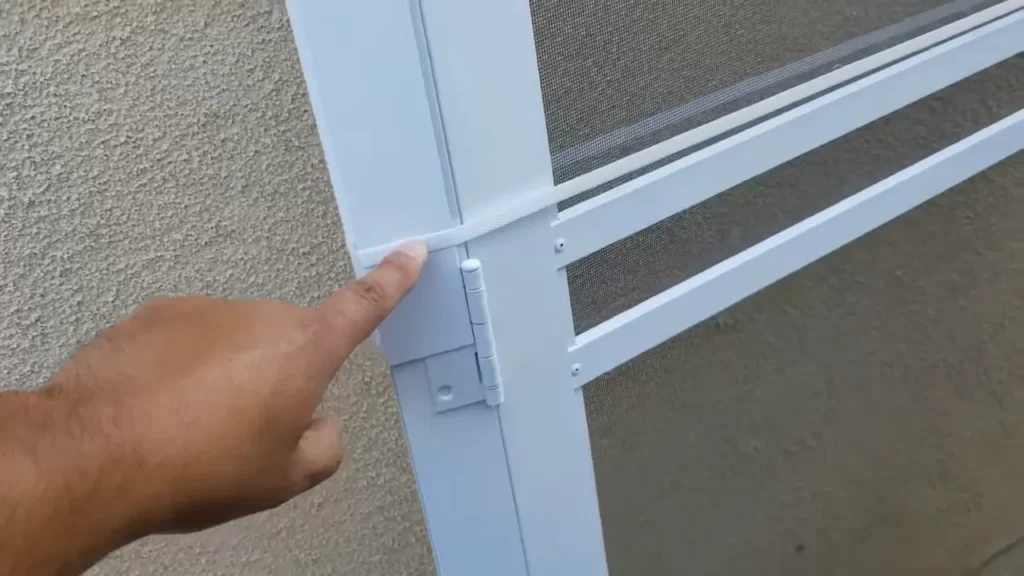
Prior to removing the door, it’s essential to remove any accessories or hardware that may obstruct the process. This includes handles, knobs, locks, and kick plates. Grab a screwdriver or the appropriate tools, and carefully remove each item.
By removing these accessories, you create a clear path for the door removal and ensure that they won’t interfere with the installation of the screen door. Remember to keep the hardware safely stored, as you may need it later for the new door.
Take accurate measurements for the replacement door

Before purchasing a new screen door, it’s crucial to take accurate measurements of the door frame. A properly measured replacement door will fit snugly and enhance both the appearance and functionality of your home.
Using a tape measure, carefully determine the width and height of the door frame. Measure both the width and height at multiple points to ensure accuracy, as door frames can sometimes be slightly uneven.
Additionally, measure the depth of the door frame to ensure the new screen door is compatible with the existing opening. Having precise measurements will help you choose the right replacement door and minimize installation issues.
Step 2: Assembly And Adjustment Of The Screen Door
After successfully measuring the doorway and gathering all the necessary tools and materials, it’s time to move on to assembling and adjusting your screen door. This step is crucial to ensure a proper fit and smooth functionality. To make the process easier, follow these H3 headings and their corresponding instructions:
Follow the manufacturer’s instructions for door assembly
It’s always a good idea to carefully read and follow the manufacturer’s instructions when it comes to assembling your screen door. Each door may have unique specifications and assembly requirements. By adhering to the instructions provided by the manufacturer, you can ensure that the door is assembled correctly, avoiding any potential issues down the line.
Make necessary adjustments for a perfect fit
To achieve a perfect fit, you may need to make adjustments to the screen door. These adjustments can help accommodate any variations in the doorway or frame. Depending on the type of screen door you have, adjustments might include:
- Using a level to check if the door is plumb and adjusting the hinge side if necessary.
- Trimming the door’s height and width to fit the opening properly.
- Ensuring that the door is properly aligned with the frame.
- Adjusting the tension of the door springs to control the speed of the door closing.
By making these necessary adjustments, you can ensure that your screen door fits snugly and operates smoothly.
Secure the door handle and hinges properly
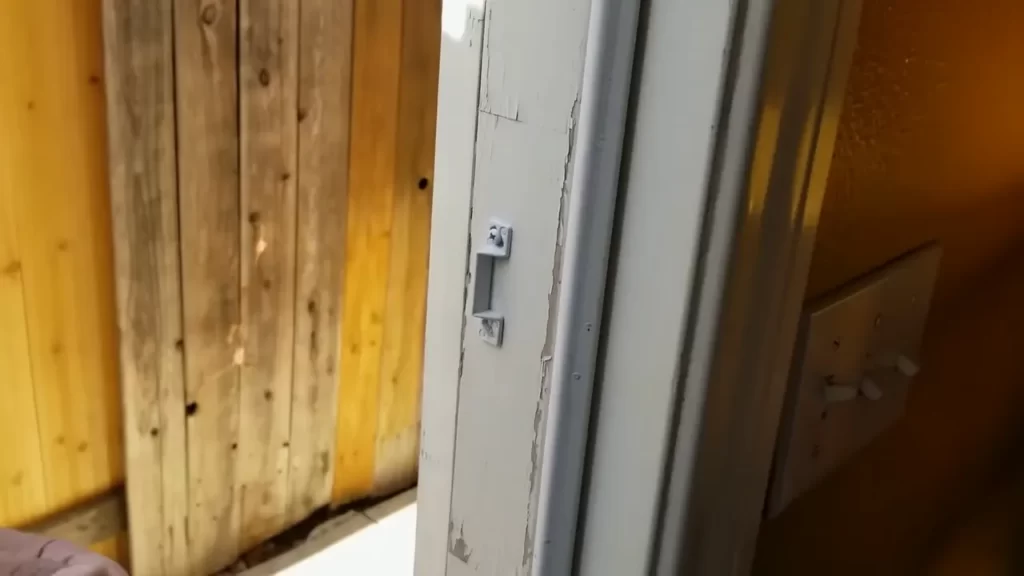
To complete the assembly of your screen door, it’s important to secure the door handle and hinges properly. This will ensure that the door is securely attached and functions as intended. Follow these steps for proper installation:
- Align the door handle with the pre-drilled holes on the door and insert the screws provided.
- Use a screwdriver or drill to tighten the screws, ensuring that the handle is securely attached.
- Position the hinges on the door frame, aligning them with the corresponding marks.
- Secure the hinges in place by inserting screws into the pre-drilled holes.
- Check the movement of the door to ensure it swings open and closed smoothly.
By taking the time to secure the door handle and hinges properly, you can prevent any potential issues such as loose handles or squeaky hinges. In conclusion, the assembly and adjustment of your screen door play a crucial role in its overall functionality and fit. By following the manufacturer’s instructions, making necessary adjustments, and securing the door handle and hinges properly, you can ensure a well-fitted screen door that enhances the aesthetics and functionality of your home.
Step 3: Installation Of The Screen Door

Installing a screen door can be a great way to enhance the functionality and aesthetic appeal of your home. Once you have prepared the door frame and aligned the screen door, it’s time to move on to the actual installation. Follow these steps to successfully install your screen door:
Prepare the door frame for installation
Before you can install the screen door, it’s essential to prepare the door frame for a smooth and secure fit. Start by removing any obstructions or debris that may hinder the installation process. This includes removing old hardware or screws that were previously attached to the frame. Additionally, ensure that the frame is clean and free from any dirt or dust particles that could affect the door’s smooth operation.
Align the screen door with the frame
Now that the door frame is ready, carefully position the screen door in alignment with the frame. Ensure that the door is centered and level within the frame. Take note of the hinges and their respective positions to guarantee a proper installation. This step is crucial for ensuring that the screen door will operate smoothly and effectively.
Attach the door frame to the existing structure
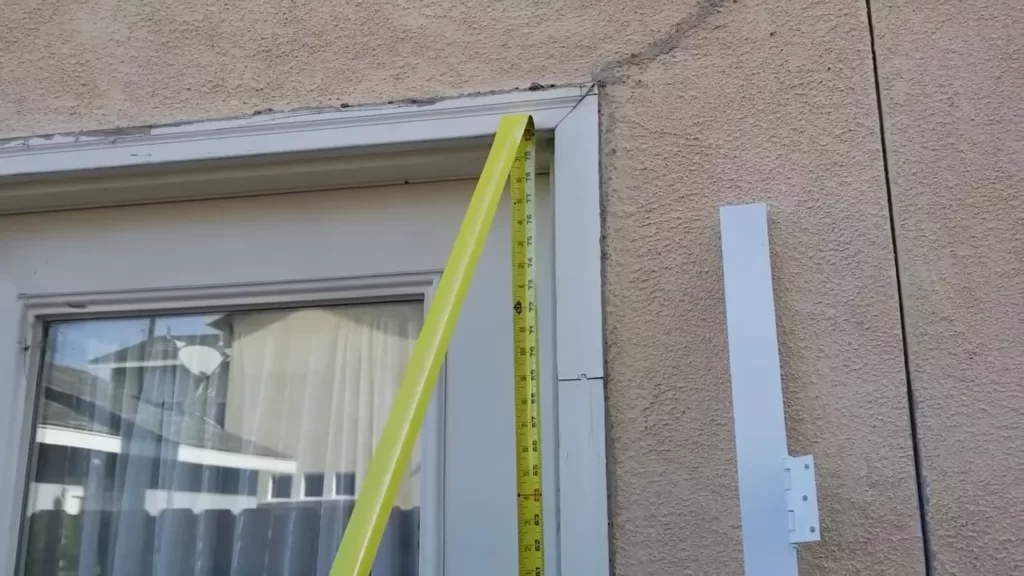
Once the screen door is perfectly aligned with the frame, it’s time to attach the door frame to the existing structure. Use screws and a screwdriver to secure the hinges of the door frame to the appropriate sections of the structure. Ensure that the screws are tight but not overly tightened, as this could cause damage to the door or frame. Refer to the manufacturer’s instructions for the recommended screw size and placement.
Check for proper alignment and smooth operation
After attaching the door frame, take a moment to check for proper alignment and smooth operation of the screen door. Open and close the door to ensure that it moves smoothly within the frame without any obstructions or resistance. Pay attention to any misalignments or issues that may need adjustment. If necessary, make any necessary adjustments to the hinges or frame to ensure that the door operates correctly.
Finally, inspect the overall appearance and functionality of the installed screen door. Ensure that it fits snugly within the frame, without any gaps or overlaps. Test the latch and handle to confirm that they are working correctly. By following these installation steps and conducting a thorough check, you can ensure that your screen door is properly installed and ready to enjoy.
Step 4: Finishing Touches And Additional
Considerations
After successfully installing your screen door, there are a few more steps to ensure its functionality, aesthetics, and longevity. These finishing touches and additional considerations will provide the final polish to your screen door installation project.
Install any additional hardware or accessories
If you want to enhance the functionality of your screen door, you may choose to install additional hardware or accessories. This could include a door closer to ensure that the door automatically closes behind you, or a door stopper to prevent the door from swinging too far. Assess your needs and preferences to determine which additional hardware or accessories would be beneficial for your screen door.
Test the functionality of the screen door
Before considering the project complete, it’s essential to test the functionality of your newly installed screen door. Open and close the door multiple times, checking for any resistance or misalignment. Ensure that the door closes securely, locks properly if applicable, and operates smoothly. Take note of any issues or adjustments needed, as addressing them promptly will prevent further complications down the line.
Apply any desired finishing touches, such as painting or varnishing
Now is the time to apply any desired finishing touches to your screen door. Depending on the material of your door and your personal preference, you may choose to paint it to match the exterior color scheme of your home or apply a protective varnish. Make sure to follow the manufacturer’s instructions for the specific type of paint or varnish you are using, and allow ample time for it to dry or cure before using the door.
Clean up the work area and dispose of any waste properly
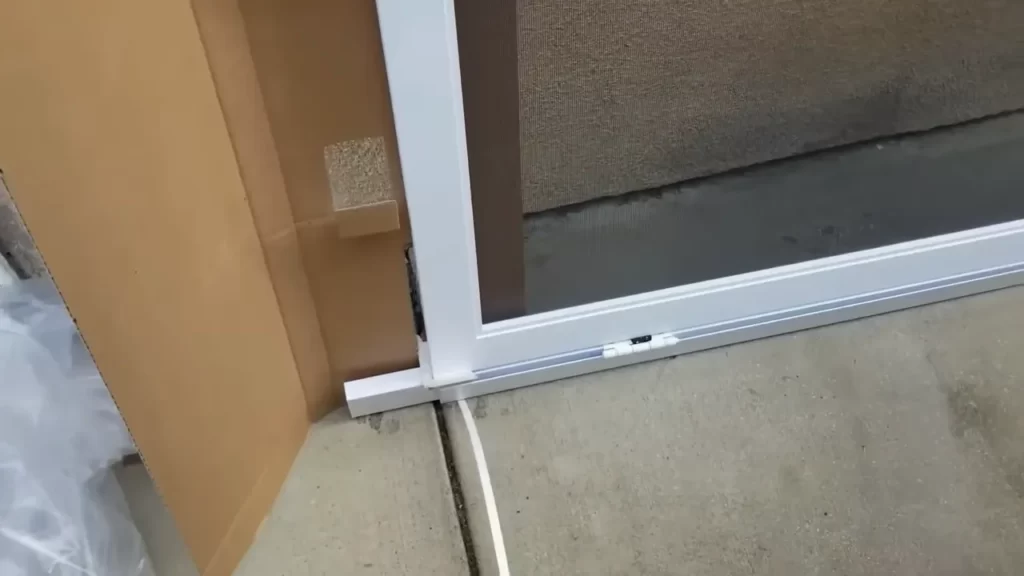
Lastly, it’s essential to clean up the work area and dispose of any waste or debris properly. Collect any discarded packaging materials, unused hardware, or scraps and dispose of them responsibly. Keeping the work area clean not only ensures the safety of your household but also leaves a positive impression of your DIY project.
Now that you have completed the installation of your screen door and attended to the finishing touches and additional considerations, you can enjoy the benefits it brings. Take a step back, admire your handiwork, and revel in the enhanced functionality and aesthetic appeal your new screen door provides.
Additional Tips For Screen Door Installation
Proper installation of a screen door is crucial for its functionality and longevity. In addition to following the basic steps of installation, there are a few additional tips that can help enhance your screen door’s performance and extend its lifespan. From weatherproofing options to maintenance guidelines, here are some important considerations to keep in mind:
Consider weatherproofing options for better insulation

Weatherproofing your screen door not only helps to keep the elements out but also improves insulation, making your home more energy-efficient. There are several weatherproofing options to choose from, depending on your specific needs:
| Option | Description |
|---|---|
| Weatherstripping | Apply weatherstripping around the edges of the door frame to seal any gaps and prevent drafts. |
| Door sweep | Install a door sweep at the bottom of the door to block out drafts and insects. |
| Caulking | Seal any gaps or cracks in the door frame with caulk to prevent air leakage. |
By incorporating these weatherproofing measures, you can create a more comfortable living environment while saving on your energy bills.
Maintenance and cleaning guidelines for prolonging the screen door’s lifespan
Proper maintenance and regular cleaning are essential to ensure your screen door remains in optimal condition for years to come. Here are some guidelines to follow:
- Regularly dust off the screen door with a soft brush or cloth to remove dirt and debris that can accumulate over time.
- Use a mild detergent mixed with warm water to gently clean the screen, ensuring not to use any abrasive materials that could damage the mesh.
- Rinse the screen thoroughly with clean water and allow it to air dry before reinstalling the door.
- Inspect the door frame and hinges periodically, tightening any loose screws or making necessary repairs to maintain stability.
- Apply a silicone-based lubricant to the hinges and moving parts to prevent rust and ensure smooth operation.
By following these maintenance and cleaning guidelines, you can extend the lifespan of your screen door and keep it looking and functioning its best.
Frequently Asked Questions On How To Install A Screen Door
What Is The Easiest Screen Door To Install?
The easiest screen door to install is a retractable screen door. It is simple to install and does not require any special tools or skills. Just follow the instructions provided, and you’ll have a functional screen door in no time.
Can You Put A Screen Door On Any Front Door?
Yes, you can install a screen door on any front door. It is a versatile option that can be added to most front door designs. This allows for better airflow while keeping insects out and adding an aesthetic appeal to your entrance.
How Do You Replace A Screen And Frame On A Screen Door?
To replace a screen and frame on a screen door, you need to follow these steps: 1. Remove the old screen and frame carefully. 2. Measure the dimensions of the door frame accurately. 3. Purchase a new screen and frame that matches the measurements.
4. Attach the new frame to the door using screws or adhesive. 5. Install the screen onto the frame and secure it in place.
How Do I Install A Sliding Screen Door?
To install a sliding screen door, follow these steps: 1. Measure the door frame accurately. 2. Purchase a compatible sliding screen door. 3. Remove the existing door, if any. 4. Align the top, bottom, and sides of the new door with the frame.
5. Secure the door in place using provided screws or fasteners.
Conclusion
Installing a screen door can greatly enhance the functionality and appeal of your home. By following the step-by-step guide provided in this blog post, you can successfully complete the installation process with ease. Remember to measure accurately, gather the necessary tools and materials, and closely follow the manufacturer’s instructions.
With a bit of patience and care, you’ll soon be enjoying the fresh air and protection from insects that a screen door provides. Happy installing!
