To install an ADT camera, follow the manufacturer’s instructions and connect the camera to the designated ADT hub or app. Installing an ADT camera is a simple process that requires following the manufacturer’s instructions and connecting the camera to the designated ADT hub or app.
By adhering to these steps, you can have an ADT camera installed and ready for use in no time. Whether you are a homeowner looking to enhance your security system or a business owner wanting to monitor your premises, an ADT camera provides peace of mind and added security.
We will provide a step-by-step guide on how to install an ADT camera effectively.
Choosing The Right Location For Your Adt Camera
When it comes to installing an ADT camera in your home or office, choosing the right location is essential for maximizing its effectiveness. The placement of the camera plays a crucial role in capturing clear, uninterrupted footage and ensuring the security of your property. In this post, we will discuss the factors to consider when selecting the installation spot and highlight the importance of a clear line of sight.
Factors to consider when selecting the installation spot
Before installing your ADT camera, it is important to carefully evaluate the ideal location. Here are some factors to consider:
- Surveillance area: Determine the specific areas you wish to monitor. This might include entrances, driveways, or high-risk areas prone to theft or vandalism. Identifying these areas will help you narrow down the placement options.
- Lighting conditions: Assess the lighting conditions in the potential camera placement spots. Ensure that the area is well-lit during both day and night. In low-light areas, you might need to consider a camera with night vision capabilities or provide additional lighting for clearer footage.
- Accessibility: Consider the accessibility of the camera’s location. You may need a ladder or other equipment to reach certain spots. Opt for areas that are easily accessible for installation and future maintenance.
- Weather conditions: Take into account the weather conditions of your area. Ensure that the installation spot is sheltered and protected from rain, snow, or extreme temperatures. This will help prolong the lifespan of your camera and maintain its functionality.
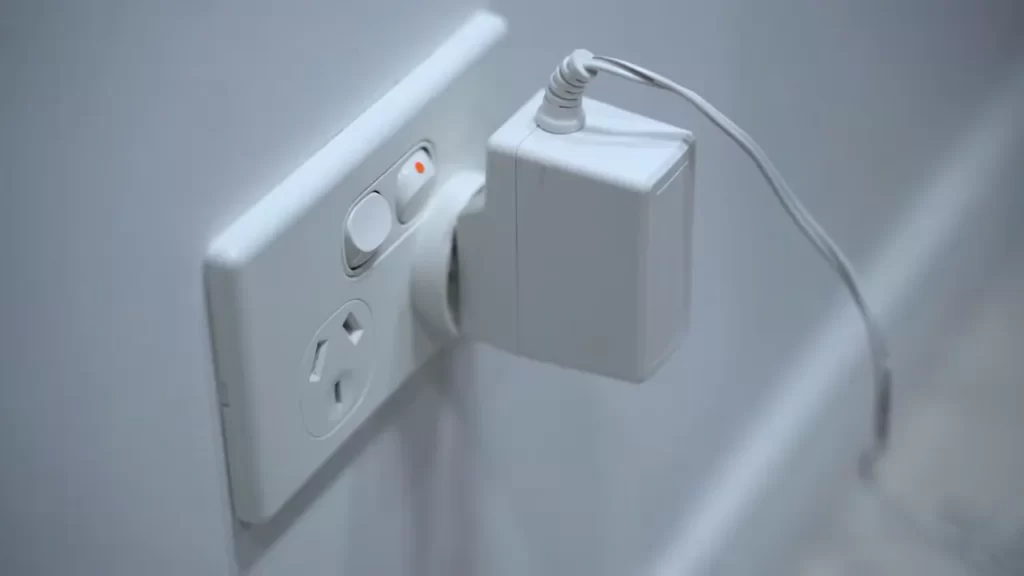
- Power source: Determine the proximity of a power source to the installation spot. Mounting the camera near an electrical outlet or using a power extension cable will ensure a continuous power supply, eliminating the need for frequent battery changes.
Importance of a clear line of sight, ensuring
To achieve optimal surveillance coverage, a clear line of sight is crucial for your ADT camera. This ensures that the camera can capture the relevant details and provide accurate visual information. Here’s why it matters:
- Effective monitoring: A clear line of sight allows the camera to capture high-quality footage with minimal obstructions. It enables you to monitor the surveillance area effectively and identify any suspicious activity or potential threats.
- Minimized blind spots: By selecting a location with a clear line of sight, you can minimize blind spots where the camera’s view might be obstructed. This ensures that no crucial detail gets missed and provides comprehensive coverage for your security needs.
- Deterrence factor: A visible camera with a clear line of sight acts as a deterrent for potential intruders or criminals. The presence of the camera and their knowledge that they are being watched can discourage any unlawful activities in your property.
Keep in mind that every installation spot is unique, and the factors mentioned above will vary based on your specific requirements. It is always recommended to consult with a professional or ADT representative for expert guidance to ensure the optimal placement of your ADT camera.
Gathering The Necessary Tools And Equipment
Before you start the installation process for your ADT camera system, it’s important to ensure you have all the necessary tools and equipment. This will not only ensure a smooth installation but also help you avoid any unnecessary delays or problems along the way.
A list of tools and equipment required for the installation process:
- ADT camera system kit (including cameras, cables, and DVR/NVR)
- Screwdriver set with various sizes and types of screws
- Drill with drill bits suitable for your walls
- Level for ensuring proper alignment
- Measuring tape for accurate measurements
- Power drill for making holes for cables
- Wire cutters/strippers for managing cables
- Pencil for marking drill points on walls
- Ladder or step stool for accessing higher areas
- Monitor or TV for viewing camera footage
- Network cables and connectors (if required for network setup)
- Power supply for cameras and DVR/NVR
- Computer or mobile device for configuring the system (if applicable)
Tips for ensuring you have everything you need:
When it comes to gathering the necessary tools and equipment for your ADT camera installation, organization and preparation are key. Here are some tips to ensure you have everything you need:
- Check the ADT camera system kit to make sure it contains all the necessary components, including cameras, cables, and a DVR/NVR. If anything is missing, contact ADT customer support for assistance.
- Inspect your tools to ensure they are in good working condition. Replace any damaged or worn-out tools before you begin the installation process.
- If you’re unsure about what type or size of screws you’ll need, refer to the installation manual or consult with an ADT professional to ensure you have the right screws for mounting the cameras securely.
- Measure the areas where you plan to install the cameras to determine the appropriate cable lengths you’ll need. It’s better to have slightly longer cables than to fall short during the installation process.
- Double-check if you have all the necessary cables and connectors, including network cables if you’re planning to set up remote access or connect your cameras to a network.
- Make sure you have a steady power supply for your cameras and DVR/NVR. If needed, consider using a surge protector to protect your equipment from power surges.
- Keep all your tools and equipment in a designated area so that everything is easily accessible when you need it. This will help you stay organized and avoid any unnecessary delays during the installation.
By following these tips and ensuring you have all the necessary tools and equipment, you’ll be well-prepared to install your ADT camera system with confidence and efficiency.
Mounting And Installing The Adt Camera
Mounting and Installing the ADT Camera
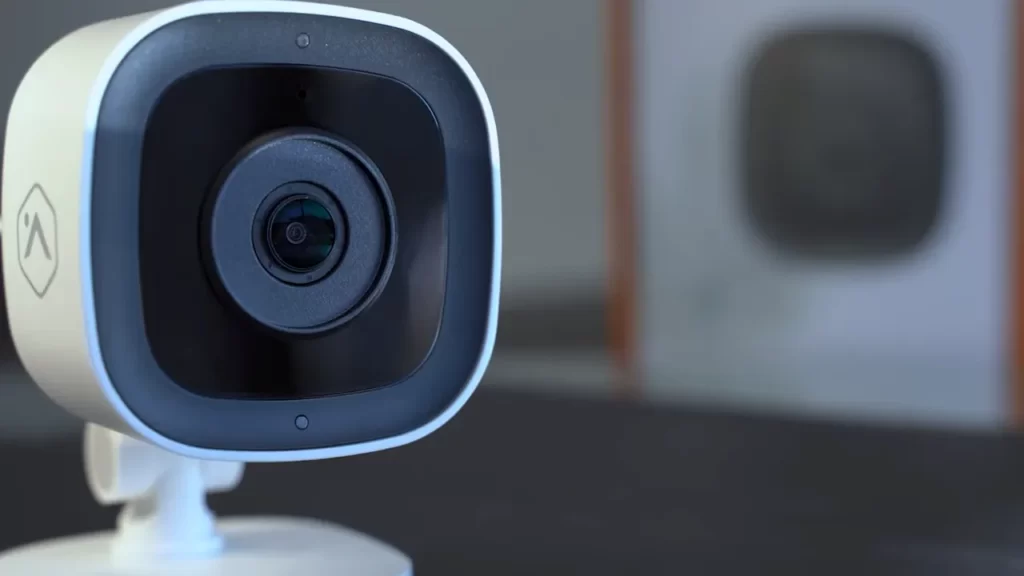
Installing a security camera is an important step towards safeguarding your property. With ADT cameras, you can effectively monitor your home or business premises and receive alerts in case of any suspicious activity. To ensure you get the most out of your ADT camera, proper installation is essential. In this guide, we will take you through the process of mounting and installing the ADT camera step-by-step. By following these instructions, you’ll be able to set up your camera quickly and easily.
Step 1: Determining the optimal mounting height
The first step in installing your ADT camera is to determine the optimal mounting height. This is crucial as it will determine the camera’s field of view and overall effectiveness. Generally, it is recommended to mount the camera at a height of 8-10 feet for best results. At this height, the camera can capture a wide area while still providing clear and detailed footage. Keep in mind that the optimal mounting height may vary depending on the specific camera model and area you wish to monitor.
Step 2: Preparing the mounting surface

Once you have determined the ideal mounting height, it’s time to prepare the surface where you will be attaching the camera. Make sure the surface is clean, dry, and sturdy enough to hold the camera securely. If you plan to mount the camera outdoors, consider using weather-resistant mounting materials to protect it from the elements.
Step 3: Attaching the camera bracket
Before attaching the camera bracket, ensure that you have read the camera’s manual and familiarized yourself with the specific installation instructions provided by ADT. Follow the instructions carefully to avoid any damage to the camera or bracket. Once you have attached the bracket securely, ensure that it is level and properly aligned.
Step 4: Running the necessary cables
Next, you will need to run the necessary cables to connect the camera to your recording device or monitor. Carefully plan the cable route to ensure a neat and organized installation. Concealing the cables within walls or using cable conduits can help improve the aesthetics of your installation. Additionally, make sure to leave some slack in the cables to allow for adjustments or maintenance in the future.
Step 5: Connecting the camera to a power source
Now, it’s time to connect the camera to a power source. Depending on your camera model, you may need to use a power adapter or PoE (Power over Ethernet) injector. Follow the camera’s manual to correctly connect it to the power source. Ensure that the power source is reliable and stable to ensure uninterrupted operation of the camera.
Step 6: Adjusting the camera position
With the camera mounted and powered on, it’s essential to adjust its position to achieve the desired field of view. Use the camera’s pan, tilt, and zoom capabilities to optimize its viewing angle. Pay attention to any potential obstructions or blind spots that might hinder the camera’s effectiveness.
Step 7: Testing the camera for proper functionality
Once the camera is installed and positioned correctly, it’s crucial to test its functionality before finalizing the installation. Use the camera’s setup interface or software to ensure it is capturing and transmitting video properly. Check the camera’s image quality, adjust any necessary settings, and confirm that all connections are secure. Perform a thorough test to ensure the camera is functioning as expected.
By following these step-by-step instructions, you can easily mount and install an ADT camera for effective surveillance. Remember to carefully read the camera’s manual and adhere to the manufacturer’s specific guidelines throughout the installation process. Taking the time to properly install your ADT camera will ensure optimal performance and peace of mind when it comes to protecting your property.
Configuring The Adt Camera Settings
Configuring the settings of your ADT camera is an essential step to ensure optimal performance and customized usage. By accessing the camera settings interface, you can adjust various parameters such as network connection, video quality, motion detection, night vision, and remote access. In this section, we will guide you through the step-by-step process of configuring these settings for your ADT camera.
Step 1: Accessing the camera settings interface
To start configuring your ADT camera, you need to access the camera settings interface. Follow these steps:
- Make sure you are connected to the same network as your ADT camera.
- Open a web browser on your computer or mobile device.
- Enter the IP address of your ADT camera in the address bar of the browser.
- Press Enter to load the camera login page.
- Enter your login credentials (username and password) to access the camera settings interface.
Step 2: Setting up the network connection
Configuring the network connection of your ADT camera is crucial for seamless and reliable remote access. Follow these steps:
- In the camera settings interface, navigate to the Network or Connectivity section.
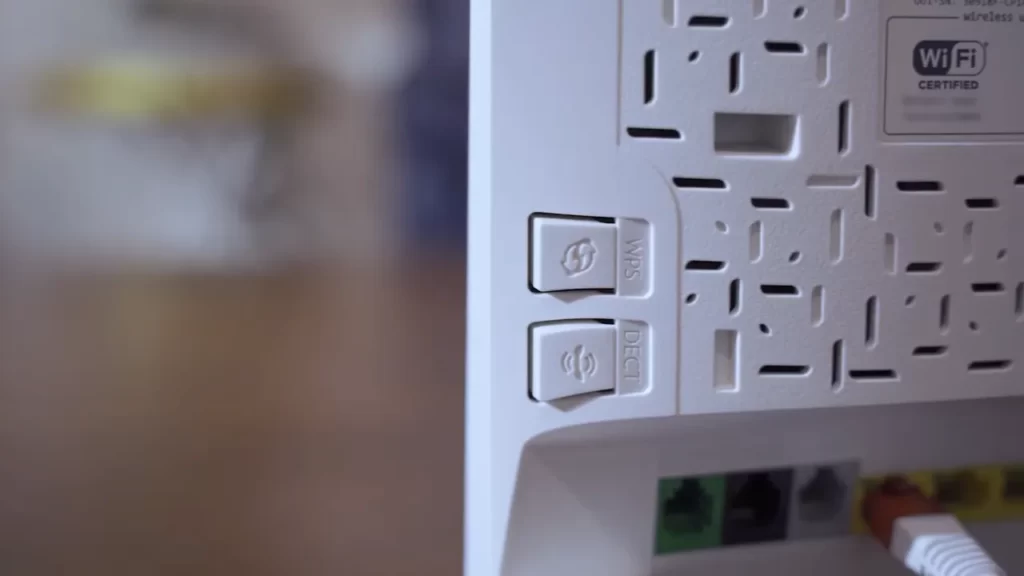
- Choose the appropriate network connection method, such as Wi-Fi or Ethernet.
- Enter the network credentials, such as SSID and password, if using Wi-Fi.
- Save the changes and wait for the camera to reconnect to the network.
Step 3: Adjusting video quality and resolution
Fine-tuning the video quality and resolution of your ADT camera ensures clear and detailed footage. Follow these steps:
- In the camera settings interface, navigate to the Video or Image section.
- Choose your desired video quality and resolution settings.
- Consider factors such as available bandwidth and storage capacity when selecting the settings.
- Save the changes to apply the new video quality and resolution settings.
Step 4: Configuring motion detection and alerts
Setting up motion detection and alerts enables your ADT camera to notify you of any detected movements or activities. Follow these steps:
- In the camera settings interface, navigate to the Motion Detection or Alerts section.
- Enable the motion detection feature.
- Adjust the sensitivity and detection area according to your preferences.
- Configure the alerts to be sent to your email or mobile device.
- Save the changes to activate the motion detection and alerts.
Step 5: Enabling night vision mode
Activating the night vision mode of your ADT camera ensures visibility in low-light or dark environments. Follow these steps:
- In the camera settings interface, navigate to the Night Vision or IR (Infrared) section.
- Enable the night vision mode.
- Adjust the infrared sensitivity or other related settings if available.
- Save the changes to activate the night vision mode.
Step 6: Setting up remote access
Enabling remote access allows you to view your ADT camera’s live feed and recordings from anywhere. Follow these steps:
- In the camera settings interface, navigate to the Remote Access or Cloud section.
- Enable the remote access feature.
- Configure the necessary settings, such as creating an account or linking the camera to a cloud storage service.
- Safeguard your remote access with a strong password and other security measures.
- Save the changes to enable remote access to your ADT camera.
By following these step-by-step instructions, you can effectively configure the settings of your ADT camera. Make sure to save any changes you make to ensure they are applied. Take advantage of the various customization options available to tailor the camera’s performance to your specific needs.
Troubleshooting And Maintenance Tips
Common issues and how to resolve them
While installing an ADT camera, you may come across some common issues that can hinder the setup process. Here are a few common problems and their solutions:
- Connection issues: If you’re experiencing connectivity problems with your ADT camera, first ensure that your Wi-Fi network is working properly. Check if other devices are connected to the internet. If the issue persists, try restarting your router. You can also try resetting the camera and reconnecting it to your network. Make sure you’re entering the correct Wi-Fi password during the setup process.
- Image quality problems: If you’re not happy with the image quality of your ADT camera, ensure that the lens is clean and free from any smudges or dirt. Adjust the position of the camera to get a better view. If the issue persists, check your camera settings and make sure they are optimized for the best image quality. Additionally, make sure the camera is not positioned to capture direct sunlight or any other source of glare.
- Camera not detecting motion: If your ADT camera is not detecting motion as expected, first check the camera’s sensitivity settings. Make sure they are set to an appropriate level. If the issue persists, check the camera’s mounting position. Ensure that there are no obstructions in the camera’s field of view. You can also try resetting the camera to its factory settings and reconfiguring the motion detection settings.
Regular maintenance tasks to ensure optimal camera performance
Maintaining your ADT camera is crucial to ensure its optimal performance and longevity. Here are some regular maintenance tasks you should perform:
- Keep the lens clean: Regularly clean the camera lens using a soft cloth to remove any dust or smudges. This will help ensure clear and crisp video footage.
- Check for firmware updates: Periodically check for firmware updates for your ADT camera. These updates often include bug fixes, performance improvements, and new features. Update your camera’s firmware to take advantage of these enhancements.
- Test camera functionality: Perform periodic tests to ensure that your ADT camera is functioning properly. Check the video feed, motion detection, and any other features to make sure they are working as expected. If you notice any issues, refer to the troubleshooting tips mentioned earlier.
Frequently Asked Questions For How To Install Adt Camera
Can I Install My Own Adt Cameras?
Yes, you can install your own ADT cameras. Ensure you carefully follow the provided guidelines to do it correctly.
How Do I Add An Adt Camera To My Existing System?
To add an ADT camera to your existing system, you need to follow these steps: 1. Log in to your ADT Pulse app. 2. Tap on the camera tab. 3. Select the “Add Camera” option. 4. Follow the on-screen prompts to complete the installation process.
5. Once the camera is added, you can view and manage it through the app.
How Do I Connect My Adt Camera To Wi-Fi?
To connect your ADT camera to Wi-Fi, follow these simple steps: 1. Open the ADT camera app on your device. 2. Go to the settings menu and select “Wi-Fi settings. ” 3. Choose your Wi-Fi network from the available options.
4. Enter the Wi-Fi password and confirm. 5. Wait for the camera to connect to Wi-Fi, and you’re done!
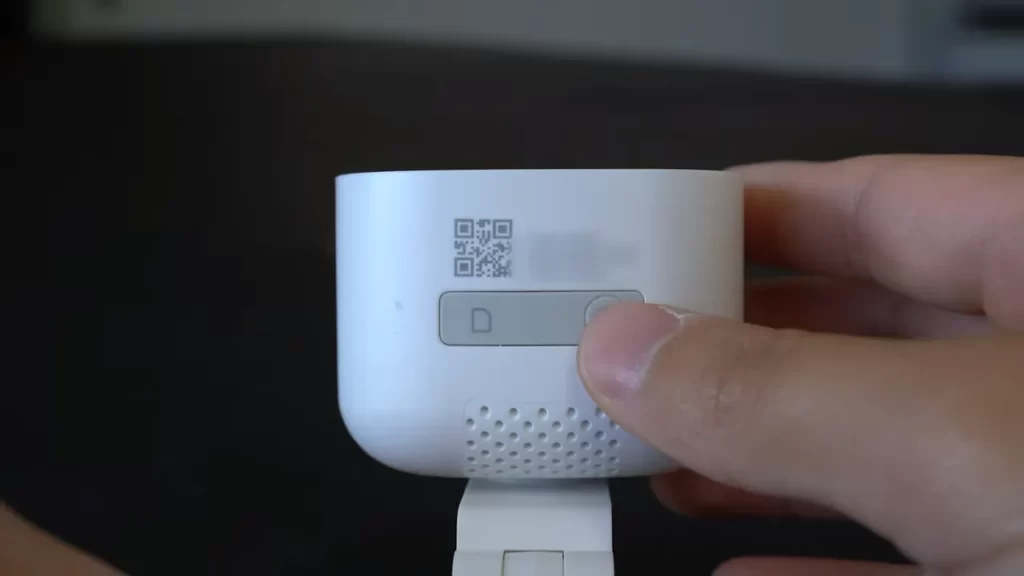
How Do I Set Up My Adt Indoor Camera?
To set up your ADT indoor camera, follow these simple steps: 1. Start by placing the camera in the desired location. 2. Connect the camera to a power source. 3. Download the ADT mobile app and create an account. 4. Follow the on-screen instructions to pair the camera with your account.
5. Customize your camera settings according to your preferences. That’s it! Your ADT indoor camera is now set up and ready to use.
How Do I Install The Adt Camera?
To install the ADT camera, first, locate a suitable spot near a power source and a stable surface. Then, follow the manufacturer’s instructions to mount and connect the camera to your Wi-Fi network.
Conclusion
Installing an ADT camera is a simple and effective way to enhance the security of your home or office. By following the step-by-step instructions in this guide, you can successfully set up your camera and start monitoring your property in no time.
Remember to position the camera strategically, connect it to a reliable power source, and configure it using the ADT app. With an ADT camera in place, you can enjoy peace of mind knowing that your premises are under constant surveillance.
Safeguard your surroundings with ADT today!