To install Arlo Essential Spotlight Camera, follow the step-by-step instructions provided in the user manual or consult Arlo’s official website for detailed guidance and video tutorials. Arlo Essential Spotlight Camera is a reliable and feature-rich security device that ensures optimal protection for your home or business premises.
With its easy installation process, you can quickly set up and start monitoring your property in no time. We will provide you with a comprehensive guide on how to install the Arlo Essential Spotlight Camera, allowing you to enjoy its advanced features and enhance the security of your property efficiently.
Read on to learn more about the installation process and essential tips for a successful setup.
Setting Up Your Arlo Essential Spotlight Camera
Installing the Arlo Essential Spotlight Camera is a crucial step in ensuring the security of your home or business. With its advanced features and easy setup process, you can have peace of mind knowing that your property is protected. In this guide, we will walk you through the necessary steps to get your camera up and running efficiently.
Gathering the necessary equipment
Before you start the installation process, make sure you have all the necessary equipment ready. This will save you time and prevent any interruptions during the setup. Here’s what you’ll need:
- An Arlo Essential Spotlight Camera
- A smartphone or tablet with the Arlo app installed
- A stable Wi-Fi network connection
- The camera’s power adapter and cable
- Screws and anchors for mounting the camera
- A screwdriver
Choosing the right location for installation
Deciding where to install your Arlo Essential Spotlight Camera is crucial for optimal performance. Here are a few things to consider when choosing the location:
- Place the camera in an area that provides a clear view of the intended monitoring area
- Ensure the camera is within reach of a power outlet
- Avoid installing the camera in direct sunlight or areas with excessive heat
- Make sure the camera is positioned at a suitable height to capture the desired view
- Consider any potential obstacles or obstructions that may interfere with the camera’s field of view
Preparing the camera for installation
Before mounting the camera, there are a few essential steps you need to take:
- Ensure the camera is fully charged or connected to a power source
- Download the Arlo app from the App Store or Google Play Store and create an account if you haven’t already
- Follow the app’s instructions to add your camera to your account
- Connect the camera to your Wi-Fi network using the app
Once you have completed these steps, you are now ready to mount your Arlo Essential Spotlight Camera in your chosen location. Make sure to follow the manufacturer’s instructions for securing the camera with screws and anchors.
By setting up your Arlo Essential Spotlight Camera correctly, you can ensure reliable surveillance and protect your property from unwanted incidents. Now that you have successfully completed the installation process, you can enjoy the peace of mind that comes with enhanced security.
Mounting Your Arlo Essential Spotlight Camera
Mounting your Arlo Essential Spotlight Camera is a crucial step to ensure optimal placement and performance of your security device. In this guide, we will explore the various mounting methods available for your Arlo Essential Spotlight Camera, including installing the camera using screws and utilizing the magnetic mount option.
Selecting the Mounting Method
Before you begin the installation process, it’s essential to determine which mounting method is most suitable for your needs. Arlo provides two primary options: installing the camera using screws or using the magnetic mount. Each method has its advantages, so consider the following factors:
- The surface you plan to mount the camera on
- The desired viewing angle and range
- Accessibility for battery replacement
Installing the Camera Using Screws
If you prefer a more permanent and secure installation, using screws is the recommended method. Follow these steps to mount your Arlo Essential Spotlight Camera using screws:
- Choose a suitable location for your camera, ensuring it offers an optimal view of the area you want to monitor.
- Hold the camera mount against the desired surface and mark the spots where you will insert the screws.
- Drill pilot holes on the marked spots to make the installation easier.
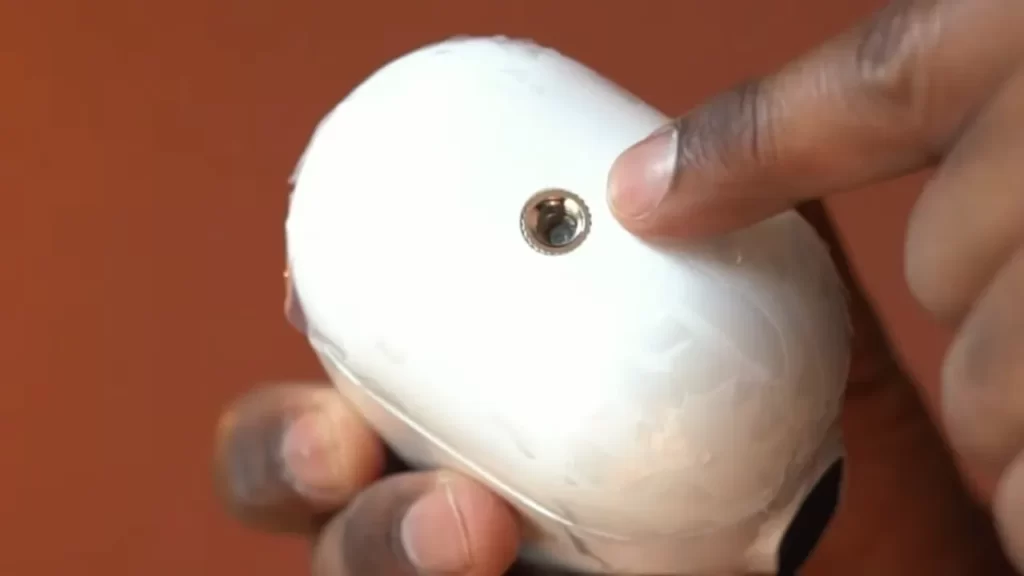
- Line up the camera mount with the pilot holes and attach it using the provided screws.
- Once the mount is securely in place, attach your Arlo Essential Spotlight Camera to the mount by aligning it with the mounting plate and sliding it into position.
- Ensure the camera is firmly attached and facing the desired direction. You can adjust the angle by manually rotating the camera on the mount.
- Finally, tighten any screws or fasteners to make sure the camera remains securely mounted.
Using the Magnetic Mount Option
If you prefer a more flexible and portable installation, the magnetic mount option is an excellent choice. Follow these steps to mount your Arlo Essential Spotlight Camera using the magnetic mount:
- Select a suitable metal surface for the magnetic mount. It should be flat, clean, and capable of securely holding the camera.
- Detach the magnetic mount from the camera by gently sliding it upwards.
- Position the magnetic mount against the chosen metal surface, ensuring it firmly adheres.
- Reattach the camera to the magnetic mount by aligning it with the mounting plate and sliding it downward.
- Verify that the camera is securely attached and appropriately positioned for optimal coverage.
It’s important to note that the magnetic mount may not be suitable for all applications, especially if you require a fixed or elevated positioning of your Arlo Essential Spotlight Camera. Assess your specific needs before opting for the magnetic mount option.
Connecting Your Arlo Essential Spotlight Camera
Installing the Arlo Essential Spotlight Camera is a breeze, and in this guide, we will take you through the process step by step. Connecting your camera involves three main steps: powering the camera, syncing it with the Arlo app, and configuring the camera settings. Follow the instructions below to get your Arlo Essential Spotlight Camera up and running in no time.
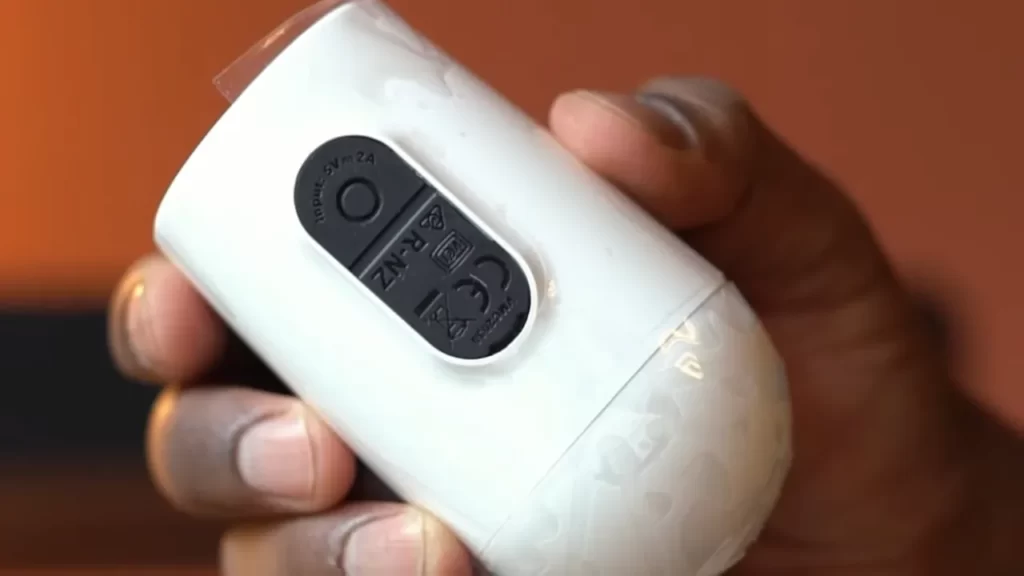
1. Powering the camera
To power your Arlo Essential Spotlight Camera, you will need to connect it to a power source. Here’s how to do it:
- Locate a suitable power outlet near the installation area of your camera.
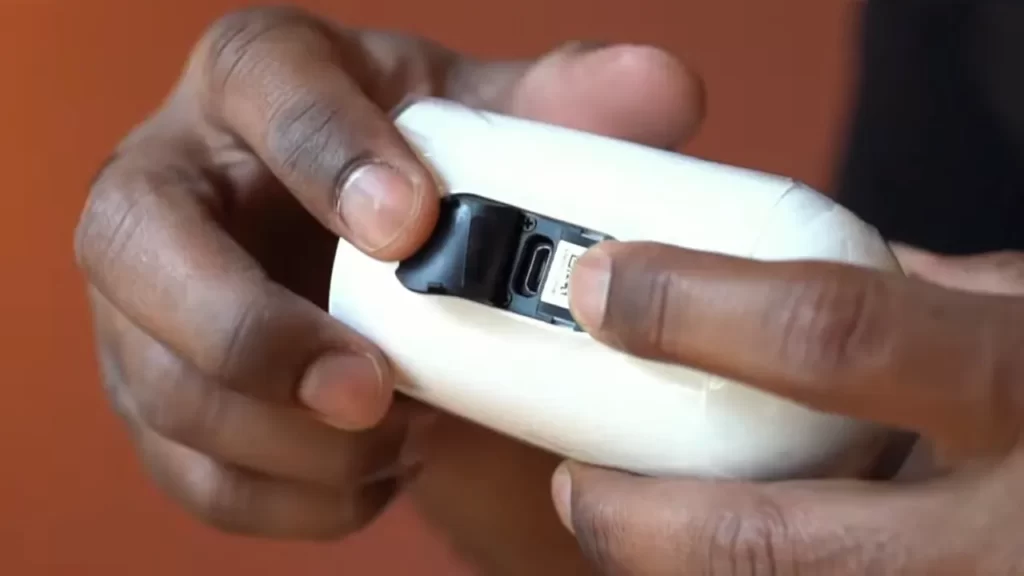
- Connect the included power adapter to the camera’s power port.
- Plug the power adapter into the power outlet.
Once you have completed these steps, your camera will start receiving power.
2. Syncing the camera with the Arlo app
The next step is to sync your Arlo Essential Spotlight Camera with the Arlo app on your smartphone or tablet. Follow these instructions:
- Download and install the Arlo app from the App Store or Google Play Store.
- Open the Arlo app and sign in to your Arlo account. If you don’t have an account, create one.
- Tap on the “+” symbol to add a new device.
- Select “Camera” from the list of device options.
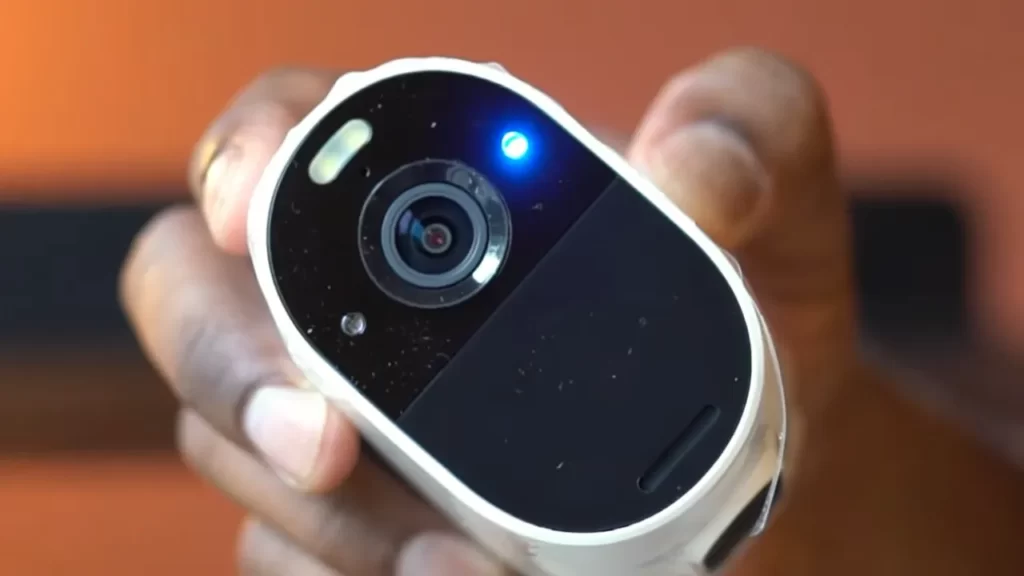
- Follow the on-screen instructions to scan the QR code on the back of your camera.
- Wait for the app to detect and connect to your camera.
Once the syncing process is complete, you will be able to manage and monitor your Arlo Essential Spotlight Camera from the Arlo app.
3. Configuring your camera settings
Now that your camera is powered and synced with the Arlo app, it’s time to configure its settings to fit your needs. Here are the steps to follow:
- Open the Arlo app and select your camera from the device list.
- Navigate to the camera settings menu.
- Adjust the settings according to your preferences. This may include setting up motion detection, adjusting video quality, enabling night vision, and more.
- Don’t forget to save your changes.
By configuring your camera settings, you can ensure that it provides the best surveillance for your specific requirements.
Congratulations! You have successfully connected your Arlo Essential Spotlight Camera. Now you can enjoy the peace of mind that comes with a reliable and high-performance security camera.
Adjusting Camera Settings And Preferences
Once you have successfully installed your Arlo Essential Spotlight Camera, it’s time to adjust the camera settings and preferences to optimize its performance. Customizing motion detection settings, setting up activity zones, and enabling notifications are essential steps to ensure that your camera captures the necessary footage and alerts you when needed. In this section, we will guide you through each of these settings, allowing you to fully utilize the capabilities of your Arlo Essential Spotlight Camera.
Customizing motion detection settings
Customizing the motion detection settings of your Arlo Essential Spotlight Camera allows you to fine-tune its sensitivity and behavior. By default, the camera is set to a standard sensitivity level, but you can adjust it based on your specific needs. To customize the motion detection settings:
- Access the Arlo app on your smartphone or tablet.
- Select the camera you want to adjust the settings for.
- Navigate to the “Settings” option.
- Choose “Motion Detection”.
- From here, you can adjust the sensitivity level using a slider. Move it to the left to decrease sensitivity or to the right to increase it.
- Once you have made your desired adjustments, remember to save the changes.
Setting up activity zones
Activity zones help you focus your Arlo Essential Spotlight Camera’s attention on specific areas, reducing potential false alarms triggered by irrelevant motion. To set up activity zones:
- Open the Arlo app on your mobile device.
- Select the camera you want to configure.
- Tap on “Settings”.
- Choose “Activity Zones”.
- From here, you can create a new activity zone by selecting the desired area and adjusting its size and shape using your fingertips.
- Alternatively, you can edit existing activity zones or delete them if necessary.
- Remember to save your changes once you are satisfied with the activity zones you have set.
Enabling and configuring notifications
Enabling notifications ensures that you receive alerts whenever there’s activity detected by your Arlo Essential Spotlight Camera. To enable and configure notifications:
- Launch the Arlo app on your smartphone or tablet.
- Select the camera you want to adjust notification settings for.
- Navigate to the “Settings” section.
- Choose “Notifications”.
- Toggle the switch next to “Push Notifications” to enable them.
- Further customize your notification preferences based on your requirements, such as enabling sound or adjusting the notification frequency.
- Save your changes to activate the new notification settings.
By following these simple steps, you can customize the motion detection settings, set up activity zones, and enable accurate notifications on your Arlo Essential Spotlight Camera. Taking the time to adjust these settings and preferences will ensure that your camera captures the footage you need, allowing you to have peace of mind and enhanced security.
Troubleshooting Common Installation Issues
Installing the Arlo Essential Spotlight Camera is usually a straightforward process. However, there may be situations where you encounter some common installation issues. In this section, we will discuss troubleshooting tips to help you resolve these problems quickly and effectively.
Camera not connecting to the app
If you’re having trouble connecting your Arlo Essential Spotlight Camera to the app, there are a few things you can try:
- Ensure that your camera is within range of your Wi-Fi network. A weak signal may cause connection issues. Try bringing the camera closer to the router or using a Wi-Fi extender.
- Check that your Wi-Fi network is working properly. Verify that other devices can connect to the network without any problems.
- Make sure you’re using the correct app and that it’s up to date. Check the app store for any available updates.
- Restart both your camera and the app. Sometimes a simple restart can resolve connectivity issues.
- If none of the above steps work, you may want to reset your camera and set it up again from scratch. Refer to the instruction manual for more information on how to perform a factory reset.
Poor video quality or connectivity
If you’re experiencing poor video quality or intermittent connectivity with your Arlo Essential Spotlight Camera, consider the following solutions:
- Ensure that your camera is within range of your Wi-Fi network.
- Check for any physical obstructions that may be blocking the signal. This could include walls, furniture, or other objects that interfere with the Wi-Fi signal.
- Make sure that your camera is positioned correctly. Adjust the angle or height of the camera to improve the video quality and connectivity.
- Verify that your internet connection is stable and provides sufficient bandwidth for high-quality video streaming.
- If you have multiple cameras, ensure that they are not overwhelming your network. Consider reducing the number of devices connected at the same time.
- If the problem persists, you can try changing the Wi-Fi channel on your router. This can help reduce interference from other devices in your vicinity.
Dealing with false motion alerts
False motion alerts can be frustrating, but there are a few ways to address this issue:
- Adjust the sensitivity settings in the app. Sometimes, certain environmental factors such as trees or passing cars can trigger unnecessary alerts. Experiment with different sensitivity levels to find the optimal setting for your needs.
- Ensure that the camera is positioned correctly. Refrain from pointing the camera towards areas with high foot traffic or moving objects that may trigger false alerts.
- Consider creating custom activity zones to limit the areas where motion detection is enabled. This can help reduce false alerts caused by irrelevant activities outside the desired monitoring zone.
- Regularly clean the camera lens to prevent false alerts triggered by dirt, dust, or cobwebs.
- If the issue persists, it may be worth contacting Arlo support for further assistance. They can provide additional troubleshooting steps or advise on potential hardware issues that may be causing the problem.
By following these troubleshooting tips, you can overcome common installation issues and ensure smooth operation of your Arlo Essential Spotlight Camera. Now that you’re equipped with the knowledge to tackle these challenges, you can enjoy the peace of mind that comes with a properly functioning security camera system.
Maintaining And Managing Your Arlo Essential Spotlight Camera
Maintaining and managing your Arlo Essential Spotlight Camera is crucial to ensure its optimal performance and longevity. In this section, we will discuss important aspects such as cleaning and maintaining the camera, updating firmware and software, and managing camera settings and preferences. By following these steps, you can ensure that your Arlo Essential Spotlight Camera continues to provide you with the best possible surveillance and security.
Cleaning and maintaining the camera
Regular cleaning and maintenance of your Arlo Essential Spotlight Camera is essential for its proper functioning and longevity. Here are some tips to keep your camera in top shape:
- Use a soft, lint-free cloth to gently clean the camera lens and body. Avoid using abrasive materials or cleaning agents that could damage the camera.
- Regularly remove any dust or debris that may accumulate around the camera lens or ports. This can be done using a can of compressed air or a small brush.
- Check the camera housing for any signs of damage or wear. If you notice any cracks or other issues, contact Arlo customer support for further assistance.
- Ensure that the camera is installed in a location protected from extreme weather conditions. If necessary, use a weatherproof housing or cover to shield the camera from rain, snow, or direct sunlight.
Updating firmware and software
Regularly updating the firmware and software of your Arlo Essential Spotlight Camera is important to ensure that you have access to the latest features and security enhancements. Here’s how you can update your camera:
- Open the Arlo app on your smartphone or tablet.
- Navigate to the “Settings” menu and select “My Devices”.
- Find your Arlo Essential Spotlight Camera in the list of devices and tap on it to access its settings.
- Look for the “Firmware” or “Software Update” option and tap on it.
- If an update is available, follow the on-screen instructions to download and install it.
- Once the update is complete, restart your camera to apply the changes.
- Remember to check for updates regularly to ensure that your camera stays up to date.
Managing camera settings and preferences
Managing the settings and preferences of your Arlo Essential Spotlight Camera allows you to customize its functionality to suit your specific needs. Here are some key settings you can adjust:
| Setting | Description |
|---|---|
| Motion Detection | Adjust the sensitivity and range of the camera’s motion detection feature to reduce false alerts or capture important events. |
| Video Quality | Choose the desired video quality for your camera’s recordings. Higher quality videos may require more storage space. |
| Notification Settings | Customize the types of notifications you receive, such as motion alerts or low battery notifications. |
| Storage Options | Manage your camera’s storage options, including saving video recordings to the cloud or local storage devices. |
By managing these settings and preferences, you can maximize the efficiency and effectiveness of your Arlo Essential Spotlight Camera.
Expanding Your Arlo Security System
Adding additional cameras to your system
If you’re looking to expand your Arlo security system, adding additional cameras is a straightforward process. The Arlo Essential Spotlight Camera is a great option to consider, thanks to its advanced features and easy installation. With this camera, you can further enhance the security of your property and enjoy peace of mind knowing that every corner is covered.
To add additional cameras to your Arlo security system, simply follow these steps:
- Ensure that you have an existing Arlo security system set up with a base station. The base station is the central hub that communicates with all your Arlo cameras and other devices.
- Power on your new Arlo Essential Spotlight Camera by inserting the batteries or connecting it to a power source.
- Position the camera in the desired location. The Arlo Essential Spotlight Camera is designed to be versatile and can be easily mounted on walls, ceilings, or any flat surface using the included mounting bracket and screws.
- Sync the new camera with your Arlo base station by following the instructions provided in the Arlo app. This usually involves pressing a sync button on the camera and the base station to establish a connection.
- Once the camera is successfully synced, it will automatically appear in your Arlo app, where you can rename it and customize its settings according to your preferences.
- Repeat these steps for each additional camera you want to add to your Arlo security system.
By expanding your Arlo security system with additional cameras, you can effectively cover multiple areas of your property, deter intruders, and keep a close eye on any suspicious activity.
Integrating other Arlo devices and accessories
One of the greatest advantages of the Arlo ecosystem is its compatibility with a wide range of devices and accessories. By integrating other Arlo products into your security system, you can enhance its capabilities and tailor it to your specific needs.
Here are some Arlo devices and accessories you can consider integrating with your Arlo security system:
- Arlo SmartHub: The Arlo SmartHub acts as the central hub for your Arlo devices and provides a more stable and extended range connectivity.
- Arlo Audio Doorbell: The Arlo Audio Doorbell allows you to answer your door remotely and communicate with visitors using your smartphone or Arlo app.
- Arlo Pro Solar Panel: The Arlo Pro Solar Panel is a convenient accessory that allows you to charge your Arlo cameras using solar power, reducing the need for manual battery replacements.
- Arlo Chime: The Arlo Chime is a plug-in speaker that can be placed anywhere in your home to receive audible notifications whenever someone presses the Arlo Audio Doorbell.
By integrating these devices and accessories, you can create a comprehensive and interconnected Arlo security system that offers a seamless experience and maximizes the effectiveness of your surveillance efforts.
Maximizing the benefits of a comprehensive Arlo security system
A comprehensive Arlo security system offers numerous benefits beyond just monitoring and deterring potential intruders. To fully maximize the benefits of your Arlo system, consider the following tips:
- Position your cameras strategically to cover all vulnerable areas and potential points of entry.
- Customize your camera settings to enable features such as motion detection, night vision, and scheduled recording.
- Regularly check and clean the camera lenses to ensure optimal image quality.
- Take advantage of Arlo’s cloud storage options to securely store and access recorded footage.
- Keep your Arlo app up to date to take advantage of the latest features and security enhancements.
- Consider investing in additional Arlo accessories, such as outdoor mounts or skins, to further protect your cameras from the elements.
By following these tips and making the most of your Arlo security system, you can enjoy enhanced home security and peace of mind knowing that you have taken proactive measures to protect your property and loved ones.
Frequently Asked Questions Of How To Install Arlo Essential Spotlight Camera
How Do I Install Arlo Essential Spotlight?
To install the Arlo Essential Spotlight, follow these steps: 1. Start by downloading the Arlo app on your mobile device. 2. Create an Arlo account or log in to an existing one. 3. Set up the Arlo Essential Spotlight camera using the app’s instructions.
4. Mount the camera in the desired location. 5. Connect the camera to your Wi-Fi network for it to function.
How Do I Connect My Arlo Essential Camera?
To connect your Arlo essential camera, follow these simple steps: 1. Download the Arlo app on your smartphone. 2. Create an Arlo account or sign in to your existing one. 3. Tap the “Add Device” option and select the Arlo essential camera.
4. Follow the on-screen instructions to connect the camera to your Wi-Fi network. 5. Once connected, you’re all set to enjoy the benefits of your Arlo essential camera.
Do I Need A Hub For My Arlo Essential Spotlight Camera?
Yes, you need a hub for your Arlo essential spotlight camera. The hub acts as the central point for connecting and managing your camera.
Why Won T My Arlo Essential Spotlight Camera Connect?
Your Arlo Essential Spotlight camera may not connect due to several reasons, such as a weak Wi-Fi signal, incorrect login credentials, or device compatibility issues. Double-check your Wi-Fi strength, verify your login details, and ensure your camera is compatible with your network setup for a seamless connection experience.
How Do I Connect My Arlo Essential Spotlight Camera To Wi-Fi?
To connect your Arlo Essential Spotlight Camera to Wi-Fi, simply follow the step-by-step instructions provided in the camera’s user manual or Arlo app.
Conclusion
Installing the Arlo Essential Spotlight Camera is a straightforward process that anyone can follow. By carefully following the step-by-step instructions provided in this guide, you can have your camera up and running in no time. Remember to position your camera strategically, ensure a stable internet connection, and familiarize yourself with the Arlo app for seamless monitoring of your property.
With the Arlo Essential Spotlight Camera, keeping your home safe and secure has never been easier. So why wait? Get started on installing your Arlo Essential Spotlight Camera today.