nstall the Blink Indoor Camera by first downloading and launching the Blink Home Monitor app, then following the step-by-step instructions provided. Looking to enhance the security of your indoor space?
The Blink Indoor Camera offers a simple and effective solution. With its easy installation process, you can have your camera up and running in no time. By following this guide, you will learn how to install the Blink Indoor Camera using the Blink Home Monitor app.
Whether you are a tech-savvy individual or a beginner, this guide will walk you through the process seamlessly. So, let’s get started and ensure the safety of your indoor environment with the Blink Indoor Camera.
Preparing For Installation
Preparing for Installation
Checking the Package Contents
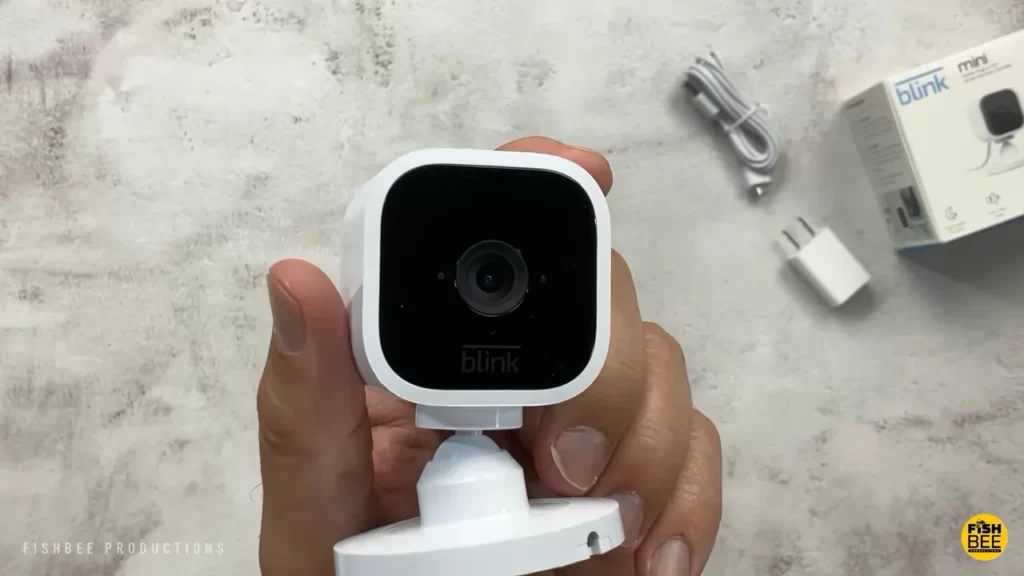
Before diving into the installation process of your Blink Indoor Camera, it’s crucial to make sure you have all the necessary items from the package. Having a quick glance through the package contents helps avoid unnecessary setbacks during the installation.
Here’s a breakdown of what you should find in the package:
| Package Contents |
|---|
| Blink Indoor Camera |
| Mounting Bracket |
| Camera Sync Module |
| USB Cable |
| Power Adapter |
| AA Lithium Batteries (if applicable) |
Ensure that each item listed above is present in the box. In case anything is missing, contact Blink customer support for assistance.
Understanding the Camera Features
Before installation, it is essential to understand the features of your Blink Indoor Camera to maximize its potential. Familiarize yourself with the various components of the camera and their functionalities to ensure a smooth installation process.
Here are a few key features you should be aware of:
- Live View: With live view, you can monitor activities and view real-time video footage from your Blink Indoor Camera through the Blink app.
- Motion Detection: The camera’s motion detection feature helps alert you whenever any movement is detected within its range.
- Wireless Connectivity: The Blink Indoor Camera operates wirelessly, allowing you to place it in any suitable location within your home.
- Cloud Storage: Consider subscribing to Blink’s cloud storage plan to securely save and access recorded videos.
Understanding these features will enable you to make the most of your Blink Indoor Camera once it’s successfully installed.
Now that you have checked the package contents and gained an understanding of the camera’s features, you’re all set to move on to the next phase of installation.
Setting Up The Blink Indoor Camera
Installing a Blink Indoor Camera is a simple and straightforward process that allows you to monitor your home or office with ease. In this guide, we will take you through each step of setting up your Blink Indoor Camera so that you can start enjoying the benefits of this innovative security system.
Connecting the sync module
The first step in setting up your Blink Indoor Camera is to connect the sync module to your Wi-Fi network. The sync module acts as the central hub for all your Blink cameras, allowing you to control and monitor them from a single device. To connect the sync module, follow these steps:
- Locate an outlet near your Wi-Fi router and plug in the sync module.
- Ensure that your Wi-Fi router is turned on and working properly.
- Open the Blink app on your smartphone or tablet.
- Navigate to the “Add a Blink System” option in the app.
- Follow the on-screen instructions to connect the sync module to your Wi-Fi network.
Once the sync module is successfully connected, you can proceed to the next step of syncing your Blink Indoor Camera.
Syncing the camera to the module
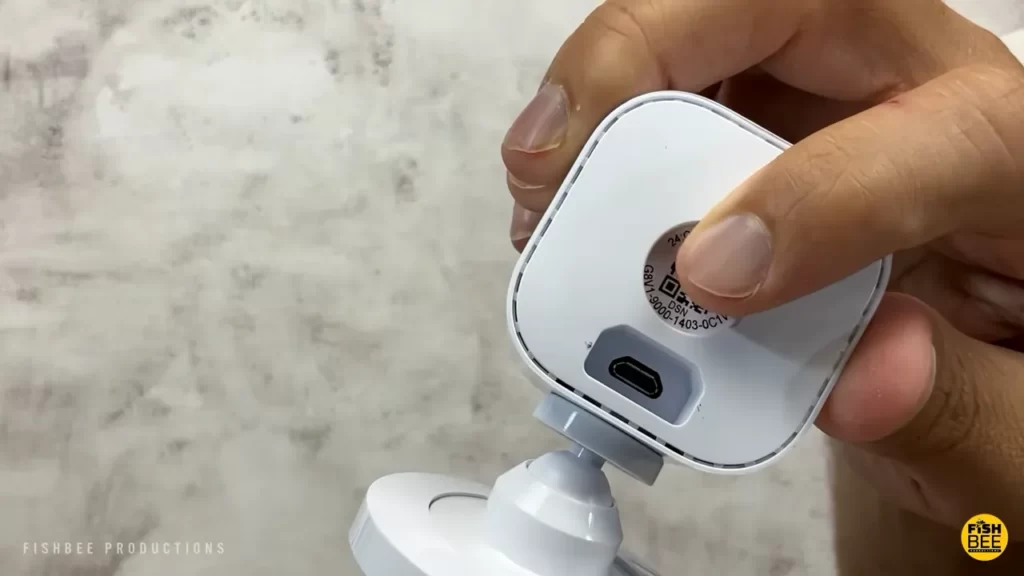
Now that your sync module is connected to your Wi-Fi network, it’s time to sync your Blink Indoor Camera to the module. This will allow the camera to communicate with the sync module and transmit the captured footage to your device. To sync the camera, follow these steps:
- Ensure that the camera is within range of the sync module, typically within 100 feet.
- Open the Blink app on your smartphone or tablet.
- Navigate to the “Add a Blink System” option in the app.
- Press the sync button on the sync module.
- Press the sync button on the bottom of the camera.
- Wait for the camera to appear in the app, indicating a successful sync.
Once the camera is successfully synced to the sync module, you can place it in the desired location and start enjoying the peace of mind that comes with having a Blink Indoor Camera.
With the sync module connected and the camera synced, you are now ready to explore the various features and settings offered by the Blink Indoor Camera. Whether you’re interested in motion detection, live viewing, or scheduled recording, the Blink app allows you to customize and control your camera to suit your specific needs.
Ensure that you follow the manufacturer’s instructions carefully throughout the setup process to ensure the best results. By following these steps, you’ll have your Blink Indoor Camera up and running in no time!
Positioning The Camera
Properly positioning your Blink Indoor Camera is crucial for ensuring optimal performance and maximizing your home security. By strategically placing the camera, you can have a clear view of the desired area and deter any potential intruders. In this article, we will guide you through the process of positioning your Blink Indoor Camera effectively.
Choosing the optimal location
When it comes to positioning your Blink Indoor Camera, it is essential to select the optimal location where it can capture the desired area with sufficient clarity. Here are a few factors to consider:
- Identify the area you want to monitor: Before installing the camera, carefully assess the area you want to monitor. This can be the entrance, hallway, living room, or any other space where you want to keep an eye on activities.
- Ensure unobstructed view: Make sure there are no objects obstructing the camera’s field of view. Point the camera away from walls, furniture, or any other obstacles that could hinder its visibility.
- Consider lighting conditions: Proper lighting is crucial for clear video footage. If the area tends to be dark, ensure there is adequate lighting or consider investing in a separate light source to enhance visibility.
Mounting the camera securely
Mounting your Blink Indoor Camera securely is vital to prevent it from falling or being tampered with. Here are some important steps to follow:
- Choose the appropriate mounting surface: Select a sturdy surface such as a wall or ceiling where the camera can be securely attached. Avoid mounting it on unstable or weak surfaces.
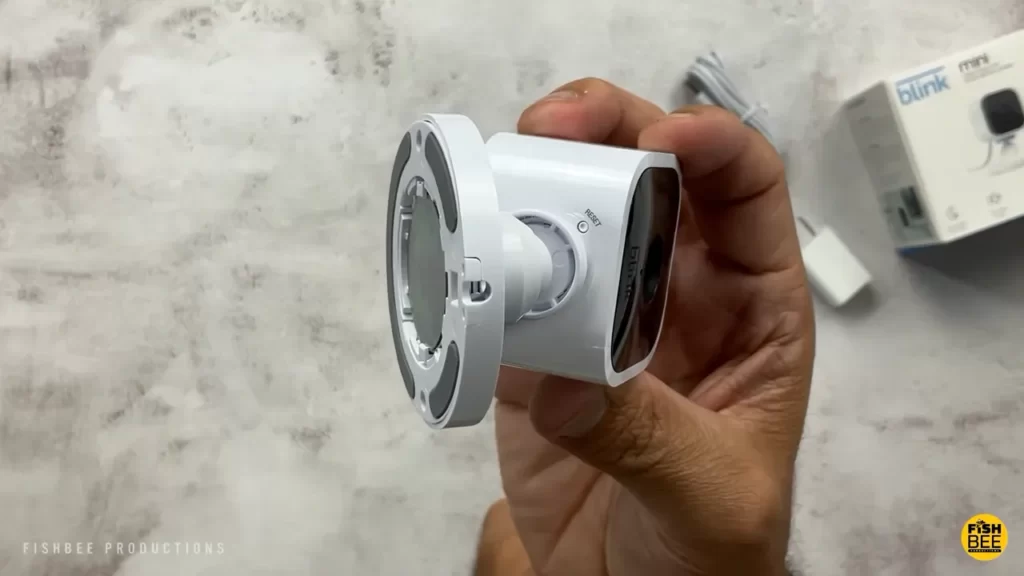
- Use the provided mounting bracket: Attach the mounting bracket to the chosen surface using screws or adhesive tape. Make sure the bracket is firmly fixed to ensure stability.
- Position the camera on the mounting bracket: Align the camera with the bracket and securely attach it to the bracket using the designated screw holes. Ensure it is tight and properly aligned.
- Adjust the camera angle: Once the camera is mounted, adjust the angle to achieve the desired field of view. Tilt it up, down, left, or right as needed to ensure the camera captures the desired area effectively.
- Double-check the mounting: Give the camera a gentle tug to ensure it is securely mounted. This step is crucial to prevent any accidental dislodging of the camera.
By carefully considering the optimal location and securely mounting your Blink Indoor Camera, you can significantly enhance its effectiveness in monitoring and safeguarding your home. Follow these steps to ensure proper installation and enjoy added peace of mind.
Configuring The Camera Settings
Once you have successfully installed your Blink Indoor Camera, it is time to configure the camera settings to ensure optimal performance and functionality. Configuring the camera settings allows you to customize your camera’s behavior and tailor it to your specific needs. In this section, we will walk you through the process of installing the Blink app on your mobile device and connecting the camera to your Wi-Fi network.
Installing the Blink app
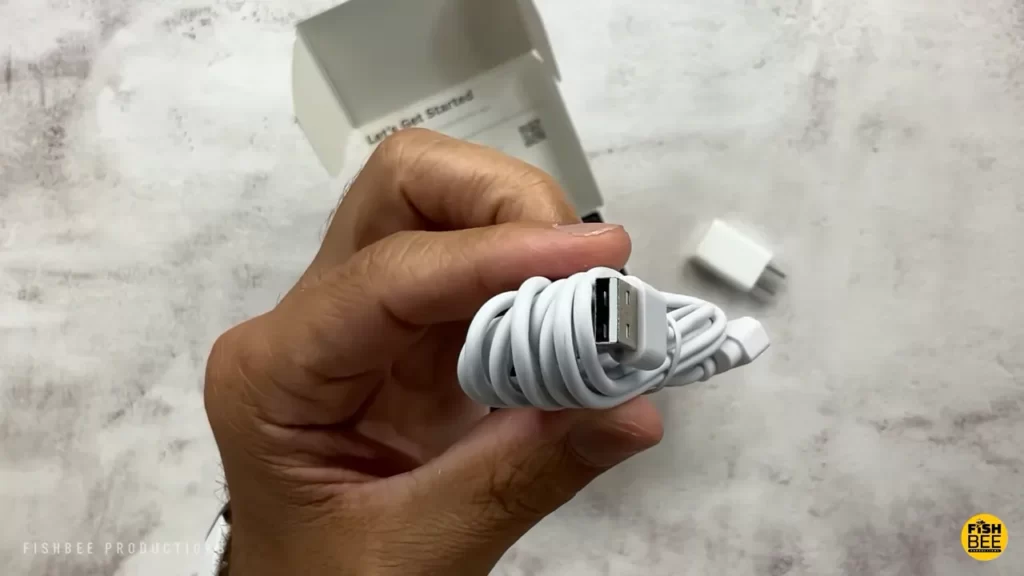
Before you can start configuring your Blink Indoor Camera, you need to download and install the Blink app on your smartphone or tablet. The Blink app is available for both Android and iOS devices and can be easily downloaded from the respective app stores. Once you have downloaded the app, follow these steps to install it:
- Open the app store on your mobile device.
- Search for “Blink Home Monitor” in the search bar.
- Click on the app from the search results.
- Tap the “Install” or “Get” button to download and install the app.
Once the app is successfully installed on your device, you can proceed to the next step of connecting your Blink Indoor Camera to your Wi-Fi network.
Connecting the camera to Wi-Fi
In order to access your camera remotely and receive alerts, you need to connect it to your Wi-Fi network. This step ensures that your camera is connected to the internet and allows you to monitor your home from anywhere in the world. Follow these simple steps to connect your Blink Indoor Camera to Wi-Fi:
- Launch the Blink app on your mobile device.
- Login to your Blink account or create a new account if you don’t have one already.
- Tap on the “+” icon or “Add a System” button to add a new device.
- Follow the on-screen prompts to put the Blink Indoor Camera into pairing mode.
- Once the camera is in pairing mode, the Blink app will detect it and display it on the screen.
- Select your Wi-Fi network from the list of available networks.
- Enter your Wi-Fi password when prompted.
- Wait for the camera to establish a connection to the Wi-Fi network. This may take a few moments.
- Once the camera is connected, you will see a confirmation message on the app.
That’s it! Your Blink Indoor Camera is now successfully connected to your Wi-Fi network. You can now customize the camera settings according to your preferences and start monitoring your home.
Configuring the camera settings is an essential step to ensure that your Blink Indoor Camera works seamlessly and provides you with the security and peace of mind you deserve. By following the steps outlined in this section, you will be able to install the Blink app on your device and connect your camera to Wi-Fi in no time. Stay tuned for the next section where we will discuss advanced settings and features to further enhance your Blink Indoor Camera experience.
Testing And Troubleshooting
Once you have successfully completed the installation of your Blink Indoor Camera, it’s time to test its functionality and troubleshoot any potential issues that may arise. This step is crucial to ensure that your camera is working properly and providing you with the desired level of security and peace of mind.
Verifying camera functionality
Before considering any troubleshooting steps, it’s important to verify that your Blink Indoor Camera is functioning as intended. Follow these steps to ensure your camera is working properly:
- Check the camera’s LED light: When the camera is powered on, it should display a solid blue LED light. This indicates that the camera is connected to your home Wi-Fi network.
- Test the live view: Open the Blink Home Monitor app on your smartphone or tablet. Select your Blink Indoor Camera and tap on the “Live View” option. This will enable you to see the live feed from your camera. Make sure that the video stream is clear and there is no lag or distortion in the images.
- Check motion detection: Move in front of your camera and observe whether the motion detection feature is working properly. The camera should capture the movement and send you an alert notification through the app.
- Test two-way audio: Use the app to initiate a two-way audio conversation with someone near the camera. Speak and listen to ensure that the audio quality is clear and understandable.
- Review recorded videos: Access the app’s storage or cloud storage to verify that the camera is recording and storing videos as expected. Check for any issues with playback or missing recordings.
If you encounter any issues during the above checks, you may need to troubleshoot the problem further to get your Blink Indoor Camera working optimally.
Troubleshooting common issues
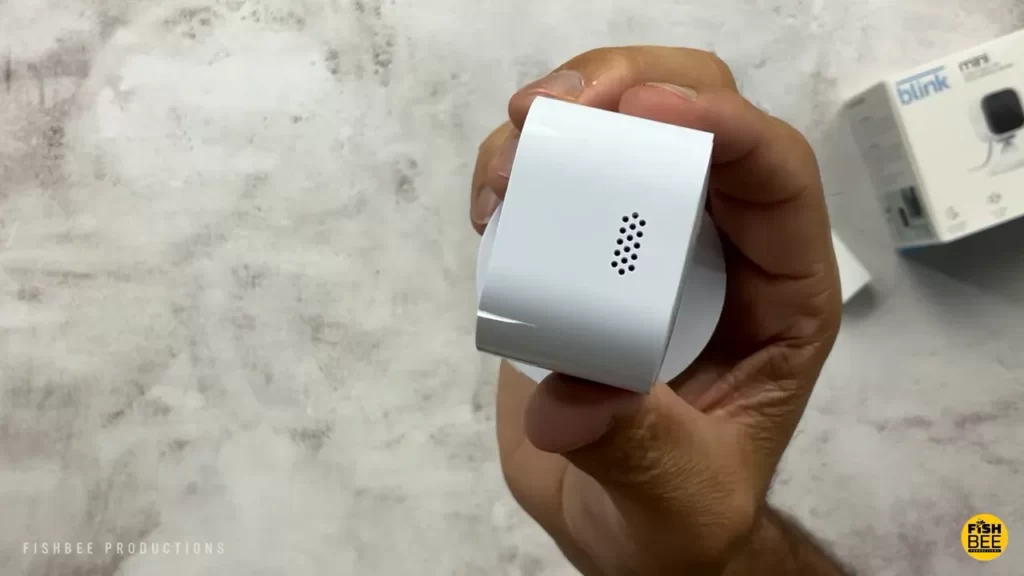
If you find that your Blink Indoor Camera is not functioning correctly during the verification process, here are some common issues you may encounter along with their troubleshooting solutions:
| Issue | Troubleshooting Solution |
|---|---|
| No LED light display | Check the camera’s power source and ensure it is connected properly. If using batteries, replace them with fresh ones. |
| Poor video quality or lag | Check your Wi-Fi signal strength and move the camera closer to the router if needed. Ensure that there are no physical obstructions between the camera and the router. |
| Motion detection not working | Adjust the motion detection sensitivity settings in the app. Make sure the camera is positioned correctly to capture movement in the desired area. |
| No audio or poor audio quality | Check the microphone and speaker on the camera for any obstructions or damage. Ensure that the app has permission to access the device’s microphone and speaker. |
| Recordings not saving | Check the camera’s storage settings in the app. If using cloud storage, ensure that your subscription is active and the camera is connected to the internet. |
By following these troubleshooting solutions, you should be able to resolve most common issues with your Blink Indoor Camera. However, if the problem persists, consider reaching out to the Blink customer support for further assistance.
Maximizing Camera Performance
Installing a Blink Indoor Camera is a smart decision, as it provides reliable security and peace of mind. However, to ensure optimal performance and get the most out of your camera, it is essential to focus on a few key aspects. In this section, we will explore how to optimize the motion detection settings and extend the battery life of your Blink Indoor Camera.
Optimizing Motion Detection Settings
Blink Indoor Cameras come with advanced motion detection capabilities, allowing you to capture any movement within its range. To make the most of this feature, it is important to optimize the motion detection settings. Here are some tips:
- Sensitivity Level: Adjust the sensitivity level of the camera’s motion detection to ensure you receive alerts for the desired movements. Some users may prefer a higher sensitivity to capture even the slightest motion, while others may opt for a lower sensitivity to avoid unnecessary notifications.
- Motion Zones: Define specific areas within the camera’s field of view where you want to focus the motion detection. By creating motion zones, you can reduce false alerts caused by irrelevant movements outside the designated areas.
- Scheduling: Use the scheduling feature to define specific timeframes for motion detection. For example, you may want the camera to be more sensitive during nighttime hours or when you’re away from home, while in other periods, you might prefer a less sensitive setting to conserve battery life.
Extending Battery Life
The battery life of your Blink Indoor Camera is an important factor in maximizing its performance. Here are some effective ways to extend the battery life:
- Placement: Properly position the camera to minimize its exposure to constant motion. Placing it in an area with less constant movement will reduce unnecessary triggers and conserve battery power.
- Video Length: Adjust the length of the recorded video clips to strike a balance between capturing important events and conserving battery life. Shorter video clips will consume less power.
- Live View: Minimize the use of the live view feature, as it consumes a significant amount of battery power. Instead, rely on motion detection and scheduled recordings to save energy.
- Power Options: If available in your setup, consider connecting the camera to a power source using a compatible power adapter. This will eliminate the need for battery usage altogether.
By following these tips, you can optimize the motion detection settings and extend the battery life of your Blink Indoor Camera. This will ensure that you get the maximum performance and reliable security from your camera installation. Take full advantage of your Blink Indoor Camera’s features and enjoy enhanced peace of mind.
Integrating With Other Devices
Using Blink with Amazon Alexa
One of the great advantages of the Blink Indoor Camera is its compatibility with Amazon Alexa. With this integration, you can effortlessly control your camera using voice commands, making it even more convenient and user-friendly.
Setting up your Blink camera with Amazon Alexa is a simple process. Here’s what you need to do:
- First, make sure you have the latest version of the Blink app installed on your smartphone or tablet.
- Open the Alexa app and navigate to the Skills & Games section.
- Search for the Blink skill and enable it on your Alexa device.
- Once the skill is enabled, go to the Devices section in the Alexa app and select the Blink Indoor Camera from the list.
- Follow the on-screen instructions to complete the setup process and link your Blink camera with Alexa.
Once the setup is complete, you can start using voice commands to control your Blink camera. For example, you can say “Alexa, show me the living room” to view the live feed from your camera on an Alexa-compatible device such as the Echo Show or Fire TV.
The integration with Amazon Alexa offers a seamless and hands-free experience, allowing you to monitor your home with ease.
Integrating with Smart Home Systems
Blink Indoor Camera goes beyond just being compatible with Amazon Alexa. It can also integrate with various smart home systems, giving you the flexibility to control your camera alongside your other connected devices.
Whether you have a Google Home, Apple HomeKit, or any other popular smart home automation platform, Blink is designed to work harmoniously with them all.
To integrate your Blink camera with your chosen smart home system, you’ll typically need to follow these steps:
- Ensure that your smart home system is compatible with Blink. Check the manufacturer’s website or the Blink product documentation for a list of supported systems.
- Download the relevant app or software for your smart home system if you haven’t already.
- Open the app or software and locate the section for adding devices or integrating new devices.
- Follow the instructions provided to connect your Blink camera to the smart home system.
- Once the integration is successful, you can control your Blink camera through the smart home system’s interface, allowing you to include it in routines, automate actions, and more.
By integrating your Blink camera with your smart home system, you can enjoy a unified experience where all your devices work together seamlessly. Whether it’s turning your camera on and off using voice commands or triggering actions based on specific events, the possibilities are endless.
Maintaining And Updating The Camera
Once you have successfully installed your Blink Indoor Camera and started using it to keep an eye on your home, it’s important to ensure the camera remains in optimal condition. This includes cleaning and maintaining the camera as well as updating its firmware for enhanced performance. In this section, we will guide you through the necessary steps to accomplish these tasks.
Cleaning and Maintaining the Camera
Regular cleaning and maintenance of your Blink Indoor Camera will help ensure that it continues to deliver high-quality video footage and reliable performance. To clean the camera:
- Start by powering off the camera and disconnecting it from any power source.
- Gently wipe the camera lens and housing using a soft, lint-free cloth. Avoid using harsh chemicals or abrasive materials that could damage the camera.
- Inspect the camera for any dust or debris. If necessary, use a can of compressed air to blow away any particles that may have accumulated.
- Check the camera’s mounting and positioning. Ensure that it is securely mounted and properly aligned for the best coverage of your desired area.
- Lastly, check the camera’s cables for any signs of damage or wear. If you notice any issues, consider replacing the cables to maintain a reliable connection.
By following these simple cleaning and maintenance steps, you can keep your Blink Indoor Camera operating at its best, providing you with peace of mind and clear video feed whenever you need it.
Updating Firmware for Enhanced Performance
Blink regularly releases firmware updates for their cameras to introduce new features, fix bugs, and improve overall performance. Updating the firmware of your Blink Indoor Camera is a straightforward process:
- Ensure that your camera is connected to a stable and reliable internet network.
- Access the Blink mobile app or the Blink Sync Module web interface.
- Go to the settings menu and look for the firmware update option.
- If an update is available, follow the on-screen instructions to initiate the update process.
- Wait for the update to complete, and do not power off the camera during this time.
- Once the update is finished, your Blink Indoor Camera will be running the latest firmware version, ensuring enhanced performance and stability.
Regularly checking for firmware updates and installing them when available is crucial to optimize your camera’s functionality and take advantage of any improvements or new features.
By performing regular cleaning and maintenance and staying up-to-date with firmware updates, you can ensure that your Blink Indoor Camera continues to deliver reliable performance and top-notch security for your home.
Frequently Asked Questions Of How To Install Blink Indoor Camera
How Do I Set Up Blink Indoor Camera?
Setting up your Blink Indoor Camera is simple and hassle-free. Just follow these steps:
1. Download the Blink Home Monitor app on your smartphone. 2. Create an account and log in to the app. 3. Tap on the “+” icon to add a new device. 4. Scan the QR code on the camera or enter the serial number manually. 5. Connect the camera to your Wi-Fi network and place it in your desired location.
Can I Use Blink Indoor Camera Outdoors?
No, Blink Indoor Camera is designed for indoor use only. It is not weatherproof and may get damaged by exposure to moisture and extreme temperatures.
How Does The Motion Detection Feature Work?
The Blink Indoor Camera uses a built-in motion sensor to detect movement within its field of view. When motion is detected, it instantly starts recording a video clip and sends a notification to your smartphone.
Can I Access The Recorded Videos Remotely?
Yes, you can access the recorded videos from your Blink Indoor Camera remotely using the Blink Home Monitor app. You can view, download, and share the videos directly from your smartphone.
Is There A Subscription Fee For Blink Indoor Camera?
No, Blink Indoor Camera offers free cloud storage for recorded videos. There is no subscription fee required to access or store your videos.
Conclusion
Installing the Blink Indoor Camera is a simple and straightforward process that anyone can do. By following the step-by-step instructions provided in this blog post, you can have your camera up and running in no time. Remember to choose the right location, ensure a stable Wi-Fi connection, and download the Blink app for easy monitoring.
With the Blink Indoor Camera, you can enhance the security of your home and have peace of mind knowing that you can keep an eye on your surroundings at all times.
