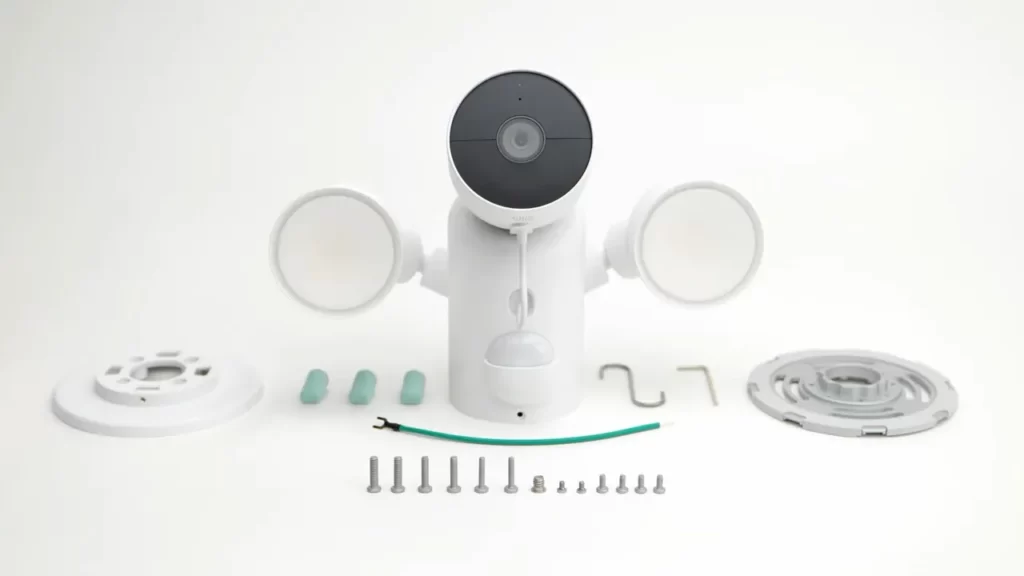
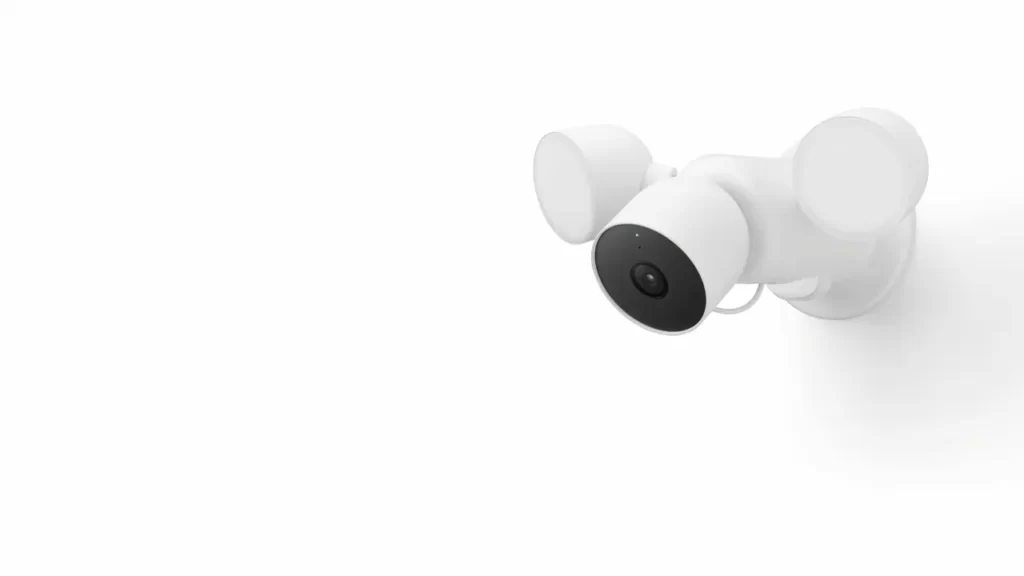
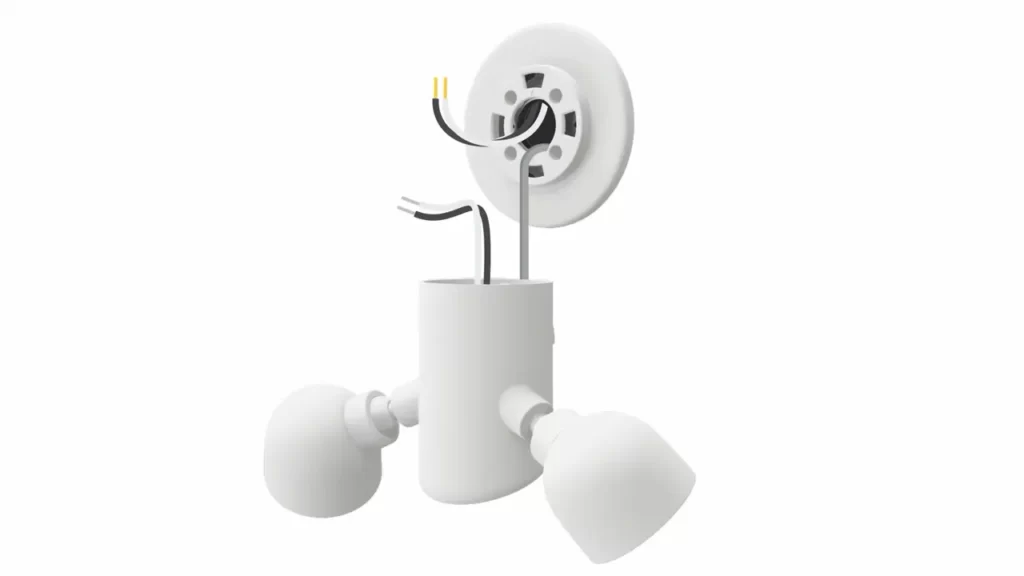
To install Google Nest Camera Outdoor, simply plug it into an outdoor outlet or use a light socket adapter if you don’t have one. Make sure to install a lockable “while in use” cover over the outlet or adapter to prevent the camera from being unplugged.
Additionally, you can also mount the camera in the desired location and secure it with a cable clip. Alternatively, you may need to drill through your home’s exterior wall if you want to plug the camera into an indoor outlet.
Remember to choose strategic locations for optimal visibility, such as near the front door or in corners of the house.

Requirements For Installing Google Nest Camera Outdoor
| Requirements for Installing Google Nest Camera Outdoor |
| The easiest option is to plug the Google Nest Camera Outdoor into an outdoor outlet.If you don’t have an outdoor outlet, you can use a light socket adapter to convert a porch or landscaping light into a power outlet.Consider installing a lockable “while in use” cover over the outlet to prevent the camera from being unplugged.Make sure you have the Nest Cam Outdoor device.Gather the necessary mounting hardware for installation.Ensure you have the appropriate power cord for the camera. |
Anchoring And Powering Your Google Nest Camera
To install your Google Nest Camera Outdoor, you need to choose the optimal location for your camera. The best place to hang your camera outside is where it has a clear view of the area you want to monitor, such as your front yard or driveway. Make sure there are no obstructions that could block the camera’s field of view.
Once you have chosen the location, you need to anchor the camera securely. Use the included screws or adhesive strip to attach the camera to a wall or other surface. This will ensure that the camera stays in place and doesn’t move or fall.
Next, plug in the power cord. If you have an outdoor outlet, simply plug the cord into the outlet. If you don’t have an outdoor outlet, you can use a light socket adapter to convert a porch or landscaping light into a power outlet. This will provide power to your camera.
If you experience any power issues, such as the camera not turning on or the power cord not working, troubleshoot the problem. Check that the power source is working and try a different power outlet if necessary.
Mounting And Securing Your Google Nest Camera Outdoor

| Mounting the camera on a wall or other surfaceTo mount your Google Nest Camera Outdoor, start by choosing a location that provides a good view of the area you want to monitor. Make sure the camera is within reach of a power outlet or has a strong Wi-Fi signal if using the battery-powered option.Next, use the provided mounting bracket and screws to securely attach the camera to the wall or surface. Ensure that the camera is level and facing the right direction for optimal coverage. |
| Using a cable clip to secure the cameraTo prevent the camera from being easily tampered with or stolen, it is recommended to use a cable clip to secure the power cable. This will help keep the camera firmly in place and prevent any accidental disconnections.Attach the cable clip to a nearby surface, such as the wall or mounting bracket, and thread the power cable through it. Make sure the cable is securely fastened and doesn’t obstruct the camera’s field of view. |
| Fastening the cable for a tidy installationTo ensure a neat and tidy installation, it’s important to fasten the power cable properly. Use cable fasteners or clips to secure the cable along the wall or surface, keeping it out of the way and minimizing any potential tripping hazards.Take care not to overtighten the cable fasteners, as this may damage the cable or cause it to become loose. Leave some slack to allow for movement and adjustments if needed. |
Connecting And Setting Up Your Google Nest

Camera
When it comes to installing your Google Nest Camera Outdoor, connecting and setting it up properly is crucial. By using the Google Home app, you can easily complete the setup process. Firstly, connect the power cord to the camera and make sure you plan the installation process beforehand. This includes deciding where you want to mount the camera and ensuring it has a clear view of the area. Once you have figured out the location, attach the camera to the magnetic mount for easy installation. Additionally, set up the camera stand to provide stability and adjust the angle as desired. To ensure consistent performance, it is important to charge the camera and regularly monitor the battery level. By following these steps, you can effectively install and set up your Google Nest Camera Outdoor for optimal functionality.
Frequently Asked Questions For How To Install Google Nest Camera Outdoor
How Do I Mount My Google Nest Camera Outside?
To mount your Google Nest camera outside, the easiest option is to plug it into an outdoor outlet. You can also use a light socket adapter if you don’t have an outdoor outlet. Make sure to install a lockable cover over the outlet to prevent unplugging.
You can find more information and installation tips in the Google Nest Help and Support articles.
How Do I Set Up Google Camera Outside?
To set up a Google camera outside, the easiest option is to plug it into an outdoor outlet. You can also use a light socket adapter if you don’t have an outdoor outlet. Make sure to install a lockable cover over the outlet or use a power adapter to prevent any accidental unplugging.
Can Google Nest Cam Be Used Outside?
Yes, the Google Nest Cam can be used outside. It can be plugged into an outdoor outlet or a light socket adapter can be used if there is no outdoor outlet available. It is weather-resistant and can be installed in various locations around your home.
Where Is The Best Place To Hang A Nest Camera Outside?
The best place to hang a Nest camera outside is in a location where you want to monitor, such as the front door or corners of your house. You can plug it into an outdoor outlet or use a light socket adapter if you don’t have one.
What Are The Requirements For Installing Google Nest Camera Outdoor?
To install Google Nest Camera Outdoor, you will need a Wi-Fi connection, a compatible smartphone, and a power source.
Conclusion
To wrap up, installing your Google Nest Camera Outdoor is a straightforward process that can be done by following a few simple steps. From anchoring the camera to plugging it in and troubleshooting any issues, the installation can be completed with ease.
Whether you have an outdoor outlet or need to use a light socket adapter, finding the best placement for your camera is crucial for optimal coverage. By ensuring the camera is securely mounted and properly connected, you can enjoy the benefits of monitoring your surroundings with ease and peace of mind.
