To install a hidden camera, first, choose a suitable location and position it discreetly for optimal coverage. Then, connect the camera to a power source and set up any necessary wireless or remote monitoring features.
Installing a hidden camera requires careful consideration of location and positioning to ensure optimal coverage while remaining discreet. Begin by selecting a suitable location, such as a bookshelf or wall shelf, that provides a clear view of the desired area.
Position the camera in a way that conceals it from plain sight, using objects or furniture to hide it if necessary. Connect the camera to a power source, either through a power cord or a battery, depending on the camera’s specifications. Finally, set up any additional features like wireless or remote monitoring to enable access to the camera’s feed from a mobile device or computer.
Understanding Covert Surveillance: A Brief Overview
Understanding Covert Surveillance: A Brief Overview
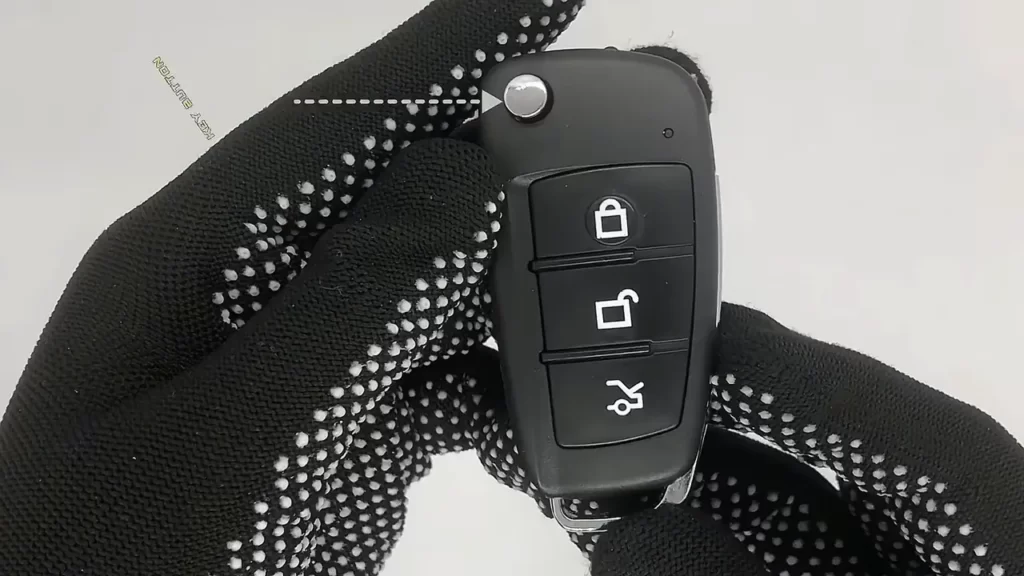
Covert surveillance plays a crucial role in many scenarios, whether it’s for personal security or professional investigations. Hidden cameras are an essential component of covert surveillance setups, providing a discreet way to monitor and record activities without arousing suspicion. In this section, we will explore the importance of hidden cameras in covert surveillance and the legal and ethical considerations that should be kept in mind.
Importance of hidden cameras in covert surveillance
Hidden cameras are a vital tool for covert surveillance operations due to their inconspicuous nature. They can be discreetly installed in various locations, such as homes, offices, or outdoor environments, allowing for discreet monitoring without drawing attention. Here are some key reasons why hidden cameras are essential:
- Unobtrusive Monitoring: Hidden cameras are designed to blend seamlessly into their surroundings, making them an effective choice for covert monitoring. They can be concealed in everyday objects or disguised as utilities, giving them the ability to capture crucial evidence without being detected.
- Remote Monitoring: Many hidden cameras offer remote access capabilities, enabling real-time monitoring from a distance. Whether you’re ensuring your home’s security while away or keeping an eye on employees in the workplace, remote monitoring allows you to stay informed and address any potential threats promptly.
- Evidence Collection: In the event of criminal activities, hidden cameras can provide valuable evidence to support legal proceedings. Whether it’s capturing theft, vandalism, or illicit behavior, having recorded footage can greatly assist in identifying culprits and bringing them to justice.
Legal and ethical considerations
While hidden cameras offer valuable benefits in covert surveillance, it’s crucial to navigate the legal and ethical aspects to ensure their appropriate use. Here are some key considerations:
- Privacy Laws: Familiarize yourself with the privacy laws and regulations that govern the use of hidden cameras in your jurisdiction. Understand what is considered lawful surveillance and ensure your installations comply with any consent or notice requirements.
- Consent and Notification: In most cases, it is essential to obtain consent from individuals whose activities may be recorded. Notify anyone who might be subject to surveillance, ensuring transparency and ethical use of hidden cameras.
- Prohibited Areas: Be aware of certain restricted areas where the use of hidden cameras may be prohibited. Spaces such as bathrooms, changing rooms, and private property without consent are typically off-limits for surveillance.
- Ethical Use: Use hidden cameras responsibly and for legitimate purposes. Avoid invading others’ privacy or using surveillance for malicious intent. Focus on ensuring safety, security, or gathering evidence within legal boundaries.
By understanding the importance of hidden cameras in covert surveillance and considering the legal and ethical aspects, you can effectively utilize this technology to enhance security measures and protect yourself or your assets.
Types Of Hidden Cameras: Choosing The Right Device
When it comes to installing a hidden camera, choosing the right device is crucial. Whether you want to ensure your home’s security or monitor activities in your office, selecting the right hidden camera will determine the effectiveness and functionality of your surveillance system. In this section, we will explore the different types of hidden cameras available in the market and highlight the features and benefits they offer.
Wired vs. wireless cameras: Pros and cons
Before delving into the different types of hidden cameras, it’s essential to understand the distinction between wired and wireless options. Wired cameras are tethered to a power source and transmit data through physical cables. On the other hand, wireless cameras are battery-operated and transmit data through Wi-Fi or other wireless technologies.
Wired cameras have their advantages. They offer a more reliable connection, ensuring uninterrupted monitoring. Additionally, there’s no need to worry about battery life, as these cameras are constantly powered. However, their installation can be more complicated, often requiring professional assistance.
Wireless cameras, on the other hand, provide flexibility and ease of installation. You can place them anywhere within the range of your Wi-Fi network, eliminating the need for complex wiring. They can be easily concealed, making them ideal for covert surveillance. However, wireless cameras rely on battery power and may require frequent recharging or battery replacement.
Disguised cameras: Objects that double as hidden cameras
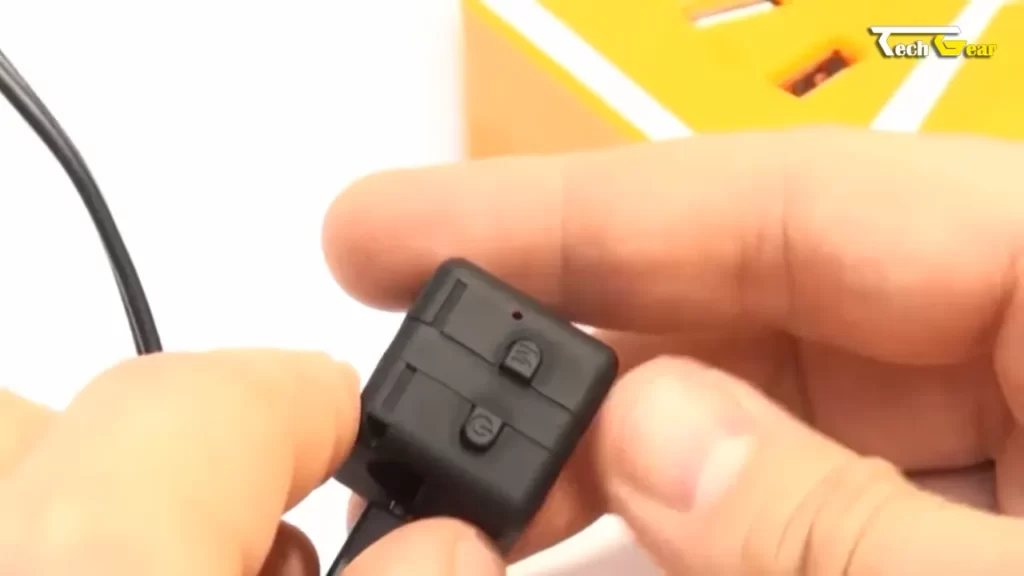
One popular category of hidden cameras is disguised cameras. These innovative devices are designed to blend seamlessly into their surroundings, mimicking everyday objects. From clocks and picture frames to smoke detectors and even teddy bears, disguised cameras allow you to discreetly monitor without raising suspicion.
The advantage of disguised cameras is their ability to remain inconspicuous. They serve a dual purpose by functioning as functional objects while capturing clear surveillance footage. However, it’s essential to choose a disguise that fits naturally within the environment to avoid raising any potential red flags.
Night vision and motion detection capabilities
For enhanced security and surveillance, hidden cameras equipped with night vision and motion detection capabilities are highly recommended. Night vision allows the camera to capture clear footage even in low-light or complete darkness. This feature is especially useful when monitoring outdoor areas or during nighttime hours.
Motion detection capabilities ensure that the camera only records when it detects movement within its field of view. This helps conserve storage space and battery life as the camera only activates when necessary. Moreover, it provides an added layer of security by alerting you to any suspicious activity in real-time.
When choosing a hidden camera, consider these additional features and capabilities to ensure maximum efficiency and effectiveness. By carefully selecting the right type of hidden camera for your specific needs, you can create a robust surveillance system that offers peace of mind and protection.
Planning The Installation: Strategically Positioning The Camera
Identifying the Target Area
Before installing a hidden camera, it is crucial to carefully identify the target area. Consider the specific locations where you want to monitor and gather important information. This could be your home, office, or any other area you deem necessary for surveillance.
To determine the target area, ask yourself questions like: What areas do I want to keep an eye on? What are the potential blind spots? Are there any specific entry points I need to monitor? Understanding the answers to these questions will help you make an informed decision about where to place your hidden camera.
Proper Angles and Viewpoints for Optimal Surveillance
Once you have identified the target area, it is crucial to consider the proper angles and viewpoints for optimal surveillance. The camera should be strategically positioned to capture the most relevant footage without compromising its invisibility.
When determining the angles and viewpoints, consider placing the camera at eye level or slightly above to get a clear view of people’s faces and actions. Avoid positioning it too high or too low, as this can distort the captured footage. Additionally, ensure that the camera is facing the desired direction and covers the entire target area.
Concealing the Camera Effectively
While the primary aim of a hidden camera is to remain undetected, it is equally important to conceal it effectively. This ensures that the camera stays hidden, allowing it to capture footage discreetly.
One effective way to conceal the camera is by blending it with the surroundings. For example, if you are installing the camera in a bookshelf, choose a camera that resembles a book or has a design that blends in with the other books. You can also hide the camera within everyday objects such as clocks, picture frames, or even plants.
Remember to use your creativity while concealing the camera and consider the specific location and surroundings. Avoid placing the camera in obvious locations or areas where it may be easily detected.
Assessing Security Risks: Identifying Vulnerabilities
Before installing a hidden camera, it is crucial to carefully assess the security risks in your area. Identifying vulnerabilities will enable you to determine the best locations for placing the camera, ensuring optimal surveillance coverage. This assessment involves considering blind spots, weak entry points, lighting conditions, as well as power and connectivity requirements.
Observing Blind Spots and Weak Entry Points
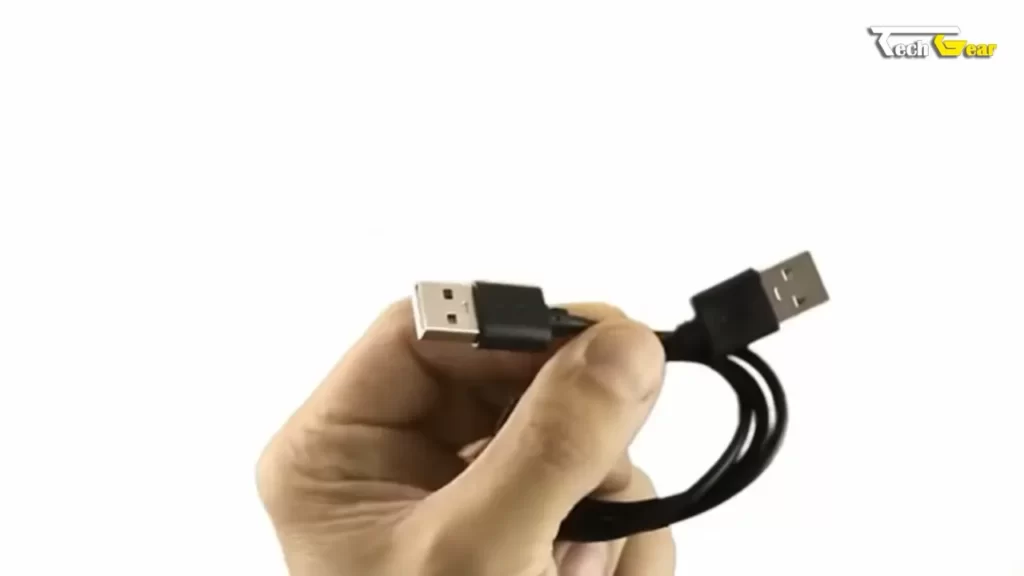
One of the first steps in assessing security risks is to observe blind spots and weak entry points in your premises. These areas are often targeted by intruders as they provide a certain level of cover and minimize the chances of detection. Take note of areas where visibility is limited, such as secluded corners, alleys, and low-traffic zones.
Identifying weak entry points is equally important. These are typically areas where the security measures in place are insufficient, making them attractive targets for unauthorized individuals. Common weak entry points include doors or windows with faulty locks, unsecured access points, and easily breakable barriers.
Assessing Lighting Conditions for Optimal Footage
Lighting conditions play a crucial role in capturing clear and detailed footage with hidden cameras. Poor lighting can significantly impact the effectiveness of surveillance and render the camera’s footage useless. Therefore, it is essential to assess the lighting conditions in the areas where you plan to install the cameras.
Pay attention to both natural and artificial lighting sources that may affect the camera’s recording quality. Ensure that the camera is not obstructed by shadows, direct sunlight, or harsh artificial lighting sources. Testing the camera’s functionality at different times of the day will help you determine the best locations for optimal footage.
Determining Power and Connectivity Requirements
Another important aspect of assessing security risks is determining the power and connectivity requirements for your hidden camera installation. Ensuring that the camera is adequately powered and has a reliable network connection is crucial to continuous surveillance.
Take note of the power outlets available near the desired camera locations. Determine whether you will need to use battery-powered cameras or if you can connect them directly to a power source. Additionally, consider the connectivity options available, such as Wi-Fi or Ethernet connections, depending on the camera model and your specific requirements.
By carefully considering these factors, you can identify the vulnerabilities in your property and develop an effective hidden camera installation plan. Assessing blind spots and weak entry points, determining optimal lighting conditions, and considering power and connectivity requirements are essential steps towards enhancing your security measures through hidden camera surveillance.
Tools And Equipment For Installation: Gathering The Essentials
Gearing up for the installation of a hidden camera? The first step is to gather the essential tools and equipment needed for a successful setup. In this section, we will cover the various tools and equipment you will need, categorized under three subheadings: camera selection and specifications, mounting equipment and brackets, and wiring materials and connectors. Let’s dive in and explore what you need to get started!
Camera Selection and Specifications
Before installing a hidden camera, it is crucial to choose the right camera that suits your needs. There are various types of hidden cameras available in the market, each with its own set of specifications. Here are some factors to consider when selecting the ideal camera:
- Resolution: Look for a camera with high resolution to ensure clear images and videos.
- Field of View: Consider the camera’s field of view, which determines how much area it can cover.
- Low Light Performance: If you need to monitor an area with low lighting conditions, opt for a camera with excellent low light performance.
- Connectivity: Determine if you need a wired or wireless camera, depending on your preferences and available infrastructure.
Mounting Equipment and Brackets
Once you have selected the perfect camera, the next step is to gather the mounting equipment and brackets necessary for installation. These tools will allow you to securely fix the camera in your desired location. Here are some essential mounting equipment and brackets you may need:
- Mounting Brackets: Look for brackets specifically designed for your camera model that offer stability and flexibility in positioning.
- Screws and Anchors: To securely attach the brackets to the wall or ceiling, ensure you have the right screws and anchors for your surface type.
- Mounting Poles or Stands: If you prefer a freestanding setup, consider using poles or stands to mount the camera at an optimal height.
Wiring Materials and Connectors
The final step in gathering the essentials for hidden camera installation is acquiring the necessary wiring materials and connectors. These will enable you to power the camera and establish connections for video transmission. Here are some vital wiring materials and connectors you will need:
| Materials | Connectors |
|---|---|
| Power cables | BNC connectors |
| Video cables | RCA connectors |
| Ethernet cables | Power connectors |
Ensure you have appropriate lengths of cables for your installation and the necessary connectors to establish a secure and functional connection.
By gathering these essential tools and equipment, you will be well-prepared to install your hidden camera. In the next section, we will guide you through the step-by-step process of installing your camera, so stay tuned!
Step-By-Step Installation Guide: Setting Up The Hidden Camera
Installing a hidden camera can provide added security and peace of mind in your home or office. Whether you want to monitor your space for personal reasons or as a precautionary measure, setting up a hidden camera requires careful planning and execution. In this step-by-step installation guide, we will walk you through the process of preparing the target area, mounting the camera securely, and connecting it to power while configuring the necessary settings.
Preparing the target area for installation
Before you begin the installation process, it is crucial to identify the ideal location for your hidden camera. Consider areas that require close surveillance, such as entryways, valuable item storage, or high-traffic zones. Once you have chosen a suitable spot, follow these steps to prepare the target area:
- Clear the area: Remove any objects or obstacles that might block the view of your hidden camera. This ensures an unobstructed line of sight for capturing activities.
- Test the camera’s field of view: Before finalizing the location, test the camera’s field of view by temporarily placing it in your chosen spot. Make sure the camera covers the desired area and captures the necessary details.
- Ensure proper lighting: Adequate lighting is essential for clear video recordings. Ensure the target area has sufficient lighting or consider supplemental lighting options if needed.
Mounting the camera securely
Now that you have prepared the target area, it’s time to mount the hidden camera securely. Follow these steps to ensure a stable and discreet installation:
- Choose a mounting method: Depending on the design of your hidden camera, you may have different mounting options available. Common choices include wall-mounted brackets, magnetic bases, or adhesive tape.
- Position the camera: Align the camera according to the desired field of view. Make sure it is discreetly placed, blending in with the surroundings and avoiding obvious sightlines.
- Secure the camera: Attach the camera securely to the chosen mounting method. Ensure it is tightly fastened to prevent any accidental movements or misalignment.
- Conceal the wiring: If your camera requires wiring, make sure to discreetly route and hide the wires to maintain the covert nature of the installation.
Connecting the camera to power and configuring settings
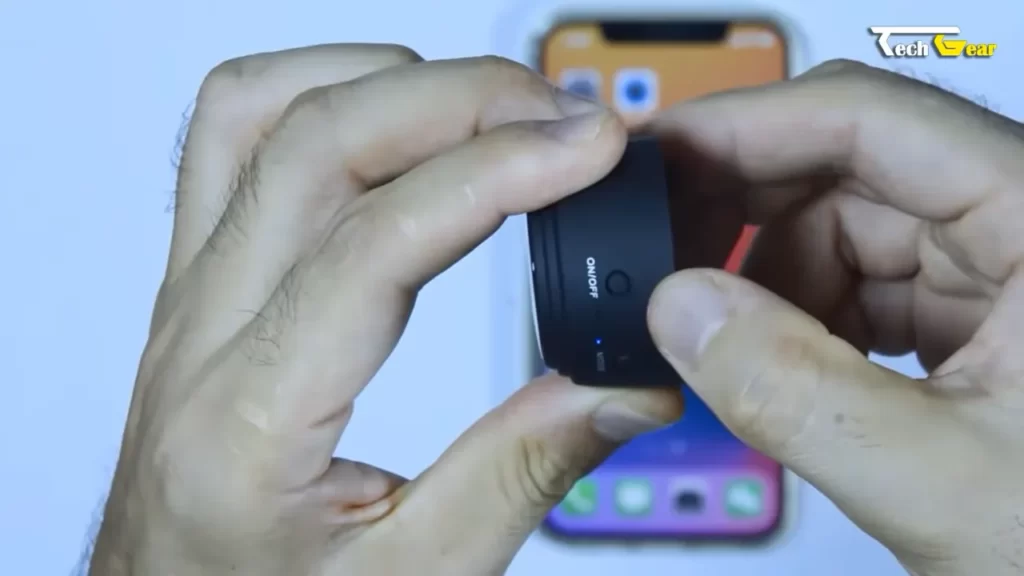
With the camera securely mounted, it’s time to connect it to power and configure the necessary settings. Follow these steps:
- Choose a power source: Depending on your specific hidden camera model, you may have different power options available. This could include batteries, wall sockets, or USB ports. Choose the most suitable power source for your needs.
- Connect the camera: Once you have chosen the power source, connect the camera to it as per the manufacturer’s instructions. Ensure a stable connection to avoid interruptions in recording.
- Configure settings: Access the camera’s settings menu and adjust parameters such as resolution, sensitivity, and capture interval according to your preferences.
- Test the camera: After connecting and configuring, perform a test run to ensure the camera is functioning correctly. Review the footage and make any necessary adjustments to optimize performance.
By following this step-by-step installation guide, you can effectively set up a hidden camera and enhance security in your desired area. Remember to consider legal and ethical aspects before installation and use. Enjoy the peace of mind that comes with knowing your space is under surveillance.
Testing And Troubleshooting: Ensuring Proper Functionality
Testing and Troubleshooting: Ensuring Proper Functionality
In order to ensure the proper functionality of your hidden camera installation, it is essential to perform thorough testing and troubleshooting. This step is crucial to verify the live footage and camera performance, troubleshoot common installation issues, and optimize the camera settings for desired results.
Verifying live footage and camera performance
After installing a hidden camera, it is important to verify that it is capturing and transmitting live footage effectively. Follow these steps to test the camera’s performance:
- Check the camera’s power source: Ensure that the camera is properly connected to a reliable power source. A weak power source may result in unstable performance.
- Access the camera’s live feed: Use the designated camera monitoring app or software to access the live feed. Make sure you can clearly see and hear the video and audio footage being captured.
- Test different recording modes: Experiment with different recording modes, such as continuous recording or motion-activated recording, to ensure the camera is functioning as intended.
- Check the camera’s signal strength: If you are using a wireless camera system, check the signal strength to ensure a stable connection. Weak signals can result in dropped footage or poor video quality.
Troubleshooting common installation issues
If you encounter any issues during the installation process, it is important to troubleshoot them promptly. Here are some common installation issues and their potential solutions:
| Issue | Solution |
|---|---|
| No power to the camera | Check the power source and connections. Replace batteries or use a different power supply if necessary. |
| Poor video quality | Ensure that the camera lens is clean and unobstructed. Adjust camera settings or position for better visibility. |
| Interference on wireless cameras | Move the camera and receiver away from potential sources of interference, such as routers or other electronic devices. |
| No audio recording | Check if the camera has a built-in microphone and if it is enabled. Verify that the audio settings on the monitoring device are correctly configured. |
Optimizing camera settings for desired results
To achieve the desired results from your hidden camera, it may be necessary to optimize its settings. Consider implementing the following suggestions:
- Adjust camera sensitivity: Fine-tune the motion detection sensitivity to minimize false alarms or missed recordings.
- Configure recording settings: Customize the desired frame rate, resolution, and compression settings to optimize the storage space and video quality.
- Enable remote access: If applicable, enable remote access to the camera’s live feed and recordings for convenient monitoring from any location.
- Regular maintenance: Periodically check and clean the camera lens, as well as perform firmware updates to ensure optimal performance.
By testing, troubleshooting, and optimizing the settings of your hidden camera, you can ensure its proper functionality and improve the overall monitoring experience.
Monitoring And Managing Recorded Footage: Accessing Surveillance Data
Remote viewing options through apps or software
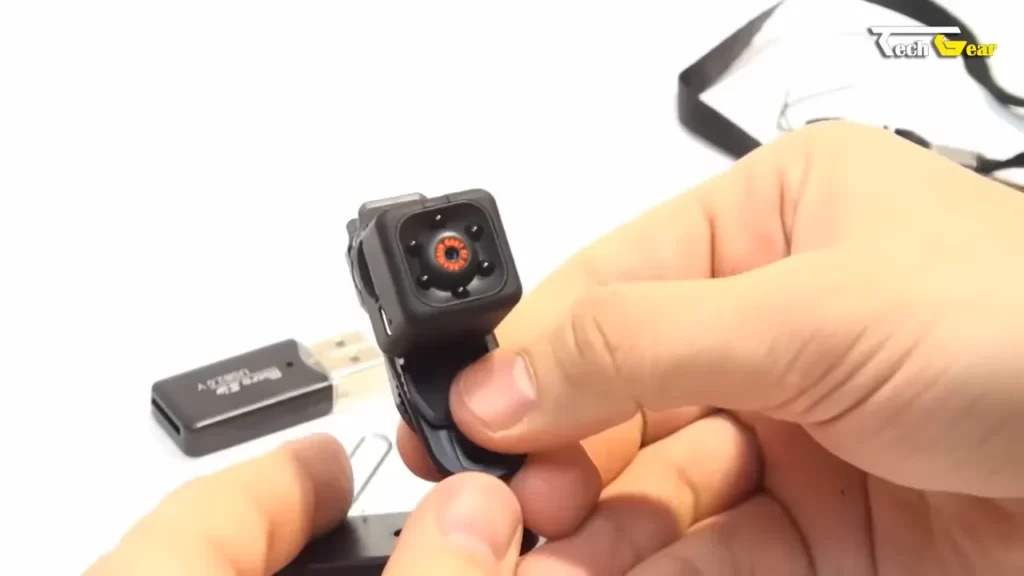
One of the most convenient aspects of installing a hidden camera is the ability to remotely view and manage the recorded footage. With the advancement of technology, many hidden cameras come equipped with apps or software that allow you to access surveillance data from anywhere at any time. These apps or software provide a user-friendly interface that grants you real-time access to the live feed of your hidden camera, as well as the ability to review recorded footage.
Storage solutions for recorded footage
Ensuring that you have a reliable storage solution for your recorded footage is crucial when it comes to managing surveillance data. The type of hidden camera you install will determine the storage options available to you. Some hidden cameras have built-in SD card slots, allowing you to directly save the recorded footage onto a memory card. Others may offer cloud storage, where the footage is securely stored on remote servers. It’s important to consider your needs and preferences when choosing the right storage solution for your hidden camera.
Organizing and analyzing surveillance data
Once you have recorded footage stored, it’s important to effectively organize and analyze your surveillance data. This enables you to easily find specific events or incidents that you may need to review later. Organizing your footage can be done by creating folders or tags, labeling them with relevant information such as date, time, or location. Additionally, using video management software can make the task of organizing and analyzing surveillance data more efficient. These software solutions often come equipped with advanced search and filtering options, allowing you to quickly find the footage you’re looking for. In conclusion, accessing surveillance data is made easier with remote viewing options through apps or software, which provide real-time access to your hidden camera’s live feed and recorded footage. Choosing the right storage solution for your footage ensures that it is securely stored and easily accessible when needed. Effective organization and analysis of your surveillance data is crucial for quick and efficient retrieval of specific events or incidents. By implementing these strategies, you can effectively monitor and manage the recorded footage from your hidden camera.
Maintenance And Upkeep: Ensuring Long-Term Performance
When it comes to hidden cameras, proper maintenance and regular upkeep are essential for ensuring their long-term performance. By implementing the right practices, such as regular cleaning, firmware updates, and reassessing camera positioning, you can maximize the effectiveness and lifespan of your hidden camera installation. In this section, we will discuss the key steps to monitor and maintain your hidden camera for optimal functionality.
Regular cleaning and maintenance practices
Cleaning and maintaining your hidden camera on a regular basis is crucial for its performance and longevity. Here are some maintenance practices to keep in mind:
- Use a soft, lint-free cloth to wipe the camera lens, ensuring it remains clear and free from dust or dirt that may obstruct the view.
- Check for any loose connections or cables and ensure that they are properly secured and protected from damage.
- Keep the surrounding area clean and clutter-free to prevent any obstructions or interference with the camera’s view.
- Regularly inspect the power source and ensure that it is functioning correctly.
- Incorporate a regular maintenance schedule to clean and inspect your hidden camera at least once every three months.
Checking and updating firmware for optimal functionality
Keeping your hidden camera’s firmware up to date is essential for its optimal performance. Firmware updates often include bug fixes, new features, and improved compatibility. To ensure you are using the latest firmware:
- Visit the manufacturer’s website and navigate to the support or downloads section.
- Locate the firmware updates for your specific hidden camera model.
- Download the latest firmware release to your computer.
- Connect your hidden camera to your computer using the provided USB cable.
- Follow the manufacturer’s instructions to install the firmware update onto your hidden camera.
- After the update, restart the camera to apply the changes.
Reassessing camera positioning and location periodically
To ensure the effectiveness of your hidden camera, it is essential to periodically reassess its positioning and location. Factors such as changes in lighting conditions, obstructions, or new objects in the area may affect the camera’s performance. Here are some tips for reassessing camera positioning:
- Check if the camera offers the desired coverage and captures the necessary angles.
- Make adjustments to the camera’s tilt, pan, or zoom features if required.
- Ensure the camera is not blocked by any new obstacles that may have been introduced into the environment.
- Consider the lighting conditions and make any necessary adjustments or additions for better visibility.
By regularly cleaning and maintaining your hidden camera, updating its firmware, and periodically reassessing its positioning and location, you can ensure its long-term performance and maximize its effectiveness.
Frequently Asked Questions For How To Install Hidden Camera
How Do I Connect My Hidden Camera To Wi-Fi?
To connect your hidden camera to Wi-Fi, follow these steps: 1. Install the camera’s app on your smartphone or tablet. 2. Turn on the camera and open the app. 3. Go to the Wi-Fi settings on your device and connect to the camera’s network.
4. Return to the app and enter your home Wi-Fi network details. 5. Wait for the camera to connect to your Wi-Fi, and you’re all set!
Does A Hidden Camera Have To Be Connected To Wi-Fi?
No, a hidden camera does not have to be connected to Wi-Fi. Some models can be used without Wi-Fi and store the recordings locally. Wi-Fi connectivity is only needed for live streaming or remote access to the camera feed.
How Long Does It Take To Install Hidden Cameras?
Hidden camera installation typically takes a few hours, depending on the number of cameras and the complexity of the setup. It is best to consult with a professional installer for an accurate estimate.
Can Hidden Cameras Be Traced?
Hidden cameras can sometimes be traced using specialized detection devices. These devices can locate hidden cameras by detecting their signal emissions or by scanning for potential camera lenses. These measures can help identify hidden cameras and protect privacy.
How To Install A Hidden Camera Indoors?
To install a hidden camera indoors, find a discreet location, ensure it has a power source and Wi-Fi connectivity, and follow the manufacturer’s instructions for installation.
Conclusion
Installing a hidden camera is a simple process that requires careful planning and proper execution. By following the step-by-step guide provided in this blog post, you can successfully install a hidden camera without any hassle. Remember to choose the right location, conceal the camera effectively, and regularly check for any signs of tampering.
With these tips in mind, you can ensure increased security and peace of mind. Happy recording!
