To install a Liftmaster garage door opener, follow these steps: assemble the opener according to the manufacturer’s instructions, mount the opener and bracket to the ceiling, attach the rail to the opener, position and attach the safety sensors, and connect the opener to the power source. Installing a Liftmaster garage door opener requires several steps, including assembling the opener, mounting it to the ceiling, and attaching the rail and safety sensors.
Once these components are in place, the opener can be connected to a power source, allowing it to function properly.
Tools And Materials Needed
Before you start installing your Liftmaster garage door opener, it’s important to gather all the necessary tools and materials. Having everything prepared and within reach will make the installation process smoother and more efficient. In this section, we will provide you with a comprehensive list of tools and materials you will need for the installation.
List of necessary tools for the installation
Here is a list of tools you will need to have on hand:
- Power drill
- Drill bits
- Level
- Adjustable wrench
- Pliers
- Socket set
- Screwdriver set
- Tape measure
- Stepladder
- Wire cutter/stripper
- Stud finder
- Pencil or marker
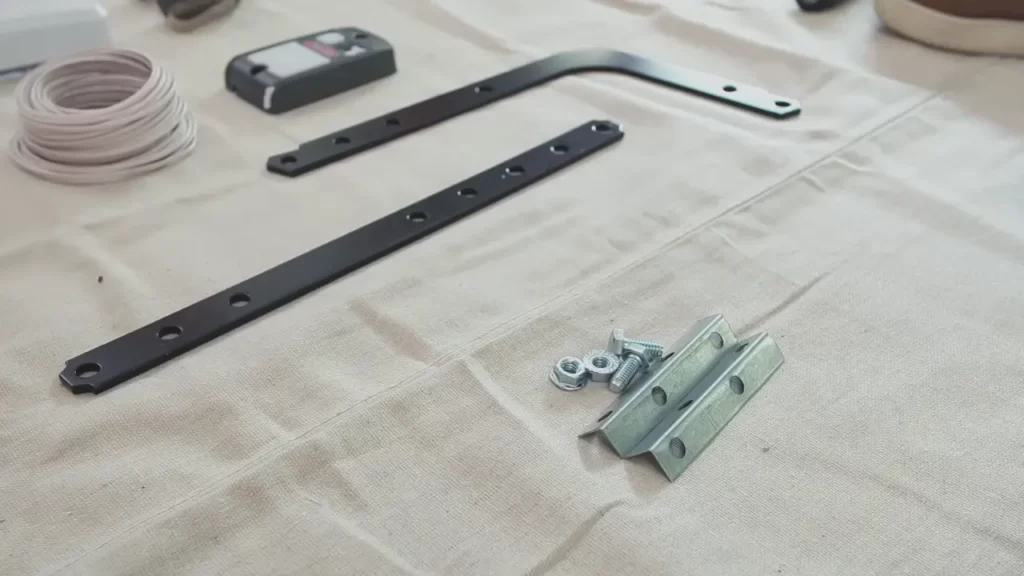
Required materials for the installation process
In addition to the tools, you will also need the following materials:
- Liftmaster garage door opener
- Mounting brackets
- Mounting hardware
- Safety sensors
- Wire for safety sensor installation
- Remote control(s)
- Wall control panel
- Batteries
- Electrical wires and connectors
- Owner’s manual
Make sure you have everything on this list before you start the installation. Being prepared with the right tools and materials will save you time and frustration. With everything ready, you can now move on to the next steps of installing your Liftmaster garage door opener.
Preparing For Installation
Before installing a Liftmaster garage door opener, there are a few important steps you need to take in order to ensure a successful installation. In this section, we will guide you through the process of preparing your garage door for the installation of a Liftmaster opener.
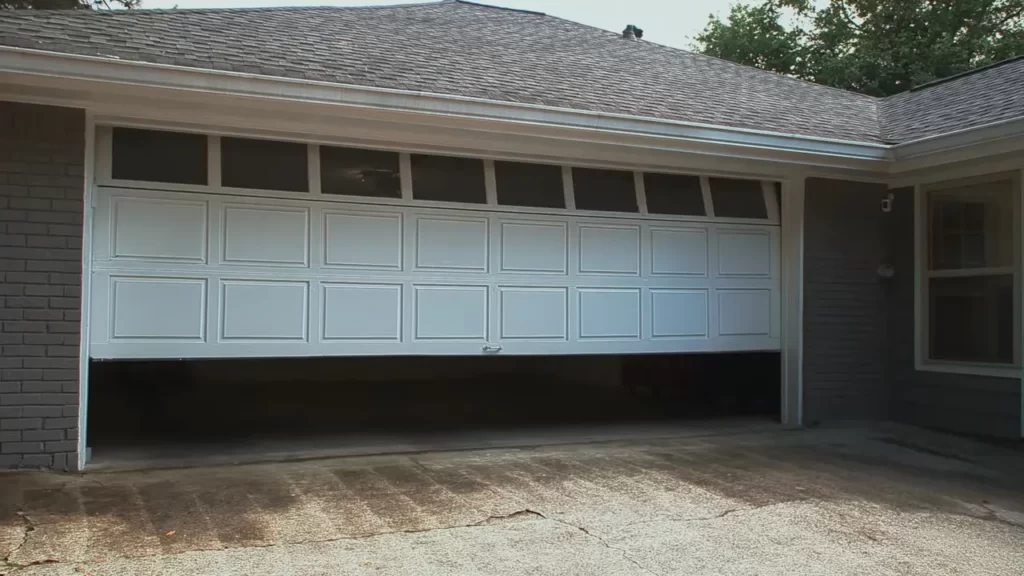
Checking the compatibility of the garage door for Liftmaster opener
First and foremost, it is crucial to check the compatibility of your garage door with the Liftmaster opener you plan to install. Liftmaster openers are designed to work with a variety of garage door types, including sectional doors, one-piece tilt-up doors, and even some custom-built doors.
Start by examining your garage door to determine its type and size. Measure the width and height of the door to ensure it falls within the recommended range for the Liftmaster opener you have chosen. Refer to the Liftmaster product specifications or consult the manufacturer’s website for detailed information on compatibility.
Measuring and preparing the necessary reinforcements for installation
Once you have confirmed the compatibility of your garage door with the Liftmaster opener, the next step is to measure and prepare the necessary reinforcements. This is especially important if your garage door is older or lacks adequate structural support.
Begin by measuring the height and width of your garage door, as well as the clearance on each side. This will help you determine if any additional bracing or reinforcement is needed. If your garage door requires additional reinforcements, it is recommended to consult a professional installer or refer to the Liftmaster installation manual for specific instructions.
In some cases, you may need to install horizontal or vertical reinforcement struts to strengthen the garage door. These struts provide added stability and prevent the door from bending or sagging over time. They are typically made of durable steel and can be easily installed using the provided instructions.
Remember, proper preparation is key to a successful installation of your Liftmaster garage door opener. By checking the compatibility of your garage door and ensuring the necessary reinforcements are in place, you can be confident in the reliability and longevity of your new opener.
Installation Steps
Installing a Liftmaster garage door opener can be a straightforward process if you follow the proper steps. In this section, we will guide you through each stage of the installation process, ensuring a smooth and successful setup.
Step 1: Assemble the opener
Before you start the installation, it’s important to first assemble the opener. This involves attaching the rail and belt/chain, as well as installing the motor unit.
| Tasks | Instructions |
|---|---|
| Attaching the rail and belt/chain | Follow the manufacturer’s instructions to securely attach the rail and belt/chain to the opener. |
| Installing the motor unit | Position the motor unit in the designated area and secure it according to the provided instructions. |
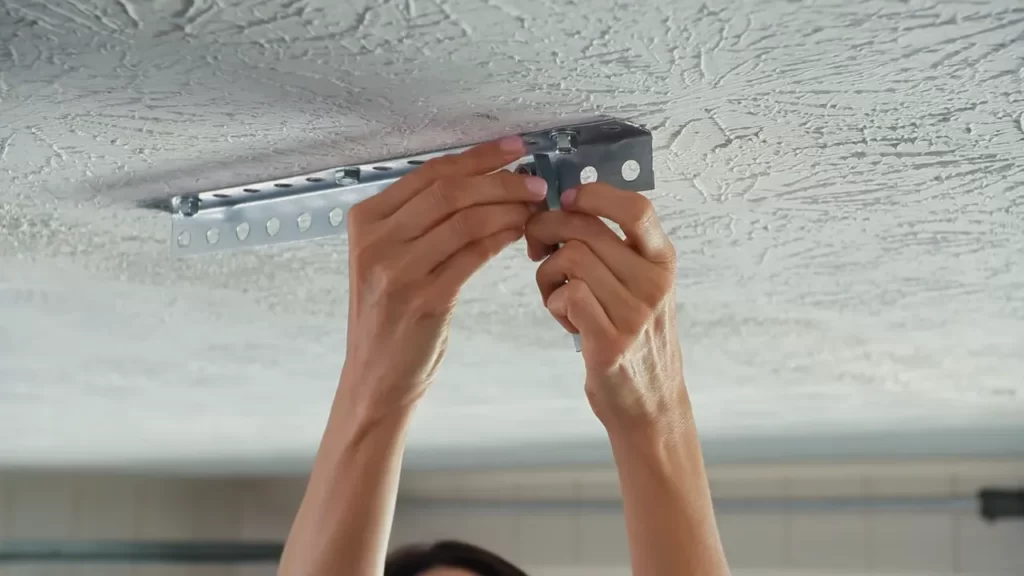
Step 2: Mounting the opener
Once you have assembled the opener, the next step is to mount it properly. This involves positioning the rail and motor unit correctly, as well as securing the opener to the ceiling or structure.
| Tasks | Instructions |
|---|---|
| Positioning the rail and motor unit | Ensure that the rail and motor unit are aligned and positioned correctly, following the manufacturer’s guidelines. |
| Securing the opener to the ceiling/structure | Use the provided hardware, such as mounting brackets and screws, to firmly secure the opener to the ceiling or structure. |
Step 3: Installing the safety sensors
The safety sensors are an essential component of the garage door opener system. Follow these steps to properly install and position the sensors, as well as connect them to the opener.
| Tasks | Instructions |
|---|---|
| Properly aligning and positioning the sensors | Ensure that the sensors are aligned and positioned facing each other, typically near the bottom of the garage door. |
| Connecting the sensors to the opener | Using the provided wiring and connectors, connect the sensors to the designated ports on the opener. |
Step 4: Connecting the opener to the garage door
In this step, you will connect the opener to your garage door, allowing it to control the door’s movement. Follow these instructions to attach the bracket on the door and connect the door arm to the opener’s trolley.
| Tasks | Instructions |
|---|---|
| Attaching the bracket on the door | Securely attach the bracket to the top section of the garage door using the provided hardware. |
| Connecting the door arm to the opener trolley | Connect the door arm to the opener’s trolley according to the manufacturer’s instructions, ensuring a secure fit. |
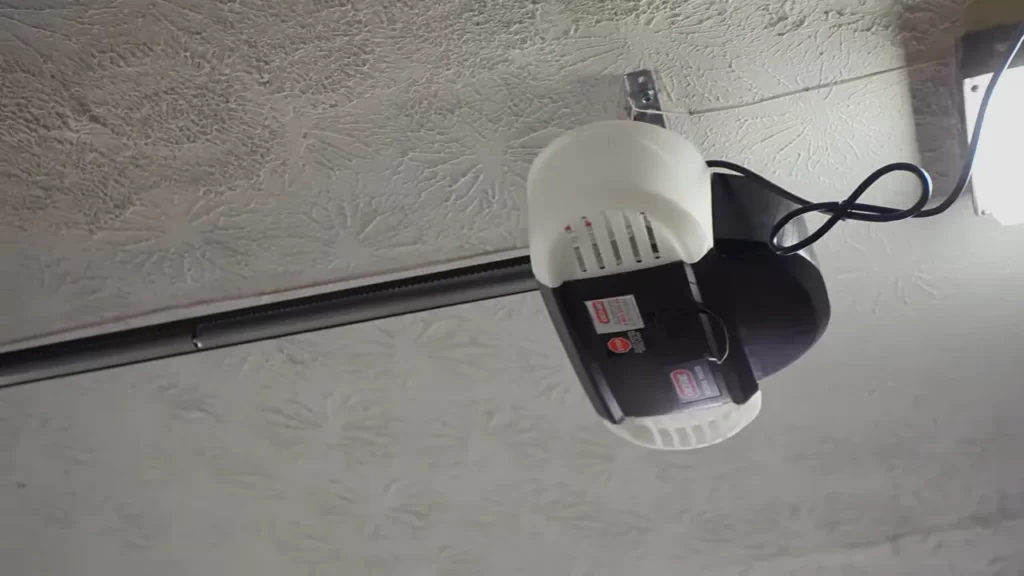
Step 5: Powering up and testing the opener
Once everything is properly connected, it’s time to power up the opener and test its functionality. Follow these final steps to connect the opener to electricity and ensure that it’s working as expected.
| Tasks | Instructions |
|---|---|
| Connecting the opener to electricity | Plug the opener into a power outlet or connect it to a suitable power source, according to the manufacturer’s instructions. |
| Testing the opener’s functionality | Using the provided remote control or the control panel, test the opener’s functionality by opening and closing the garage door. Make sure that all safety features are working correctly. |
Congratulations! You have successfully installed your Liftmaster garage door opener. With these installation steps, you can now enjoy the convenience and security that a reliable opener brings to your garage.
Troubleshooting And Tips
Common installation issues and how to resolve them
During the installation process of your Liftmaster garage door opener, you may encounter some common issues. However, don’t worry! We’ve got you covered with some troubleshooting tips to help you overcome these challenges.
1. Power problems
If your garage door opener is not receiving power or is experiencing intermittent power issues, there are a few things you can check:
- Ensure that the power cord is securely plugged into a functioning electrical outlet.
- Check the circuit breaker or fuse box to see if a power outage has occurred.
- Inspect the power cord for any visible damage or loose connections.
2. Remote control not working
If your remote control is not operating the garage door opener, try the following troubleshooting steps:
- Check the batteries in the remote control and ensure they are properly installed.
- Make sure that the remote control is within range of the garage door opener.
- Inspect the antenna on the garage door opener to ensure it is not damaged or obstructed.
- Reprogram the remote control by following the manufacturer’s instructions.
3. Motor running but door not moving
If you hear the motor running but the garage door does not open or close, consider these troubleshooting tips:
- Inspect the tracks and rollers for any obstructions or debris that may be preventing the door from moving smoothly.
- Check the tension of the garage door springs to ensure they are properly balanced.
- Ensure that the garage door opener’s travel limits are properly adjusted to allow for full opening and closing of the door.
Tips for a successful and safe installation process
1. Read the instructions
Before starting the installation process, take the time to thoroughly read and understand the instruction manual provided by the manufacturer. Familiarize yourself with the necessary tools, safety precautions, and installation steps.
2. Gather all necessary tools
Make sure you have all the tools required for the installation, such as a drill, screwdriver, and tape measure. Having everything prepared beforehand will help streamline the installation process and prevent unnecessary delays.
3. Clear the area
Before installing the garage door opener, ensure that the area around the garage door is clear of any obstructions. This will prevent accidents and allow for a smoother installation process.
4. Follow safety guidelines
Always prioritize safety during the installation process. Wear protective gear, such as safety glasses and gloves, and follow all safety guidelines provided by the manufacturer. This will help prevent injuries and ensure a safe installation. By addressing common installation issues and following these essential tips, you can successfully install your Liftmaster garage door opener and enjoy the convenience and security it provides. Remember, if you encounter any difficulties, consult the manufacturer’s instructions or seek professional assistance.
Final Thoughts
Final Thoughts
Proper installation is crucial for ensuring the safety of your garage door and overall functionality of your Liftmaster garage door opener. By following the step-by-step instructions outlined in this guide, you will be able to install your garage door opener with ease and confidence.
Importance of proper installation for garage door safety
No matter how advanced and reliable your Liftmaster garage door opener may be, it is essential to recognize the importance of proper installation for the safety of your garage door. A poorly installed garage door opener can lead to various issues, such as malfunctioning sensors, improper function of the door’s safety features, and even potential accidents. By taking the time to install the opener correctly, you can avoid these risks and enjoy peace of mind knowing that your garage door is operating safely and efficiently.
Recap of the installation steps and key points to remember
Now, let’s quickly recap the installation steps and key points to remember when installing your Liftmaster garage door opener:
- Begin by preparing your tools and gathering all the necessary materials, including the opener, rail assembly, safety sensors, and remote control.
- Read through the installation manual provided by Liftmaster and familiarize yourself with the instructions and diagrams.
- Install the rail assembly by attaching it to the header bracket and ensuring it is aligned properly.
- Mount the motor unit to the ceiling and connect it to the rail assembly.
- Position and align the safety sensors, ensuring they are facing each other and securely attached.
- Connect the opener to the electrical power source and perform a test run to ensure proper functioning.
- Adjust the force and travel limits according to the manufacturer’s instructions to optimize the performance of your garage door opener.
- Finally, prioritize regular maintenance, including lubricating moving parts, checking the battery of your remote control, and conducting periodic inspections.
Remember, throughout the installation process, it is crucial to prioritize safety. Ensure that the power supply is turned off when making electrical connections and always follow the manufacturer’s instructions for a safe and successful installation.
By following these installation steps and taking all necessary precautions, you can have confidence in your ability to install your Liftmaster garage door opener properly.
Frequently Asked Questions On How To Install Liftmaster Garage Door Opener
How Much Does It Cost To Install A New Liftmaster Garage Door Opener?
The cost to install a new LiftMaster garage door opener varies depending on factors such as the model, features, and installation requirements. It’s best to contact a professional installer for an accurate quote tailored to your specific needs.
How Do I Install A Garage Door Opener By Myself?
To install a garage door opener by yourself, follow these steps: 1. Gather all necessary tools and equipment. 2. Read and understand the instruction manual thoroughly. 3. Assemble the opener according to the manual’s guidelines. 4. Attach the opener to the garage ceiling, following the specified measurements.
5. Connect the opener to the garage door, ensuring proper alignment and functionality.
How Do I Setup My Liftmaster Garage Door Opener?
To set up your LiftMaster garage door opener, follow these steps: 1. Locate the “Learn” button on the opener unit. 2. Press and release the “Learn” button. 3. Within 30 seconds, press and hold the button on your hand-held remote control.
4. Release the button once the opener lights flash or hear two clicks. 5. Your opener is now set up and ready to use.
How Long Does It Take To Install A Liftmaster Garage Door Opener?
It typically takes about 2-4 hours to install a Liftmaster garage door opener. The installation time may vary depending on the complexity of the project and any additional features you may want. A professional installer can ensure a smooth and efficient installation process.
What Are The Benefits Of Installing A Liftmaster Garage Door Opener?
Installing a Liftmaster garage door opener provides convenience, enhanced security, and easy access to your home.
How Much Does It Cost To Install A Liftmaster Garage Door Opener?
The cost of installing a Liftmaster garage door opener can vary depending on factors such as the model chosen and any additional features or accessories required. It is best to consult with a professional installer for an accurate estimate.
Conclusion
Installing a Liftmaster garage door opener is a straightforward process that can enhance the convenience and security of your home. By following the step-by-step instructions provided in this guide, you can successfully complete the installation on your own. Remember to take the necessary safety precautions and utilize the resources available to you, such as user manuals and online tutorials.
With a Liftmaster garage door opener in place, you can enjoy the ease and peace of mind that comes with a reliable and efficient garage door system.