To install a patio door screen, measure the door opening, assemble the screen frame, attach the screen mesh, and secure it in place. Patio door screens can be installed by following these steps.
Tools And Materials Needed
Before you begin installing a patio door screen, it’s essential to gather the necessary tools and materials. This will ensure a smooth and successful installation process. Here are the tools and materials you will need:
Tape measure
A tape measure is an essential tool for accurately measuring the dimensions of your patio door frame. This will help you determine the size of the screen kit needed and ensure a proper fit.
Screwdriver
A screwdriver is required to attach the corner connectors and secure the screen to the door frame. Make sure to choose a screwdriver with the appropriate head size for the screws you will be using.
Level
Using a level will help ensure that the patio door screen is installed straight and level. This is crucial for proper functionality and aesthetics.
Utility knife
A utility knife will come in handy for trimming the screen spline and cutting any excess screen material. This will help you achieve a clean and professional-looking installation.
Patio door screen kit
A patio door screen kit contains all the necessary components for installing a screen on your patio door. This typically includes the screen material, frame, corner connectors, and spline.
Screws
Screws are used to secure the corner connectors and fasten the screen frame to the door frame. Make sure to choose screws that are appropriate for the type of material you are working with.
Corner connectors
Corner connectors are used to join the screen frame pieces together at the corners. These connectors ensure a secure and sturdy frame structure.
Screen spline
Screen spline is a flexible rubber cord that is used to hold the screen material securely in place within the frame. It is installed using a screen roller.
Screen roller
A screen roller is a tool used to press the screen spline into the frame groove, securely attaching the screen material. It helps to ensure a tight and wrinkle-free installation.
By having these tools and materials ready before you start the installation, you will be well-prepared to tackle the project and achieve professional-looking results.
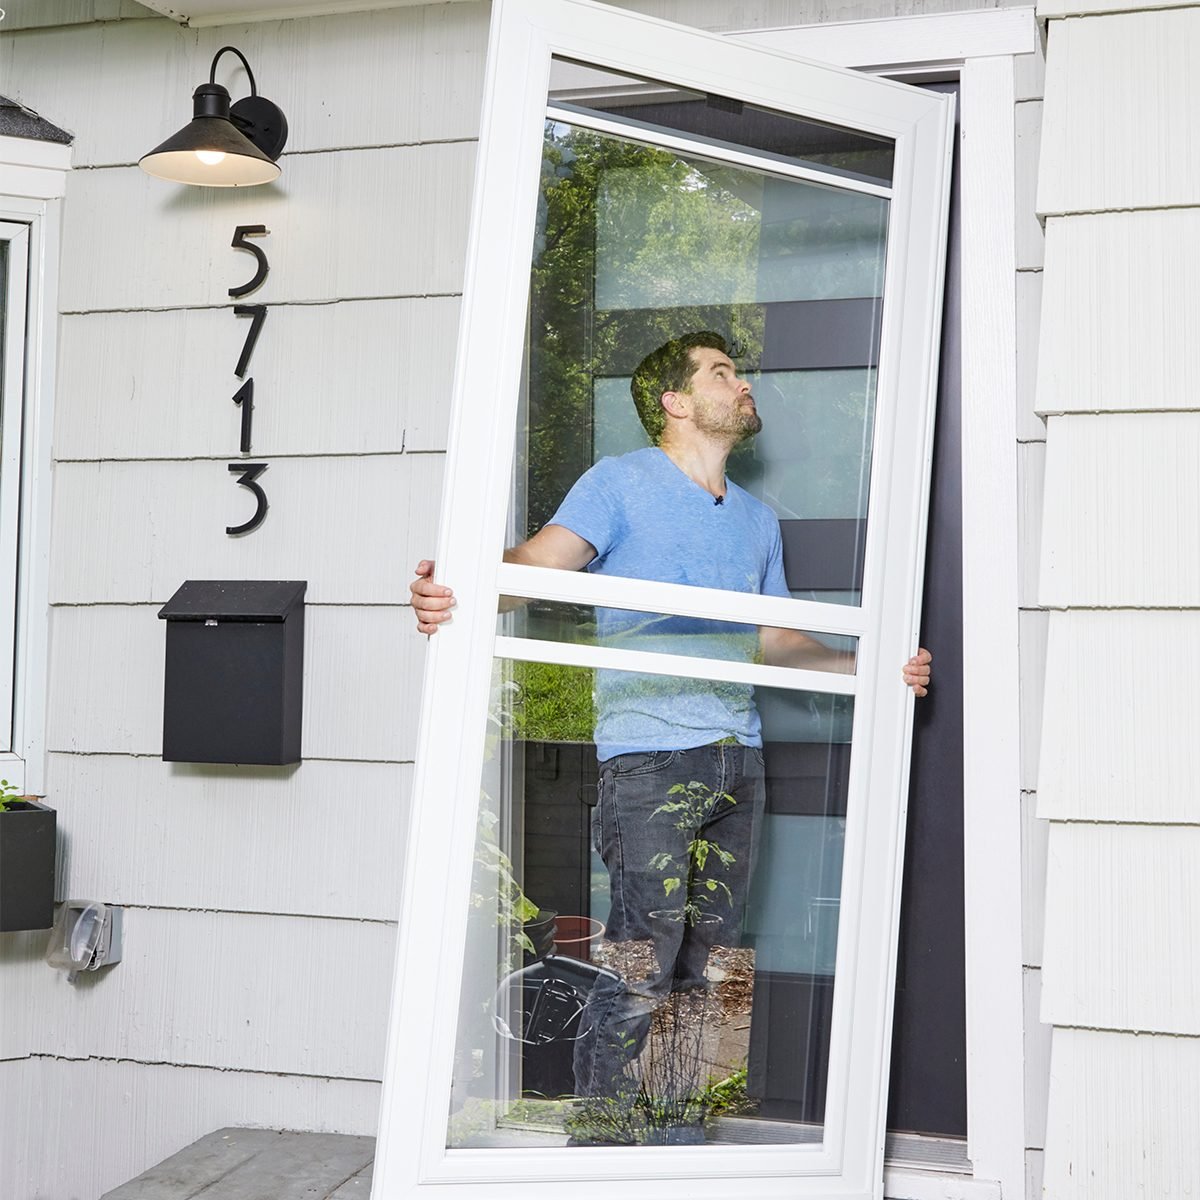
Credit: www.familyhandyman.com
Measuring And Preparing The Doorframe
Before you can install a patio door screen, it is crucial to properly measure and prepare the doorframe. This ensures that the screen fits perfectly, allowing for smooth operation and protection against insects. In this section, we will guide you through the necessary steps, from measuring the height and width of the doorframe to cutting the top and bottom tracks to fit.
Measure the height and width of the doorframe
To start, measure the height and width of the doorframe using a tape measure. Take accurate measurements by measuring from the top to the bottom and from one side to the other. Note down the measurements to refer to later during installation. It is important to measure at multiple locations to account for any irregularities in the doorframe.
Subtract the width of the rollers from the total width measurement
Next, you need to account for the width of the rollers when measuring the total width of the doorframe. Rollers are typically located at the top and bottom of the frame and can add a significant width to the overall measurement. To get the correct width for your screen, subtract the combined width of the rollers from the total width measurement you obtained in the previous step.
Cut the top and bottom tracks to fit the width of the doorframe
Now that you have the adjusted width measurement, it’s time to cut the top and bottom tracks to the appropriate size. Using a hacksaw or a similar cutting tool, carefully trim the tracks to match the width of the doorframe. Double-check the measurements before cutting to ensure accuracy. Pay close attention to make clean and straight cuts, as this will impact the functionality and appearance of the patio door screen.
With the doorframe properly measured and prepared, you’re ready to move on to the next steps in installing your patio door screen. In the following sections, we’ll cover how to attach the tracks, insert the screen material, and secure the frame. Stay tuned for an easy and hassle-free installation process!
Installing The Top And Bottom Tracks
Once you have prepared the patio door frame and gathered all the necessary tools, it’s time to install the top and bottom tracks. These tracks provide the support and guidance for the patio door screen, ensuring smooth and effortless operation.
Position the top track on the doorframe and secure it with screws
Begin by positioning the top track on the doorframe. The top track should be aligned with the inner edge of the doorframe, ensuring that it is level and straight. Take your time to make sure it is accurately positioned as any misalignment could affect the functionality of the patio door screen.
Once you are satisfied with the placement, secure the track in place using screws. It is advisable to use screws that are appropriate in size and material for the doorframe material. This will ensure a secure and long-lasting installation. Make sure to sink the screws flush with the track, avoiding over-tightening that could damage the material.
Align the bottom track with the top track and secure it with screws
After installing the top track, it’s time to align and secure the bottom track. Place the bottom track parallel to the top track, making sure it is level and straight. Check that there is a sufficient gap between the two tracks to allow for the smooth movement of the patio door screen.
Once the alignment is correct, secure the bottom track to the doorframe using screws. Similar to securing the top track, make sure to choose screws that are appropriate for the material of the doorframe. This will provide a secure attachment, ensuring the stability of the patio door screen.
With both the top and bottom tracks securely installed, you have completed the essential step of setting up the foundation for your patio door screen. This solid framework will support the screen and allow for easy opening and closing. The next steps will involve attaching the screen mesh and the handles, bringing you closer to enjoying the benefits of a well-functioning patio door screen.
Assembling The Door Screen
Attaching the corner connectors to the top and bottom tracks
Before you can install the patio door screen, you need to attach the corner connectors to the top and bottom tracks. These connectors ensure that the screen stays securely in place and functions properly. To do this, follow these steps:
- Start by inserting the corner connectors into the top track. Make sure they fit snugly into the designated slots.
- Next, attach the corner connectors to the bottom track in the same way. Double-check that they are aligned properly with the top connectors.
- Once all the connectors are in place, secure them tightly using screws or other provided fasteners. This will ensure they stay firmly anchored in the tracks.
Cutting the screen material to fit the doorframe
After securing the corner connectors, it’s time to cut the screen material to fit the doorframe. This step ensures a perfect fit and prevents any gaps or loose ends. Here’s what you need to do:
- Measure the dimensions of your doorframe carefully. It’s important to be precise to avoid any awkward overlaps.
- Transfer the measurements onto the screen material, leaving a little extra on each side for easy adjustments.
- Using sharp scissors or a utility knife, cut the screen material along the marked lines. Take your time and make clean, straight cuts.
Securing the screen material to the top track with screen spline
Now that you have the screen material cut to size, it’s time to secure it to the top track using screen spline. This will keep the screen taut and prevent it from sagging or coming loose. Follow these steps:
- Start by placing the screen material on the top track, making sure it sits evenly and covers the entire opening.
- Carefully insert the screen spline into the groove on the top track, holding the screen material in place. Use a spline roller or a flat, blunt tool to press the spline firmly into the groove.
- Continue working your way around the top track, pushing the spline into the groove as you go. This will secure the screen material in place and keep it stretched tightly across the opening.
Inserting the screen material into the bottom track and securing it with screen spline
With the top track complete, it’s time to insert the screen material into the bottom track and secure it with screen spline. This will ensure that the screen stays securely in place, even when exposed to wind or movement. Follow these steps:
- Start by aligning the bottom edge of the screen material with the bottom track. Make sure it fits snugly and covers the entire opening.
- Similar to the top track, carefully insert the screen spline into the groove on the bottom track, holding the screen material in place.
- Use your spline roller or flat tool to press the spline firmly into the groove, securing the screen material and preventing any slippage.
By following these steps, you’ll be able to assemble your patio door screen efficiently and effectively. Properly attaching the corner connectors, cutting the screen material, and securing it with screen spline will result in a sturdy and functional screen that keeps the bugs out and the fresh air flowing.
Attaching The Door Frame And Screen
Once you have prepared the patio door screen and assembled the door frame, it is time to attach the door frame and screen to your patio door. This step is crucial as it ensures the stability and functionality of your patio door screen. Follow the steps below to properly attach the door frame and screen:
Align the door frame with the top track and slide it into place
Insert the door frame into the bottom track and secure it with screws
Before attaching the door frame, make sure the top track of your patio door is clean and free from any dirt or debris. Then, align the door frame with the top track, taking care to position it correctly.
Once aligned, gently slide the door frame into place along the top track. Take your time to ensure a smooth and precise fit.
Once the door frame is aligned with the top track, it’s time to secure it in place with screws. Start by inserting the bottom of the door frame into the bottom track of your patio door.
Use a screwdriver to carefully fasten the door frame to the bottom track. Make sure to tighten the screws firmly, but do not overtighten as it may cause damage to the screen or frame.
Continue securing the door frame by placing additional screws along the bottom track, ensuring it is firmly attached.
By following these steps, you can easily attach the door frame and screen to your patio door. This will provide you with a functional and aesthetically pleasing patio door screen that allows fresh air to flow through while keeping insects and debris out.
Adjusting And Testing The Door Screen
Adjusting and Testing the Door Screen Proper adjustment and testing are crucial steps when installing a patio door screen. These steps ensure that the door operates smoothly and efficiently, providing you with a hassle-free experience. In this section, we will guide you through the necessary adjustments and tests to make your patio door screen installation complete. Use a level to ensure the door is properly aligned The first step in adjusting the door screen is to check its alignment. Using a level, you can determine if the door is perfectly straight. An uneven door may cause difficulties in opening and closing, compromising the functionality of the screen. To check the alignment: < h3 align = “left” >Use a level to ensure the door is properly aligned< /h3 > – Place the level vertically against the door frame. – Check if the bubble in the level is centered. – If the bubble is off-center, adjust the door until the bubble is centered. By aligning the door properly, you can enjoy smooth operation and avoid any jams or snags. Adjust the rollers if necessary for smooth opening and closing Rollers play a vital role in the functionality of a patio door screen. If the door is not opening or closing smoothly, adjusting the rollers can help alleviate the issue. To adjust the rollers: < h3 align = “left” >Adjust the rollers if necessary for smooth opening and closing< /h3 > – Locate the adjustment screws at the bottom or side of the door. – Turn the screws clockwise to raise the door or counterclockwise to lower it. – Test the door by sliding it open and closed to determine if further adjustments are needed. – Repeat the adjustment process until the door operates smoothly and effortlessly. By adjusting the rollers correctly, you can ensure that your patio door screen glides effortlessly, providing easy access to your outdoor living space. Test the door screen to make sure it operates correctly Once you have aligned the door and adjusted the rollers, it’s crucial to test the functionality of the door screen. A properly operating door should open and close smoothly without any resistance or obstructions. To test the door screen: < h3 align = “left” >Test the door screen to make sure it operates correctly< /h3 > – Slide the door open and closed multiple times to check for any sticking or jamming. – Inspect the tracks for dirt, debris, or any obstructions that may hinder the smooth operation of the door screen. – Lubricate the tracks and rollers with a silicone-based lubricant to ensure smooth movement. – Ensure that the door locks securely and that the screen is not loose or damaged. – Make any necessary adjustments, such as cleaning the tracks or tightening screws, to ensure optimal functionality. By thoroughly testing the door screen, you can guarantee that it operates effortlessly, providing you with a seamless transition between your indoor and outdoor spaces. Conclusion Adjusting and testing the door screen is a critical step in the installation process. By using a level to align the door, adjusting the rollers for smooth operation, and thoroughly testing the functionality, you can ensure that your patio door screen operates seamlessly. Take the time to make these adjustments and tests, and you’ll be able to enjoy the benefits of a fully functional and hassle-free door screen for years to come.Final Steps And Maintenance
Once you have successfully installed your patio door screen, there are a few final steps and maintenance tasks that you should follow to ensure its longevity and functionality. Taking the time to trim any excess screen material, cleaning the door screen regularly, and inspecting for any damaged parts or loose screws will keep your patio door screen in optimal condition. In this section, we will walk you through these final steps and offer some maintenance tips to help you enjoy your patio door screen for years to come.
Trim any excess screen material with a utility knife
After installing the patio door screen, you may notice some excess screen material around the edges. It’s important to trim this excess material to achieve a clean and professional look. To do this, follow these simple steps:
- Examine the edges of the patio door screen and identify any excess material.
- Using a sharp utility knife, carefully cut along the edges to remove the excess screen material.
- Be cautious not to cut too close to the frame, as this may damage the screen or affect its functionality.
- Once you have finished trimming, inspect the screen to ensure that it fits snugly within the door frame.
Clean the door screen regularly to maintain its functionality
To keep your patio door screen looking its best and functioning properly, regular cleaning is essential. Here are some steps you can take to effectively clean your door screen:
- Start by removing any visible dirt or debris from the screen surface using a soft brush or vacuum cleaner.
- Fill a bucket with a mixture of warm water and mild detergent.
- Dip a soft sponge or cloth into the soapy water and gently scrub the screen, paying attention to any areas that are particularly dirty.
- Rinse the screen thoroughly with clean water, ensuring all soap residue is removed.
- Allow the screen to air dry completely before reinstalling it.
Regular cleaning will not only keep your patio door screen looking great but also help maintain its functionality by preventing the accumulation of dirt and debris that can affect its operation.
Check for any loose screws or damaged parts and repair as needed
To ensure the long-term durability of your patio door screen, it is important to regularly inspect it for any loose screws or damaged parts. Here’s what you should do:
- Visually examine all the screws and hardware on the screen and make sure they are securely fastened.
- If you notice any loose screws, use a screwdriver to tighten them.
- If you come across any damaged or broken parts, consider replacing them to maintain the integrity of the screen.
- Make sure that the door screen opens and closes smoothly without any obstructions or resistance.
Regularly checking for loose screws and damaged parts will ensure that your patio door screen operates properly and continues to provide the security and convenience you desire.
By following these final steps and incorporating regular maintenance into your routine, you can extend the lifespan of your patio door screen and keep it in excellent condition for many years to come.
Frequently Asked Questions Of How To Install Patio Door Screen
How Do You Replace A Screen On A Sliding Patio Door?
To replace a screen on a sliding patio door, follow these steps: remove the old screen by lifting it out, measure the size needed for the new screen, obtain a replacement screen that matches the measurements, secure the new screen in place with the necessary hardware, and test the screen to ensure it works properly.
Can You Install A Screen Door Yourself?
Yes, you can install a screen door yourself. It’s a simple DIY project that requires basic tools and some patience. Just follow the instructions provided with the door, and you’ll have a new screen door installed in no time.
How Do You Install Screen Mesh On A Door?
To install screen mesh on a door, follow these steps: 1. Measure the door opening and cut the mesh accordingly. 2. Attach the mesh to the frame using staples or a spline roller. 3. Trim any excess mesh with a utility knife.
4. Secure the corners with corner brackets or screws. 5. Test the mesh for proper fit and adjust if necessary.
How Do You Push A Screen Back Into A Door?
To push a screen back into a door, gently align the screen with the door frame and apply even pressure until it snaps into place securely.
How Do You Install A Patio Door Screen?
To install a patio door screen, first, measure the door frame accurately. Then, attach the frame, secure the screen, and make necessary adjustments for a perfect fit.
What Tools Are Needed To Install A Patio Door Screen?
To install a patio door screen, you’ll need a tape measure, screen spline roller, utility knife, screwdriver, and a rubber mallet.
Conclusion
Installing a patio door screen is a simple and affordable way to enhance the functionality and aesthetic appeal of your outdoor space. By following the steps outlined in this guide, you can easily complete the installation process and start enjoying the benefits of a bug-free and comfortable patio.
Remember to measure accurately, choose high-quality materials, and take your time to ensure proper installation. With these tips, you’ll have a beautiful patio door screen that adds value and convenience to your home. Happy screening!