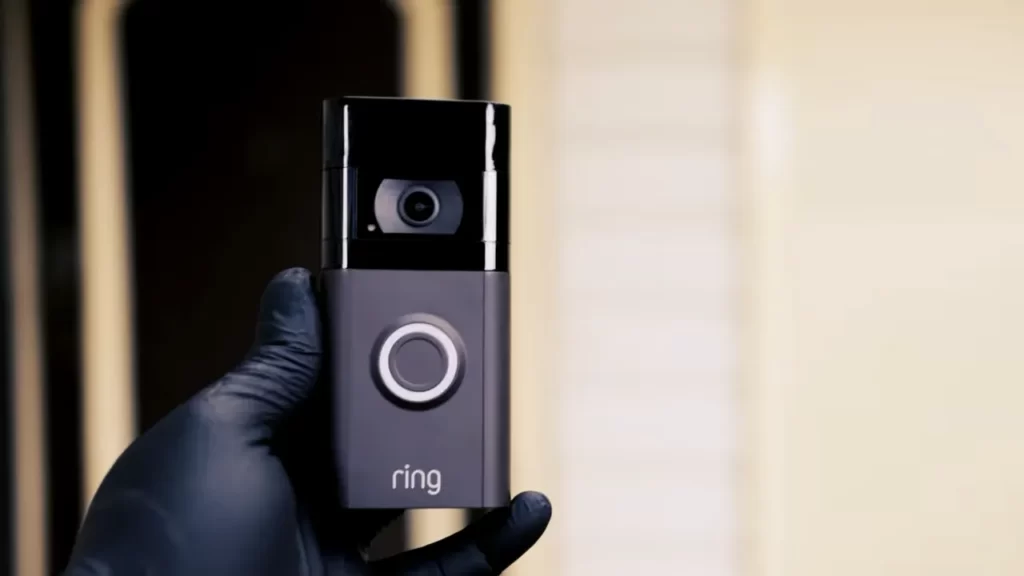
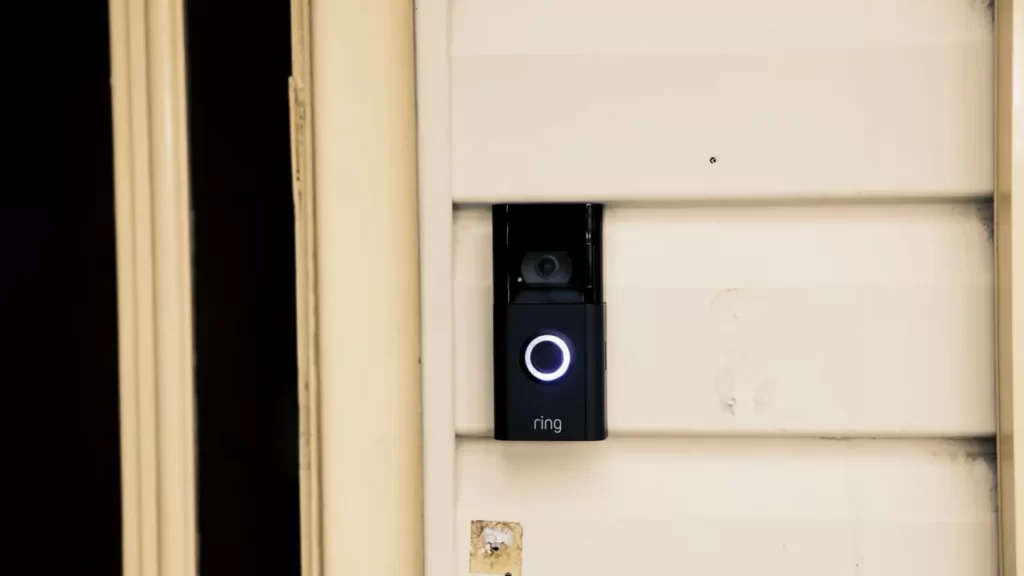
To install the Ring 3 Doorbell, follow these simple steps. First, download the Ring app on your smartphone, create an account, and select “Add a Device.”
Then, follow the in-app instructions to connect the doorbell to your Wi-Fi network and mount it securely near your front door. Adjust the doorbell’s position and angle for optimal visibility, and you’re all set. The Ring 3 Doorbell is a popular smart home device that allows you to monitor your front door from anywhere using your smartphone.
Its easy installation process makes it a convenient choice for homeowners. We will provide a step-by-step guide on how to install the Ring 3 Doorbell, ensuring a hassle-free setup that takes only a few minutes. By following our instructions, you can enhance the security of your home while enjoying the convenience of a smart doorbell. So, let’s get started with the installation process.

Necessary Tools And Equipment
Before you can start installing your Ring 3 Doorbell, you will need to gather all the necessary tools and equipment. Having the right tools and equipment at hand will ensure a smooth installation process and help you achieve optimal performance from your doorbell. In this section, we will discuss the tools required for installation as well as additional equipment that can enhance the performance of your Ring 3 Doorbell.
Tools required for installation
To successfully install your Ring 3 Doorbell, make sure you have the following tools:
- Power drill
- Phillips head screwdriver
- Level
- Tape measure
- Masonry drill bit (if installing on a brick or concrete wall)
- Hammer (if necessary to secure anchors)
These tools are essential for different steps of the installation process. The power drill will be used to make holes for mounting the doorbell and the screwdriver will help secure it in place. The level will ensure that your doorbell is installed evenly and straight, while the tape measure will assist in measuring the appropriate distance.
Additional equipment for optimal performance
In addition to the tools mentioned earlier, there are a few additional equipment that can enhance the performance of your Ring 3 Doorbell:
- Chime kit: If you want to hear the doorbell chime sound inside your home, you will need a compatible chime kit. This kit connects to your Ring 3 Doorbell and emits a sound when the doorbell is pressed.
- Solar charger: For those looking to power their Ring 3 Doorbell using sustainable energy, a solar charger is a great option. This equipment utilizes solar energy to keep your doorbell charged, ensuring uninterrupted functionality.
- Extra batteries: If you prefer using batteries to power your doorbell, having extra batteries on hand will ensure that you never miss a visitor even when the existing batteries run out.
By having these additional equipment, you can optimize the performance of your Ring 3 Doorbell and personalize its functionality to suit your specific needs.
Now that you have a clear understanding of the necessary tools and equipment, you are ready to move on to the next stage of the installation process. In the following section, we will guide you through the step-by-step installation instructions for your Ring 3 Doorbell.
Preparing For Installation
Installing the Ring 3 Doorbell is a straightforward process that requires some careful preparation. Before diving into the installation, it’s important to choose the right location for your doorbell, ensure compatibility, and establish a stable Wi-Fi connection. In this section, we’ll walk you through each of these steps to help you get ready for a successful installation.
Choosing the right location for your Ring 3 Doorbell

Selecting the optimal location for your Ring 3 Doorbell is crucial in order to maximize its performance and functionality. Here are a few key factors to consider:
1. Line of sight: Ensure that the doorbell has an unobstructed view of the area you want to monitor. This will help capture clear footage and provide better security.
2. Height and placement: Mount the doorbell at a height that allows it to capture the desired field of view, typically at about 48 inches above the ground. It’s also important to position it near the existing doorbell wiring, if applicable.
3. Weather resistance: Choose a location that provides protection from the elements, such as rain or direct sunlight. This will help prolong the lifespan of your doorbell and ensure consistent performance.
Checking compatibility and ensuring a stable Wi-Fi connection
Before installing your Ring 3 Doorbell, it’s essential to confirm its compatibility with your existing doorbell system and ensure a strong Wi-Fi connection. Here’s what you need to do:
- Check compatibility: Verify that your existing doorbell system is compatible with the Ring 3 Doorbell. Refer to the manufacturer’s guidelines or consult a professional if needed.
- Assess Wi-Fi signal strength: Use your smartphone or tablet to determine the strength of your Wi-Fi signal near the installed location. It’s essential to have a stable and reliable connection for smooth operation.
- Wi-Fi extender or booster: If you have a weak signal, consider using a Wi-Fi extender or booster to enhance the coverage and eliminate potential connectivity issues.
By carefully selecting the ideal location for your Ring 3 Doorbell and ensuring compatibility and a strong Wi-Fi connection, you are setting the stage for a hassle-free installation process. In the next section, we’ll guide you through the step-by-step instructions for installing your Ring 3 Doorbell. Stay tuned!
Step-By-Step Installation Guide
Installing the Ring 3 Doorbell is a simple process that can be completed in just a few easy steps. In this step-by-step installation guide, we will walk you through each stage of the process, ensuring a seamless installation. So, let’s get started!
Unboxing and Inspecting the Ring 3 Doorbell

The first step is to unbox and inspect the Ring 3 Doorbell. Remove the doorbell from its packaging and carefully inspect it for any signs of damage. Ensure that all the components, including the doorbell itself, mounting bracket, screws, and instruction manual, are present and in good condition. If you notice any defects or missing parts, contact Ring’s customer support for assistance.
Downloading and Setting up the Ring app
Next, you’ll need to download and set up the Ring app on your smartphone or tablet. This app will allow you to control and monitor your Ring 3 Doorbell. Simply visit the App Store or Google Play Store, search for the Ring app, and install it. Once installed, open the app and follow the on-screen prompts to create a new account or log in to your existing Ring account.
Mounting the Doorbell Bracket Securely
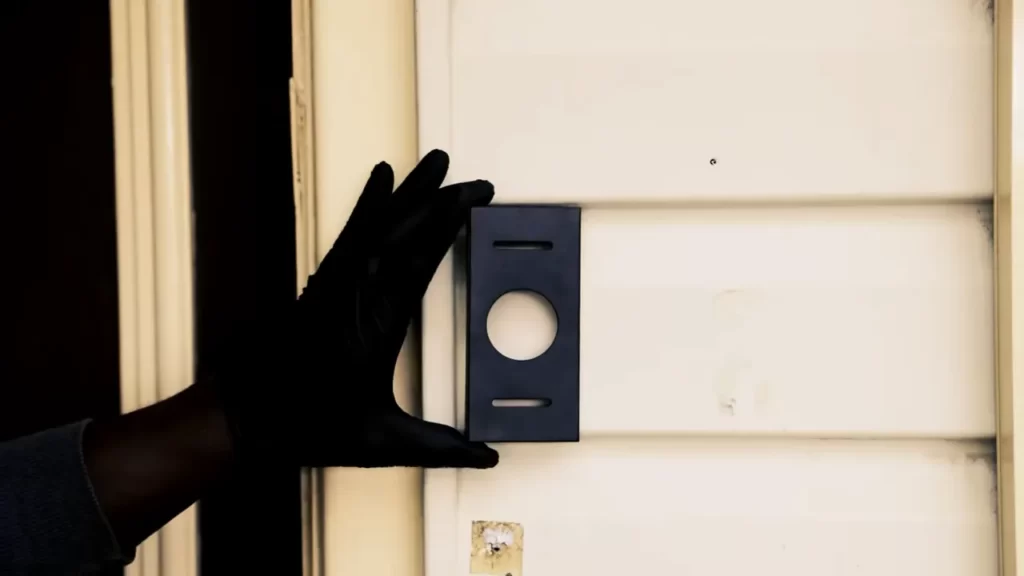
Now it’s time to mount the doorbell bracket securely. Determine the optimal location for your doorbell, ensuring it’s within reach of your Wi-Fi network. Use the provided screws to attach the bracket to your wall or door frame. Make sure the bracket is level and firmly secured to provide a stable base for the doorbell.
Connecting the Doorbell to Your Existing Wiring or Using the Provided Battery
Depending on your preference and setup, you can either connect the doorbell to your existing wiring or use the provided battery. If you choose to connect to your existing wiring, follow the instructions provided in the manual carefully. Alternatively, if you prefer a wireless setup, insert the battery into the doorbell and close the battery compartment securely.
Pairing the Doorbell with the Ring app
With the physical installation complete, it’s time to pair the doorbell with the Ring app. Open the app on your smartphone or tablet and follow the instructions to add a new device. The app will guide you through the pairing process, ensuring a seamless connection between the doorbell and your mobile device.
Adjusting Motion Detection Settings
Once the doorbell is paired with the Ring app, you can customize the motion detection settings to fit your preferences. Open the app and navigate to the settings menu for your doorbell. From there, you can adjust the sensitivity, range, and other motion-related settings to minimize false alerts and optimize detection.
Testing the Doorbell’s Functionality

Lastly, it’s essential to test the doorbell’s functionality to ensure everything is working correctly. Press the doorbell button or trigger the motion detection to verify that you receive notifications on your mobile device. Additionally, check the audio and video quality by making a test call or viewing the live feed through the app.
That’s it! By following this step-by-step installation guide, you can get your Ring 3 Doorbell up and running in no time. Enjoy the added security and convenience that this smart doorbell brings to your home!
Tips And Troubleshooting
Installing the Ring 3 Doorbell is a great way to enhance the security of your home and keep an eye on your property. However, like any technology, it’s not uncommon to encounter a few hiccups along the way. In this section, we’ll provide you with some useful tips and troubleshooting steps to help you make the most of your Ring 3 Doorbell.
Maximizing battery life and optimizing performance
To ensure your Ring 3 Doorbell operates smoothly and efficiently, it’s important to follow these tips:
- Place the doorbell in an area with a strong Wi-Fi signal to minimize connectivity issues.
- Regularly check the battery level using the Ring app, and charge it up to 100% before installation.
- Disable unnecessary features in the app, such as motion alerts for areas with high foot traffic, to extend battery life.
- Adjust motion sensitivity settings to optimize performance. Too high sensitivity can result in false alarms, while too low sensitivity may cause important events to be missed.
- Consider purchasing a solar charger or battery pack to provide a continuous power source and eliminate the need for frequent recharging.
Troubleshooting common installation issues
If you encounter any issues during the installation of your Ring 3 Doorbell, try these troubleshooting steps:
- Ensure that your Wi-Fi connection is stable and that your device is within range of your router.
- Check the placement of your doorbell. If it’s too far or obstructed by walls or other barriers, it may affect the signal strength.
- Reset the doorbell by pressing and holding the setup button for 15 seconds, then follow the setup process again.
- If the doorbell is not connecting to your Wi-Fi network, try restarting your router and re-attempting the setup process.
- Update the firmware of your Ring 3 Doorbell to the latest version to ensure compatibility with the app and any new features.
Contacting Ring support for assistance
If you have exhausted all troubleshooting steps and are still experiencing issues with your Ring 3 Doorbell, don’t hesitate to reach out to Ring’s support team. They are available 24/7 and can provide you with expert guidance to resolve any problems you may be facing.
Before contacting support, make sure to have your device information, account details, and a clear description of the issue ready. You can reach Ring support through the app, website, or by calling their toll-free number listed on their official website.
By following these tips and troubleshooting steps, you can ensure a smooth installation process and maximize the performance of your Ring 3 Doorbell. Enjoy the added peace of mind knowing that your home is well-protected with this advanced doorbell system.
Final Thoughts

Enjoying the Convenience and Security of Your Ring 3 Doorbell
After following the step-by-step installation process for your Ring 3 Doorbell, you can now sit back and enjoy the convenience and security it brings to your home. With its advanced features and user-friendly interface, the Ring 3 Doorbell offers a seamless experience in monitoring your front door and enhancing your home’s security.
Maximizing the Benefits of Ring 3 Doorbell
To fully maximize the benefits of your Ring 3 Doorbell, there are a few additional steps you can take. These will ensure that you make the most out of this innovative smart device.
- Adjust the motion detection settings: Fine-tuning the motion detection settings allows you to customize the notifications you receive. This way, you can avoid unnecessary alerts while still being alerted to important activities.
- Set up a Ring Protect plan: By subscribing to a Ring Protect plan, you gain access to additional features such as video recording and storage. This is extremely useful in case you need to review any past events or share video evidence with authorities if needed.
- Install the Ring app: Downloading and installing the Ring app on your smartphone or tablet enables you to receive instant notifications, view live video streams, and interact with visitors even when you’re not at home.
- Connect to other smart home devices: The Ring 3 Doorbell is compatible with various smart home devices. By integrating it with other devices such as smart locks or smart speakers, you can create a comprehensive and interconnected home security system.
Troubleshooting and Support
If you encounter any issues during the installation process or while using your Ring 3 Doorbell, you can refer to the Ring support website for comprehensive guides and troubleshooting tips. Additionally, Ring offers excellent customer support, ensuring that your concerns are addressed promptly.
In conclusion, installing and setting up your Ring 3 Doorbell is a simple and straightforward process. By following the provided instructions, adjusting the settings to your preferences, and taking advantage of additional features, you can enjoy the convenience and security that this smart doorbell brings to your home.
Frequently Asked Questions On How To Install Ring 3 Doorbell
Does The Ring Video Doorbell 3 Need To Be Wired?
The Ring Video Doorbell 3 does not necessarily need to be wired. It can be wirelessly powered by a rechargeable battery, but you also have the option of connecting it to your existing doorbell wiring for continuous power supply.
Can You Install Ring Doorbell 3 Without Existing Doorbell?
Yes, you can install the Ring Doorbell 3 even if you don’t have an existing doorbell.
How To Install Ring Doorbell 3 Without Wires?
To install Ring Doorbell 3 without wires, follow these steps: 1. Ensure a charged battery is inserted in the doorbell. 2. Download and install the Ring app on your smartphone. 3. Open the app, follow the prompts to set up a new device, and select the doorbell model.
4. Connect the doorbell to your Wi-Fi network in the app’s settings. 5. Mount the doorbell securely at your desired location using the supplied screws and anchors.
Does Ring Doorbell 3 Need A Transformer?
Yes, the Ring Doorbell 3 requires a transformer to provide power for its operation.
Conclusion
Installing the Ring 3 doorbell is a simple and effective way to enhance your home security. With a few easy steps, you can have peace of mind knowing that you’ll never miss a visitor or package again. By following the provided instructions and using the right tools, you can have your Ring 3 doorbell up and running in no time.
Don’t wait any longer, start enjoying the convenience and security that the Ring 3 doorbell offers today!
