To install a storm door handle, first, measure and mark the desired height for the handle on the door. Then, use a drill to create the necessary holes for the handle and latch.
Once the holes are drilled, attach the handle and latch according to the manufacturer’s instructions.
Materials And Tools You’Ll Need
When it comes to installing a storm door handle, having the right materials and tools is essential. With the right equipment at hand, you can ensure a smooth and efficient installation process. In this section, we’ll outline the materials and tools you’ll need to complete the task successfully. So, let’s dive in!
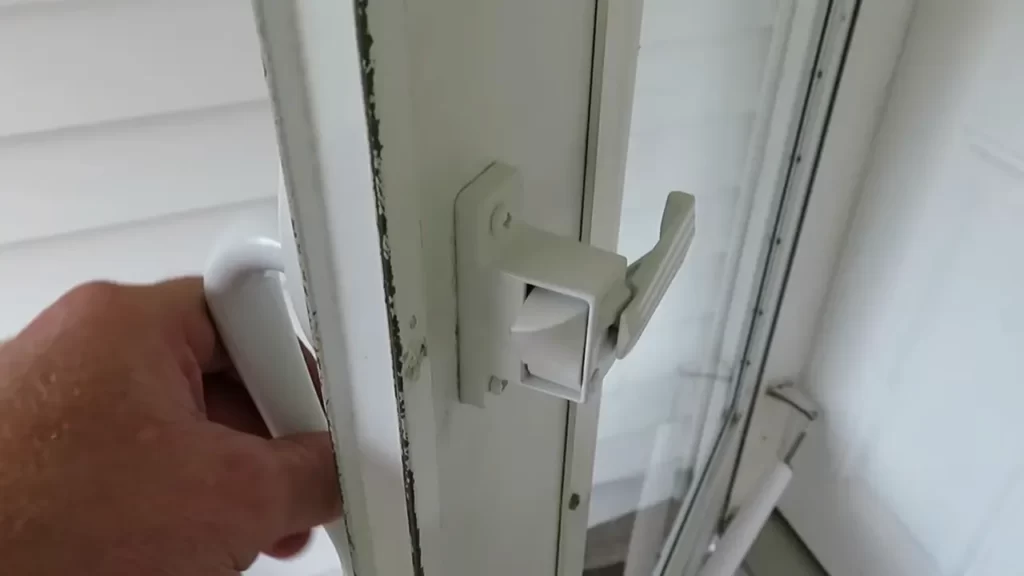
Screwdriver
One of the most crucial tools you’ll need for installing a storm door handle is a screwdriver. This versatile tool comes in different sizes and types, so make sure you have the appropriate one for your specific handle kit. A screwdriver with a comfortable grip can help you effectively tighten the screws and secure the handle in place.
Drill
To make the installation process even more efficient, a drill can be a valuable tool. A drill allows you to create pilot holes for the screws, making it easier to drive them in and ensuring a secure attachment. Make sure to use a drill bit with the right size to match the screws provided in your storm door handle kit.
Measuring Tape
Accuracy is key when it comes to installing a storm door handle. That’s why a measuring tape is an indispensable tool. Use it to measure the precise locations for drilling and mounting the handle components. Taking accurate measurements will help you achieve a professional-looking installation.
Pencil
A simple pencil can play a significant role in your storm door handle installation. Use it to mark the drilling spots and indicate where the handle components should be positioned. This will provide guidance throughout the installation process and ensure proper alignment.
Level
To ensure that your storm door handle is installed correctly and functions smoothly, a level is essential. A level will help you determine if the handle is horizontally straight, indicating that it will function properly and look aesthetically pleasing. Correct alignment will prevent any potential issues when opening and closing the door.
Storm Door Handle Kit
Last but certainly not least, make sure you have a high-quality storm door handle kit. This kit typically includes all the necessary components, such as the handle, screws, and mounting hardware. Ensure that the kit matches your door specifications and complements its design. A well-designed and durable handle will not only enhance the appearance of your door but also provide a reliable grip.
With these materials and tools on hand, you’ll be well-prepared to install a storm door handle with ease. Having the right equipment will save you time and frustration, allowing you to enjoy the benefits of a functional and stylish door handle. So gather your tools and let’s get started on this DIY project!
Preparing The Door For Installation
Before you can install a storm door handle, it’s important to properly prepare the door. This involves removing the existing handle and hardware, as well as cleaning the door surface for a smooth installation.
Remove the existing handle and hardware
The first step in preparing the door is to remove the existing handle and hardware. This may include screws, bolts, or any other fasteners holding the handle in place. Use a screwdriver or the appropriate tool to carefully remove these fasteners, taking care not to damage the door or the surrounding area. Once the fasteners are removed, the handle should easily come off the door.
Clean the door surface for a smooth installation
After removing the old handle, take the time to thoroughly clean the door surface before installing the new handle. Use a mild detergent or a specific cleaning solution recommended for the type of door material you have. Wipe down the surface with a clean cloth or sponge, removing any dirt, dust, or grime that may have accumulated over time. Make sure the surface is completely dry before proceeding with the installation.
To ensure a smooth installation, you may also want to sand down any rough or uneven areas on the door surface. This will help the new handle sit properly and ensure a secure fit. Use a fine-grit sandpaper and gently sand the surface, paying close attention to any imperfections. Once the surface is smooth and even, wipe away any remaining dust or debris.
Once the door surface is clean and prepared, you can move on to actually installing the storm door handle. Following the manufacturer’s instructions, attach the handle and hardware to the door, making sure everything is tight and secure. Step back and admire your work – you now have a properly prepared and installed storm door handle!
Measuring And Marking
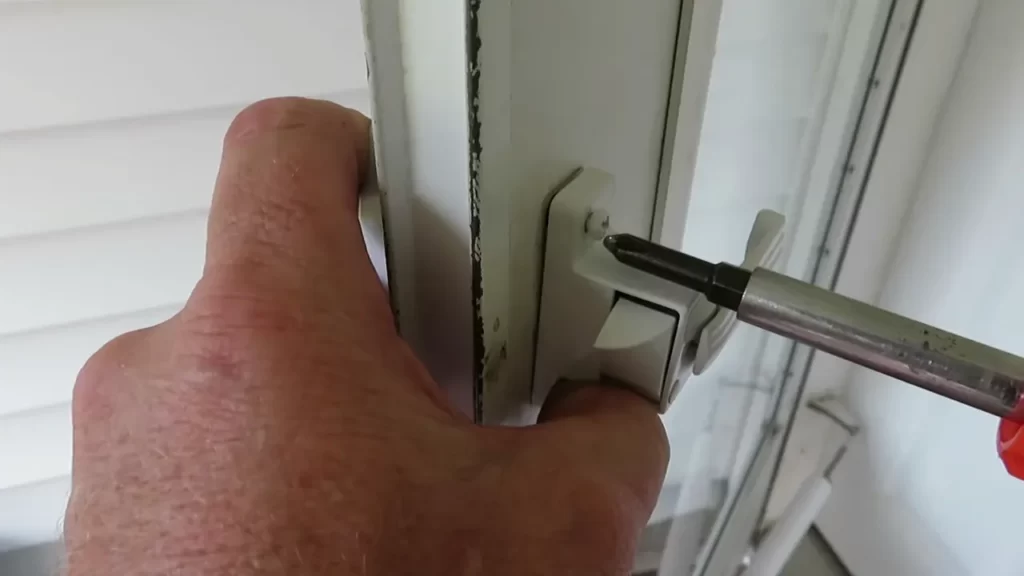
Measuring and Marking: When it comes to installing a storm door handle, one of the first steps is measuring and marking. This is essential to ensure proper placement and alignment of the handle. By following these simple steps, you can easily measure, mark, and prepare your storm door for handle installation.
Measure the height for handle placement:
To start, measure the height at which you want to place your storm door handle. Take into account factors such as the height of other door handles in your home or the comfort level for reaching and operating the handle. Use a tape measure to accurately measure the desired height.
Mark the drilling points on the door:
Once you have determined the height, it’s time to mark the drilling points on the door. Using a pencil or a marker, make small, clearly visible marks on the door where the handle screws will go. Ensure that the marks are level and evenly spaced to ensure a symmetrical and professional-looking installation.
Use a level to ensure accurate alignment:
To ensure that your storm door handle is properly aligned, use a level. Place the level vertically against the door to ensure that the marks you made earlier are perfectly straight and level. Adjust the marks if necessary to achieve accurate alignment. This step is crucial to ensure that your handle functions properly and doesn’t cause any issues when opening or closing the door. By following these steps—measuring the height, marking the drilling points, and using a level for alignment—you can ensure a successful installation of your storm door handle. Taking the time to measure and mark accurately will result in a handle that not only looks aesthetically pleasing but also functions smoothly for years to come. So, grab your measuring tape and level and get ready to install your storm door handle with precision and ease.
Drilling Holes For The Handle
When it comes to installing a storm door handle, one important step is drilling holes for the handle. This ensures that the handle is securely attached to the door and allows for smooth operation. In this section, we will guide you through the process of drilling holes for the handle, from selecting the appropriate drill bit size to creating holes for both the handle and latch.
Select the appropriate drill bit size
Before starting the drilling process, it’s essential to select the appropriate drill bit size. The size of the drill bit should match the specifications provided by the door handle manufacturer. It’s important to follow these specifications to ensure a proper fit.
Start drilling the marked points with a steady hand
Once you have selected the appropriate drill bit size, it’s time to start drilling. Begin by marking the points where the handle and latch will be installed on the door. Use a pencil or marker to make these markings. Then, with a steady hand, position the drill bit on the first marked point and start drilling.
When drilling, make sure to apply steady pressure and keep the drill in a perpendicular position to the door. This will help prevent any accidental damage to the door’s surface. Take your time and proceed with caution to ensure accurate and clean holes.
Create holes for both the handle and latch
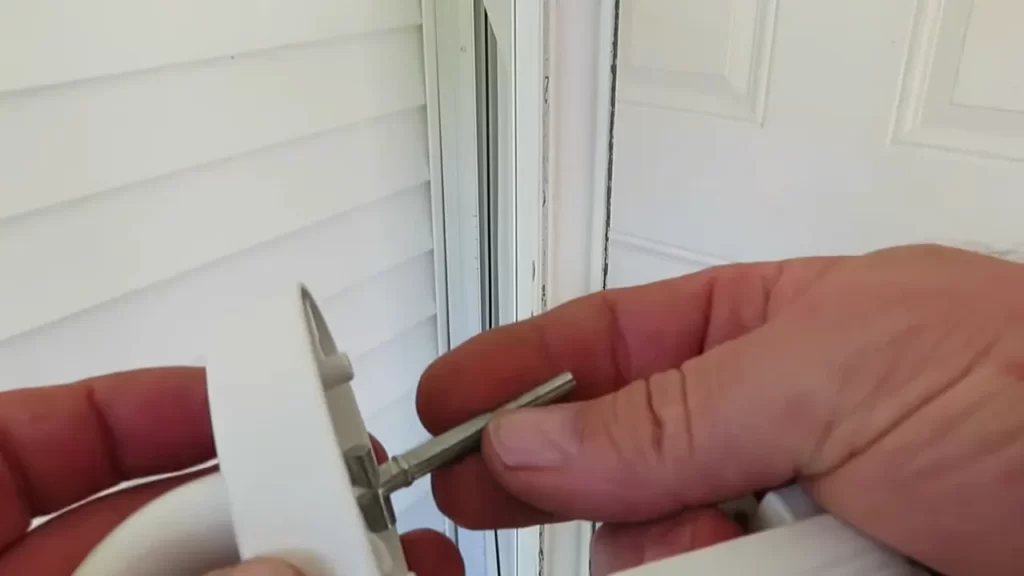
Remember that you’ll need to create holes for both the handle and latch. Carefully drill through the marked points for each component. After drilling holes for the handle, move on to the latch and repeat the process.
If the storm door comes with a template, it’s a good idea to use it as a guide. The template will provide precise measurements and hole placements for a professional-looking installation.
Once you’ve completed drilling the holes for both the handle and latch, you can proceed to the next step in installing the storm door handle. Make sure the holes are clean and free of any debris before attaching the handle and latch components.
In conclusion, drilling holes for the handle is a crucial step in installing a storm door handle. By selecting the appropriate drill bit size, starting with a steady hand, and creating holes for both the handle and latch, you can ensure a secure and functional installation. Remember to follow the manufacturer’s specifications and take your time during the drilling process for optimal results.
Installing The Handle And Latch
Once you have prepared the necessary tools and drilled the holes for your storm door handle, it’s time to install the handle and latch. This step-by-step guide will walk you through the process to ensure a secure and functional installation.
Insert the handle into the drilled holes
The first step is to insert the storm door handle into the holes you’ve drilled on the exterior side of the door. Make sure the handle is positioned correctly and aligned with the holes.
Align the handle with the exterior side of the door
Ensure the storm door handle is aligned with the exterior side of the door. This will ensure that the handle is flush with the surface and will function properly. Take a moment to double-check the alignment before moving on to the next step.
Secure the handle in place with screws
Once the handle is properly aligned, use the screws provided with your storm door handle kit to secure it in place. Insert the screws into the holes on the handle and tighten them using a screwdriver or drill. Be careful not to overtighten as this could damage the handle or strip the holes.
Install the latch mechanism on the interior side
Now it’s time to install the latch mechanism on the interior side of the storm door. Position the latch mechanism in the desired location, making sure it aligns with the corresponding holes on the door. Use the provided screws to secure the latch mechanism in place, just as you did with the handle on the exterior side.
By following these steps, you can easily install a storm door handle and latch and enhance the security and functionality of your storm door.
Verifying Proper Functionality
Test the handle’s operation
Once the storm door handle is installed, it is crucial to verify its proper functionality to ensure it operates smoothly. Testing the handle’s operation will give you the confidence that it will function correctly and serve its purpose effectively. Follow these steps to test the handle’s operation:
- First, make sure the storm door is closed securely.
- Grasp the handle firmly and attempt to turn it in both directions. A well-functioning handle should turn with ease, providing a comfortable grip.
- Notice if there is any resistance or stiffness while turning the handle. If you encounter any difficulties, it may indicate an issue that needs to be addressed.
- Try operating the handle multiple times to ensure its consistent performance. It should not jam or stick at any point during the testing process.
Ensure the latch engages and disengages smoothly
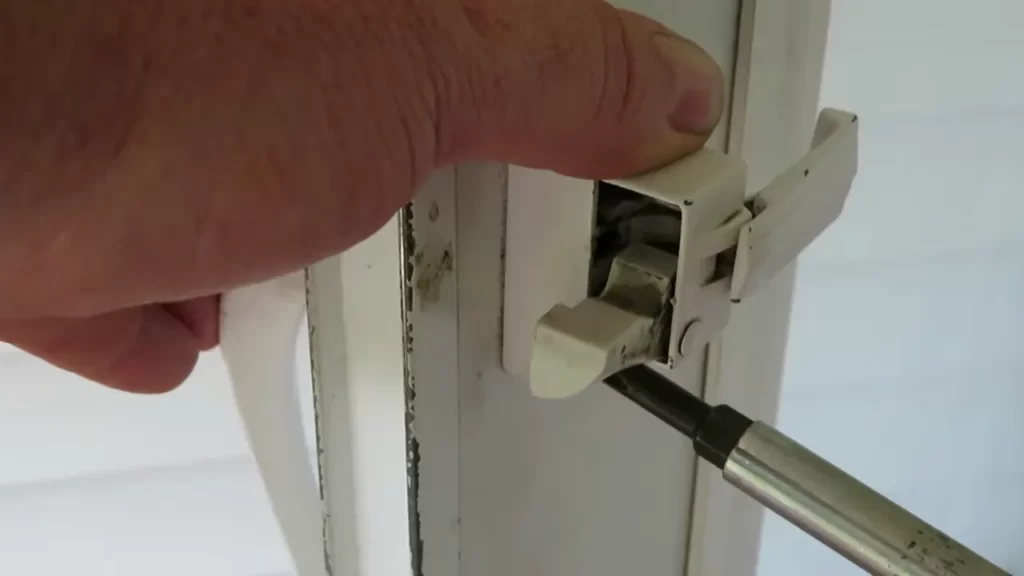
In addition to testing the handle’s turning motion, it is equally important to verify that the latch engages and disengages smoothly. The latch is responsible for securing the storm door and keeping it in place. Here’s how to ensure the latch functions correctly:
- Close the storm door and make sure it is aligned properly.
- Push the handle down gently to engage the latch, and then release it to disengage the latch.
- Pay attention to any unusual noises or resistance while engaging or disengaging the latch. A smooth operation without any hitches or difficulties is essential.
- Repeat this process several times to confirm consistent functionality and to ensure that the latch engages and disengages effectively each time.
Make any necessary adjustments for a perfect fit
At times, you may find that adjustments are needed to achieve a perfect fit and ensure the storm door handle operates flawlessly. These adjustments will help address any issues that may arise during the verification process. Follow the steps below to make necessary adjustments:
- Inspect the alignment of the handle and latch. They should align properly without any gaps or misalignment.
- Check if any screws or bolts need tightening. Loose connections can cause the handle to malfunction or not operate smoothly.
- If you find any misalignment or loose connections, use the appropriate tools to make the necessary adjustments. Ensure that all parts are secure and in the correct position.
- After making adjustments, retest the handle’s operation and the latch engagement to confirm that they are now working perfectly.
By following these steps and verifying the storm door handle’s proper functionality, you can ensure that it operates smoothly, providing both security and convenience. Remember, a properly installed and functional storm door handle enhances the overall performance of your door and adds value to your home.
Adding Finishing Touches
Attach any additional components included in the handle kit
To add those all-important finishing touches to your storm door handle installation, start by checking the handle kit for any extra components that may need to be attached. It’s crucial to carefully follow the manufacturer’s instructions for this step to ensure proper installation. Look for any screws, bolts, or washers that are included, as they may be necessary to secure the handle in place. Take your time during this process to avoid any potential mishaps down the road.
Adjust the tension of the handle if needed
Another important aspect of finishing your storm door handle installation is adjusting the tension of the handle. This step is crucial to ensure proper functionality and longevity of your door handle. To adjust the tension, locate the adjustment mechanism on the handle—usually a small screw or knob—and use a screwdriver or wrench to tighten or loosen it accordingly. Take care not to overtighten or loosen it too much, as this may affect the smooth operation of the handle. Once you’ve made the necessary adjustments, test the handle to ensure it operates smoothly and securely.
Clean up any debris or tool marks
Now that your storm door handle is installed and adjusted, it’s time to give it a final touch-up. Clean up any debris or tool marks that may have been left behind during the installation process. Use a soft cloth or sponge to wipe away any dust, dirt, or fingerprints that may have accumulated. Pay special attention to any visible areas of the handle, including the screws and connections. Ensuring a clean and polished finish will not only enhance the overall appearance of your storm door handle but also help protect it from premature wear and tear. In conclusion, when adding the finishing touches to your storm door handle installation, remember to attach any additional components included in the handle kit, adjust the tension if needed, and clean up any debris or tool marks. By following these steps, you’ll have a properly installed and well-maintained storm door handle that adds both functionality and aesthetic appeal to your home.
Maintaining Your Storm Door Handle
Maintaining Your Storm Door Handle
Once you have installed your storm door handle, it is important to keep it in good condition to ensure smooth operation and extend its lifespan. Regular maintenance can prevent issues such as stiffness, rust, and deterioration. Follow these simple steps to maintain your storm door handle:
<strong>Regularly lubricate moving parts for smooth operation</strong>
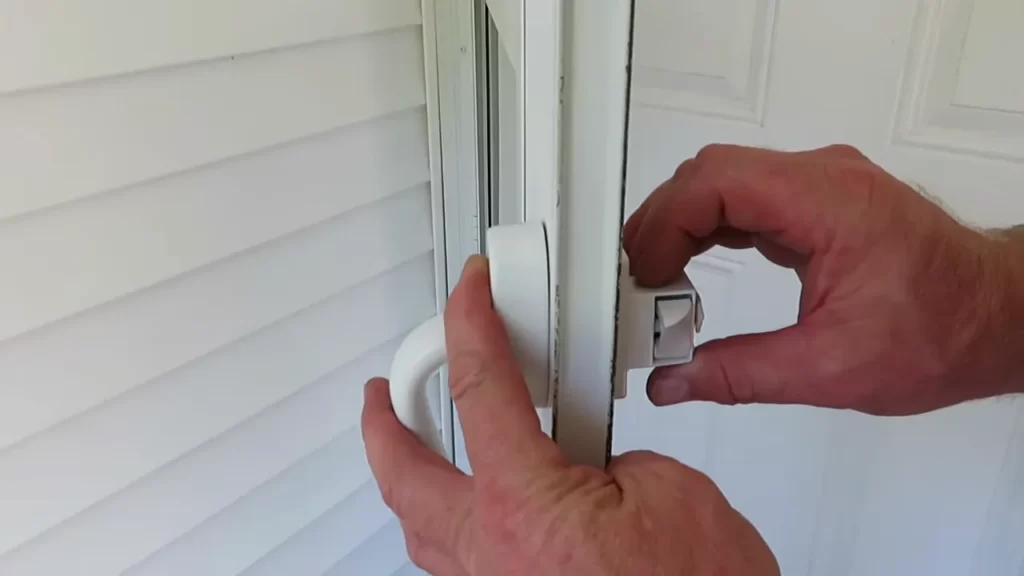
One of the key maintenance tasks for your storm door handle is regular lubrication of the moving parts. Over time, dust and debris can accumulate in the handle mechanism, causing it to become stiff or difficult to operate. To avoid this, apply a lubricant specifically designed for door handles, such as a silicone spray or a dry lubricant. Use the lubricant sparingly, en
Troubleshooting Common Installation Issues
Once you have the storm door handle in hand, it’s time to install it and give your door a fresh new look. However, sometimes things don’t go as planned, and you may encounter some common installation issues. In this section, we will address these issues and provide you with troubleshooting tips so that you can overcome them without breaking a sweat.
Handle Alignment Problems and Their Solutions
One of the most common issues when installing a storm door handle is handle alignment. If the handle is not aligned properly, it can be frustrating and even affect the functionality of the door. Here are a few solutions to help you tackle this problem:
- Ensure that the handle and the latch plate are properly aligned. They should be aligned with the center of the door and the door jamb respectively.
- If the handle is too low or high, you can adjust its position by loosening the screws on the handle and sliding it up or down. Once you have the desired alignment, tighten the screws to secure it in place.
- In some cases, the handle may be misaligned due to a loose or faulty spindle. Check the spindle and tighten it if necessary. If the spindle is damaged, consider replacing it with a new one.
Difficulty in Drilling Holes and How to Overcome It
Another common issue that DIY enthusiasts often face when installing a storm door handle is difficulty in drilling holes. Here’s how you can overcome this challenge:
- Start by using a center punch to create a small indentation at the spot where you want to drill the hole. This will help the drill bit stay in place.
- Use a drill with the appropriate drill bit size for the screw or bolt you are using. Make sure to apply steady and even pressure while drilling.
- If you are having trouble drilling through a particularly tough material, such as metal or thick wood, consider using a lubricant like oil or WD-40 to make the drilling process smoother.
- Be patient and take your time while drilling. Rushing through it may lead to mistakes and uneven holes.
Latch Mechanism Not Engaging Properly and Troubleshooting Tips
A latch mechanism that doesn’t engage properly can be a frustrating issue to deal with. Here are some troubleshooting tips to help you fix this problem:
- Check if the latch plate is properly aligned with the strike plate. Make sure they are aligned vertically and horizontally. Adjust the position of the latch plate if necessary.
- If the latch mechanism is not engaging smoothly, lubricate it with a silicone-based spray or graphite powder. This will help reduce friction and ensure smooth operation.
- Ensure that the strike plate is securely fastened to the door jamb. If it’s loose, tighten the screws to secure it in place.
- If the latch mechanism is still not engaging properly, inspect the latch itself for any damage or wear. If needed, replace the latch with a new one.
By addressing these common installation issues and following the troubleshooting tips provided, you will be able to install your storm door handle with ease and ensure its proper functionality. Don’t let these issues discourage you; with a little patience and the right approach, you’ll have your storm door handle installed in no time!
Frequently Asked Questions Of How To Install Storm Door Handle
Can You Replace Just The Handle On A Storm Door?
Yes, you can replace just the handle on a storm door. It’s a simple and cost-effective solution to update the look or functionality of your door. Ensure you choose a handle that is compatible with your door’s brand and size.
Should A Storm Door Handle Be On The Same Side As The Main Door?
Yes, a storm door handle can be on the same side as the main door. It is a matter of personal preference and convenience. Some people prefer the handle to be on the same side for easy access, while others might prefer it on the opposite side for aesthetic reasons.
There is no right or wrong placement for the storm door handle.
Are All Storm Door Handles Interchangeable?
Not all storm door handles are interchangeable. It depends on the door’s design and the type of handle you have. Check the measurements and specifications to ensure compatibility.
How Should A Door Handle Be Installed?
To install a door handle, follow these steps: 1. Start by measuring and marking the correct position on the door. 2. Next, drill holes as per the handle’s instructions and insert the screws. 3. Ensure the handle is properly aligned and tighten the screws.
4. Finally, check the handle’s functionality by testing its movement.
Conclusion
Storm door handles are a crucial component of any storm door installation. With the step-by-step guide provided in this blog post, you now have all the necessary information to successfully install a storm door handle on your own. Remember to gather the required tools and follow the instructions carefully for a smooth installation process.
By doing so, you can enhance the functionality and security of your storm door while adding a touch of style to your home. So, get started and enjoy the benefits of a properly installed storm door handle today!
