To install a web camera on your laptop, first, check if your laptop has a built-in camera. If not, purchase an external web camera and connect it to your laptop using a USB cable.
Are you wondering how to install a web camera on your laptop? Whether you want to enhance your video calling experience, attend online meetings, or capture memories with friends and family, having a webcam is essential. Installing a web camera on your laptop is a straightforward process that requires a few simple steps.
We will guide you through the process of installing a web camera on your laptop, ensuring that you can start using it in no time. So, let’s dive in and discover how to install a web camera on your laptop effortlessly.
Choosing The Right Web Camera
How to Install Web Camera on Laptop
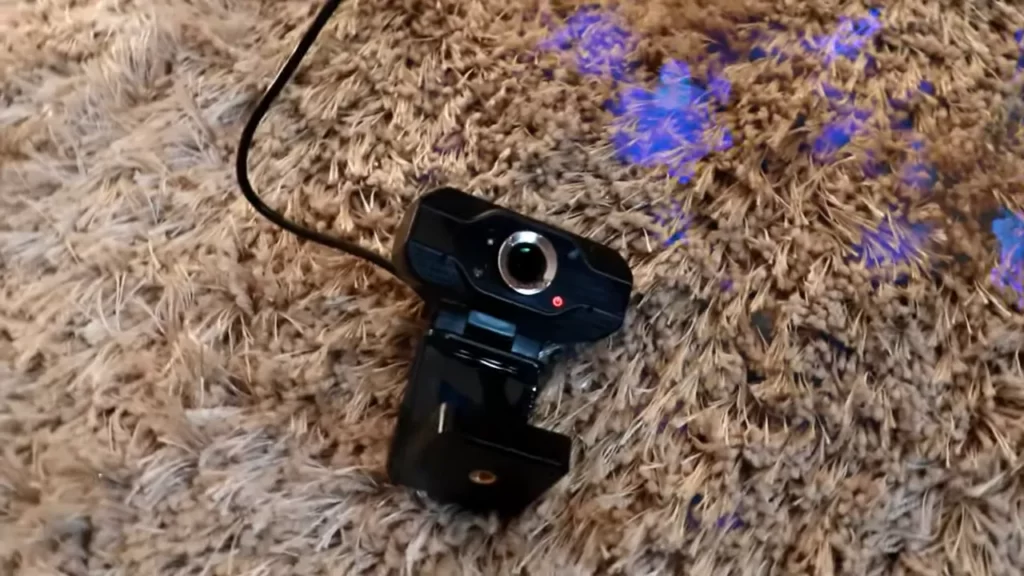
When it comes to installing a web camera on your laptop, choosing the right one can make a significant difference in the quality of your video calls and recordings. Whether you use your laptop for video conferencing, streaming, or simply capturing memories with loved ones, selecting a web camera that meets your needs is essential. In this article, we will explore the factors to consider when choosing a web camera, understand the different types available, and provide a list of recommended web camera models for laptops.
Factors to Consider when Choosing a Web Camera
Before diving into the world of web cameras, it’s important to be aware of the factors that can impact your decision-making process. Keeping these considerations in mind will help you choose a web camera that suits your requirements perfectly. Here are some key factors to consider:
- Resolution: The resolution of the web camera determines the clarity and sharpness of the video output. High-definition (HD) cameras with resolutions of 1080p or higher capture finer details, resulting in a more immersive visual experience.
- Frame Rate: A higher frame rate ensures smoother and more natural-looking videos. Look for web cameras with a frame rate of 30 frames per second (fps) or higher to avoid choppy and laggy video output.
- Low-Light Performance: If you often find yourself in dimly lit environments or have late-night video calls, consider a web camera with good low-light performance. Look for features like low-light correction and enhanced sensitivity to ensure clear video even in challenging lighting conditions.
- Field of View: The field of view (FOV) indicates how much of the surrounding area the web camera can capture. Wide-angle lenses with larger FOV allow for more people or details to be included in the frame, making them ideal for group video calls and capturing wider scenes.
- Compatibility: Verify that the web camera you choose is compatible with your laptop’s operating system. Whether you use Windows, macOS, or Linux, ensure that the camera’s drivers are supported to prevent any compatibility issues.
Understanding Different Types of Web Cameras
Web cameras come in various shapes and sizes, each with its own unique features and applications. Understanding the different types can help you make an informed decision when selecting a web camera for your laptop. Here are the main types of web cameras:
| Type | Description |
|---|---|
| Built-in Cameras | These web cameras are integrated into laptops or monitors. They are convenient but may lack the same quality and flexibility offered by external web cameras. |
| USB Web Cameras | These cameras connect to a laptop via a USB port, allowing for easy installation and connection. They often feature adjustable stands or clips for flexible positioning. |
| Wireless Cameras | These cameras operate wirelessly, connecting to your laptop through Wi-Fi or Bluetooth. They offer increased flexibility in terms of placement as they are not restricted by cables. |
Recommended Web Camera Models for Laptops
If you’re unsure where to start your search for the perfect web camera for your laptop, here are some highly recommended models to consider:
- Logitech C920: Offering full HD 1080p resolution, 30fps, and excellent low-light performance, the Logitech C920 is a popular choice among professionals and casual users alike.
- Microsoft LifeCam HD-3000: This budget-friendly option provides 720p HD resolution, a built-in noise-canceling microphone, and compatibility with Windows operating systems.
- Razer Kiyo: Designed specifically for streaming, the Razer Kiyo combines a high-definition camera with a built-in ring light for professional-looking videos in any lighting condition.
By considering the factors mentioned above and exploring the various types of web cameras available, you can make an informed decision when choosing a web camera for your laptop. Remember to assess your specific needs, budget, and intended use to find the perfect match that will enhance your video communication and recording experience.
Setting Up The Web Camera Software
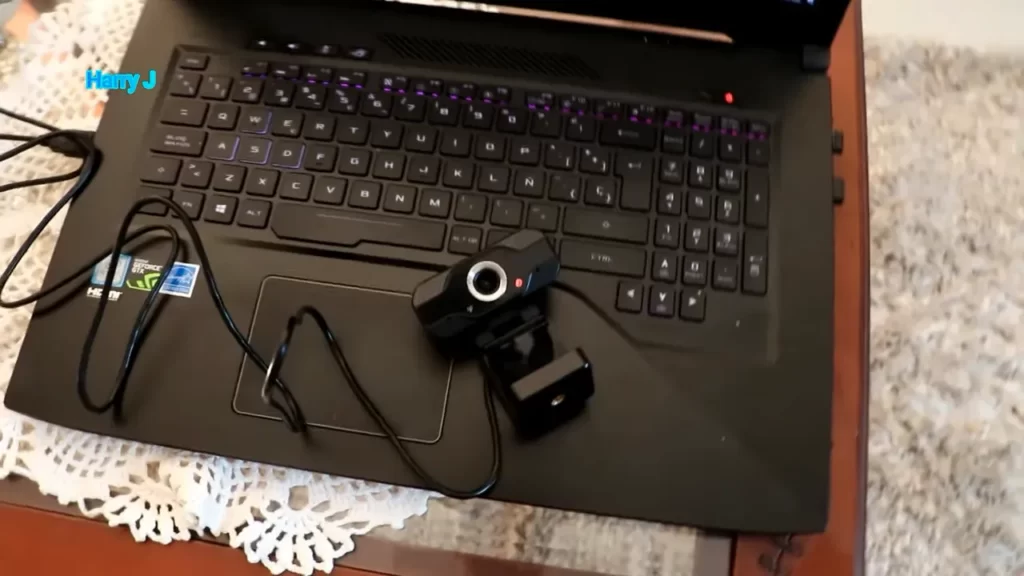
Setting Up the Web Camera Software
Installing a web camera on your laptop opens up a whole new world of video conferencing, online streaming, and video recording possibilities. However, before you can start enjoying these features, it’s important to set up the web camera software correctly. This involves installing the necessary drivers for the web camera, configuring its settings, and troubleshooting any software installation issues that may arise along the way. In this guide, we’ll walk you through each step to ensure a seamless and hassle-free setup process.
Installing the necessary drivers for the web camera
Before you can begin using your web camera, you need to install the appropriate drivers on your laptop. These drivers enable your computer to recognize and communicate with the camera, allowing you to capture and transmit video footage. Here’s a step-by-step guide to installing the necessary drivers:
- Start by connecting your web camera to your laptop using the provided USB cable. Ensure that the camera is properly connected and turned on.
- Now, open your web browser and navigate to the manufacturer’s website. Look for the “Support” or “Downloads” section of the website.
- Once you’ve found the appropriate section, search for the drivers specific to your web camera model. Make sure to select the drivers compatible with your operating system (Windows, macOS, etc.).
- Download the drivers and save them to a location on your laptop where you can easily find them, such as the desktop or Downloads folder.
- Now, locate the downloaded driver file and double-click on it to begin the installation process. Follow the on-screen prompts to install the drivers. If prompted, restart your laptop to complete the installation.
Congratulations! You have successfully installed the necessary drivers for your web camera. It’s now time to move on to configuring the camera settings to ensure optimal performance and functionality.
Configuring the web camera settings
Once the drivers are installed, it’s important to configure the settings of your web camera to enhance its performance. Here are the steps to follow:
- Launch the web camera software that came with your drivers. You can usually find it in your list of installed programs or by searching in the Start menu.
- Upon opening the software, you may be prompted to grant it access to your camera. Make sure to allow access, as this is necessary for the software to capture video.
- Inside the software, you’ll find various settings and options to customize your web camera experience. These may include adjusting resolution, frame rate, brightness, contrast, and zoom levels.
- Take some time to explore and experiment with these settings until you achieve the desired image quality and performance. Be sure to save your changes once you’re satisfied with the configuration.
By configuring the web camera settings according to your needs and preferences, you’ll be able to capture high-quality video and enjoy a smooth video conferencing or streaming experience.
Troubleshooting common software installation issues
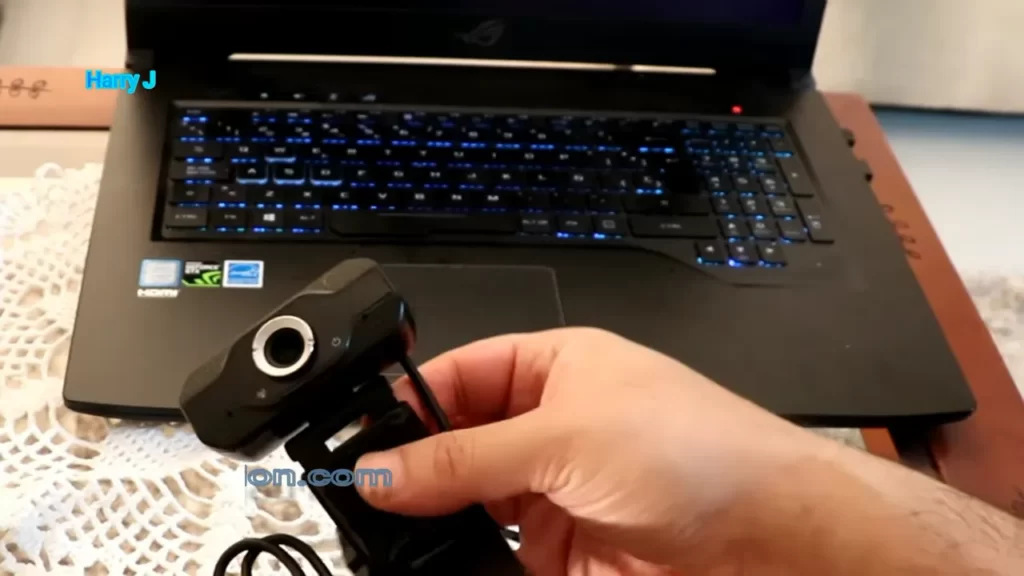
While installing the web camera software, you may encounter certain issues. Here are some common problems and their solutions:
| Issue | Solution |
|---|---|
| No drivers available for your operating system | Check the manufacturer’s website regularly for updates or consider contacting their support team for assistance. |
| Installation gets stuck or fails | Try disconnecting and reconnecting the web camera, then restarting the installation process. If the problem persists, try installing the software in compatibility mode or consult the manufacturer’s support for further troubleshooting. |
| Camera not recognized by the software | Ensure that the camera is properly connected to your laptop. Try using a different USB port or cable. If the issue persists, check the manufacturer’s website for any specific troubleshooting steps related to your web camera model. |
By following these troubleshooting steps, you’ll be able to resolve common software installation issues and ensure a smooth setup process for your web camera.
There you have it! By meticulously installing the necessary drivers, configuring the web camera settings, and troubleshooting any software installation issues, you can now fully enjoy the functionality and convenience that a web camera brings to your laptop. It’s time to engage in video calls, record videos, or live stream your content with confidence!
Physical Installation Of The Web Camera
Installing a web camera on your laptop is a simple process that allows you to enhance your video conferences, stream content, or connect with loved ones visually. In this article, we will guide you through the physical installation of a web camera. By following these steps, you’ll be up and running in no time.
Locating the appropriate USB port on the laptop
First, you need to identify the appropriate USB port on your laptop. USB ports are typically located on the sides or back of the device. These ports are rectangular-shaped, and they have a symbol resembling three arrows pointing towards a dot. Once you have located the USB port, ensure that it is not obstructed by any objects.
Connecting the web camera to the laptop
Now that you have identified the USB port, it’s time to connect your web camera. Begin by unplugging the USB cable from the camera if it is already connected. Then, take the USB end of the web camera cable and insert it firmly into the identified USB port on your laptop. Make sure the connection is secure and snug.
Adjusting the position and angle of the web camera
After connecting the web camera, it is important to adjust its position and angle to ensure optimal functionality and visibility. Place the web camera on top of your laptop screen or any flat surface that provides a stable support. Gently adjust the camera angle, tilting it up or down, and rotating it left or right until you achieve the desired view. Position the camera so that it captures your face clearly and is at eye level.
Remember, finding the perfect angle and position might take a few adjustments. Experimenting with the camera placement will help you determine the most flattering and convenient setup for your video calls or recordings.
Testing And Optimizing The Web Camera
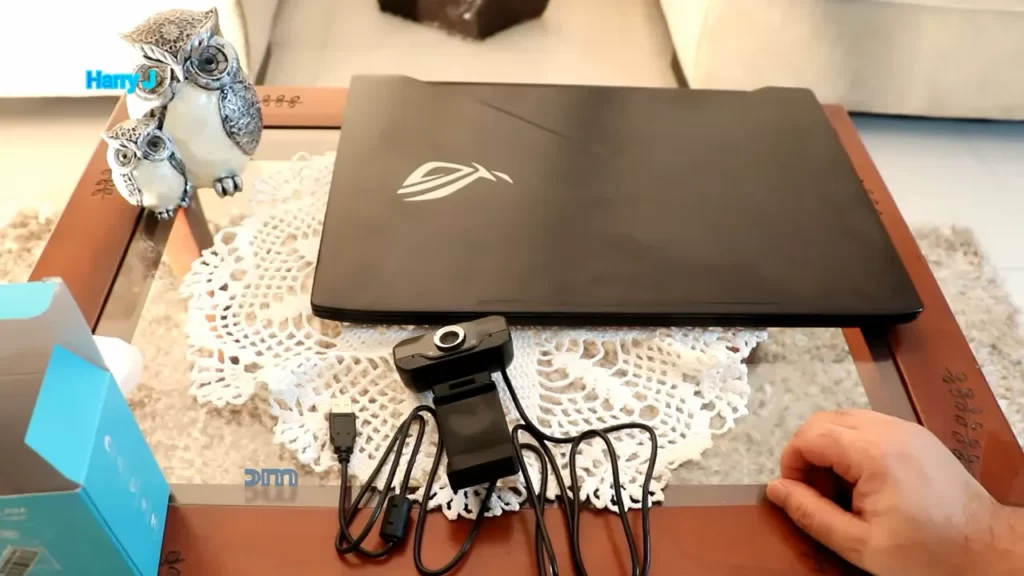
When it comes to installing a web camera on your laptop, the job is not complete until you have tested and optimized its performance. Testing and optimizing your web camera ensures that it is functioning properly and delivering high-quality video and audio. In this section, we will guide you through the necessary steps to verify if your web camera is functioning properly, adjust the video and audio settings for optimum performance, and test the web camera with different applications and platforms.
Verifying if the web camera is functioning properly
Before you start adjusting any settings or testing your web camera with different applications, it is important to verify if the camera is functioning properly. Follow these steps to check:
- Ensure that your web camera is securely connected to your laptop.
- Open the camera application on your laptop. Most laptops come with pre-installed camera software, but if you don’t have one, you can download a camera app from your laptop manufacturer’s website.
- Check if your camera is recognized by the software. You should see a live video feed from your camera.
- Move around and check if the camera captures your movements smoothly. If the video is lagging or freezing, there may be an issue with the camera or its drivers.
- If your camera is not functioning properly, try restarting your laptop and repeating the steps. If the issue persists, you may need to update the camera drivers or contact technical support for further assistance.
Adjusting the video and audio settings for optimum performance
Once you have verified that your web camera is functioning properly, it’s time to optimize its performance by adjusting the video and audio settings. Follow these tips:
- Open the camera application on your laptop and access the settings menu. This will vary depending on the software you are using, but you can typically find the settings by clicking on a gear or options icon.
- Adjust the video resolution. Higher resolutions provide sharper images but may require more processing power. Choose a resolution that strikes a balance between quality and performance.
- Set the frame rate. Higher frame rates result in smoother video playback but may require more bandwidth. Again, find a balance that suits your needs.
- Check the audio settings. Ensure that the microphone associated with your web camera is selected as the primary audio input device. Adjust the microphone volume as needed to avoid distorted or too quiet audio.
- Take advantage of any additional settings offered by your camera software, such as brightness, contrast, or zoom. Experiment with these options to find the best settings for your video meetings or online content creation.
Testing the web camera with different applications and platforms
After verifying and adjusting the settings, it’s important to test your web camera with different applications and platforms to ensure its compatibility and functionality. Follow these steps:
- Open a video conferencing application, such as Zoom or Skype, and initiate a test call. Check if your camera is recognized and working properly in the application. Adjust the settings within the application if needed.
- Try using your web camera in a video recording application, such as OBS Studio or Windows 10’s built-in Camera app. Record a short video and review the playback to ensure that the audio and video quality meet your expectations.
- If you plan to use your web camera for live streaming, test it with the streaming platform you prefer. Ensure that the camera is detected and the streaming quality is smooth without dropped frames.
By testing your web camera with different applications and platforms, you can be confident that it will perform as expected in various scenarios. Remember to periodically revisit your camera settings and test it again to ensure consistent performance.
Maintaining And Troubleshooting The Web Camera
Once you have successfully installed your web camera on your laptop, it becomes important to regularly maintain and troubleshoot it to ensure optimal performance. In this section, we will discuss some essential tips for cleaning and maintaining your web camera, as well as common issues that you might encounter and how to troubleshoot them. Additionally, we will explore the importance of seeking professional help for more complex web camera problems.
Tips for cleaning and maintaining the web camera
Proper cleaning and maintenance of your web camera are crucial for preserving its longevity and functionality. Follow these tips to keep your web camera in top shape:
- Use a microfiber cloth or lens cleaning solution specifically designed for electronic devices to clean the camera lens and the surrounding area. Avoid using harsh chemicals or abrasive materials as they can damage the camera.
- Regularly wipe down the exterior of the camera to remove any dust or debris that may accumulate over time.
- Handle the camera with clean hands to prevent transferring oils or dirt onto the lens.
- Avoid exposing the web camera to extreme temperatures or humidity, as this can adversely affect its performance.
- Store the camera in a clean and dry place when not in use to protect it from potential damage.
Common issues with web cameras and how to troubleshoot them
Web cameras can sometimes encounter problems that hinder their functionality. Here are some common issues you might come across and their corresponding troubleshooting methods:
| Issue | Troubleshooting |
|---|---|
| The camera is not recognized by the laptop | Ensure that the camera is properly connected to the laptop’s USB port.Check if the camera drivers are installed correctly and up to date.Restart your laptop and try connecting the camera again. |
| Poor image or video quality | Clean the camera lens to remove any dirt or smudges.Adjust the camera settings for brightness, contrast, and focus.Make sure there is adequate lighting in the room. |
| The camera freezes or crashes | Restart your laptop and try using the camera again.Update the camera drivers to the latest version.Close any other applications that may be using the camera simultaneously. |
Seeking professional help for complex web camera problems
In case you encounter more complex issues with your web camera that cannot be resolved through basic troubleshooting methods, it is advisable to seek professional help. Professional technicians have the knowledge and expertise to diagnose and fix intricate camera problems. They can provide a thorough assessment and offer solutions tailored to your specific needs.
Remember, regular maintenance and troubleshooting can significantly prolong the lifespan of your web camera and ensure that it continues to deliver high-quality performance. By following the tips mentioned above and seeking professional assistance when necessary, you can enjoy uninterrupted video calls, conferences, and content creation with your laptop’s web camera.
Frequently Asked Questions For How To Install Web Camera On Laptop
How Do I Install A Webcam On My Laptop?
To install a webcam on your laptop, follow these simple steps: First, check if your laptop has a built-in webcam. If not, purchase and connect an external webcam to your laptop’s USB port. Next, install any necessary software or drivers that come with the webcam.
Finally, adjust the webcam settings as desired.
How Do I Setup My Webcam On My Computer?
To set up your webcam on your computer: 1. Plug in the webcam to a USB port. 2. Allow your computer to recognize the webcam drivers. 3. Open your computer’s camera app or download webcam software. 4. Adjust webcam settings for resolution, audio, and video quality.
5. Test the webcam to ensure it’s working properly.
How Do I Install A Webcam On My Laptop Windows 10?
To install a webcam on your Windows 10 laptop, follow these steps: 1. Connect the webcam to your laptop using a USB cable. 2. Windows 10 should automatically detect the webcam and install the necessary drivers. 3. If not, visit the webcam manufacturer’s website and look for drivers compatible with Windows 10.
4. Download and install the drivers, then restart your laptop. 5. Your webcam should now be installed and ready to use.
How Can I Use My Webcam Instead Of My Laptop Camera?
To use your webcam instead of your laptop camera, first connect your webcam to your computer via USB. Then, open the settings or preferences of the application you want to use the webcam with. Look for options related to video settings and select your webcam as the preferred camera.
Finally, save the settings and you’re ready to use your webcam for video calls or recordings.
How Do I Install A Web Camera On My Laptop?
To install a web camera on your laptop, plug it into an available USB port and wait for the system to detect and install the necessary drivers.
Conclusion
Installing a web camera on your laptop can greatly enhance your video conferencing and communication experience. By following the step-by-step guide provided in this blog post, you can easily set up your webcam and start enjoying its benefits in no time.
With the right equipment and a simple installation process, you’ll be able to connect with friends, family, and colleagues from anywhere in the world. Say goodbye to blurry video calls and hello to crisp and clear communication. Get started today and elevate your online interactions with a web camera installation on your laptop.
