o install a wired doorbell, first, turn off the power to the area. Then, remove your old doorbell and disconnect the wiring before attaching the new doorbell by connecting the wires to the correct terminals.
Are you looking to install a wired doorbell for your home? A wired doorbell provides a reliable and long-lasting option for alerting you to visitors at your door. Unlike wireless doorbells, which rely on batteries and can be prone to interference, wired doorbells connect directly to your home’s electrical system.
In this guide, we will walk you through the steps to install a wired doorbell, from turning off the power to connecting the wiring to the correct terminals. By following these simple instructions, you can have a functioning wired doorbell in no time.
Gathering The Necessary Tools And Supplies

Before you start installing a wired doorbell, it’s important to gather all the tools and supplies you’ll need. This will ensure that you have everything handy and can complete the installation smoothly. In this section, we will provide you with a checklist of tools and supplies, as well as some safety precautions to keep in mind.
Checklist of tools and supplies needed
To install a wired doorbell, you will need the following tools and supplies:
- A wired doorbell kit: This includes the doorbell button, chime, and necessary wiring.
- A screwdriver: Ensure you have both a flathead and a Phillips head screwdriver to cover all types of screws.
- A voltage tester: This will help you test the wires for electrical current before working on them.
- Wire strippers: These will be used to remove the insulation from the ends of the wires.
- Drill and drill bits: You might need a drill to create holes for mounting the doorbell button and chime.
- Electrical tape: This will be used to secure the wire connections.
- Wire connectors: These connectors will help you join wires securely.
- A level: This will ensure that your doorbell is installed straight.
- A ladder or step stool: Depending on the height of your doorbell installation, you might need one to reach the desired area.
Safety precautions to keep in mind
When working with electrical installations, it’s essential to prioritize your safety. Follow these precautions to ensure a safe installation:
- Turn off the power: Before you start installing the wired doorbell, make sure to turn off the power to avoid any electric shocks.
- Wear protective gear: Use safety goggles and gloves to protect your eyes and hands during the installation process.
- Work in a well-lit area: Proper lighting will help you see what you’re doing and minimize the chances of accidents.
- Read the instructions: Carefully read the instructions provided with your wired doorbell kit to understand the installation process and any specific safety guidelines.
- Test the wires: Use a voltage tester to ensure that the wires do not have any electrical current running through them before handling.
- Secure loose wires: Make sure to secure any loose wires with electrical tape to prevent them from interfering with the installation or causing any hazards.
- Ask for assistance if needed: If you are unsure about any part of the installation, it’s always better to seek help from a professional electrician.
Gathering the necessary tools and supplies is the first step towards successfully installing a wired doorbell. By following the checklist and keeping safety precautions in mind, you’ll be well-prepared to complete the installation easily and efficiently.
Preparing For Installation
When it comes to installing a wired doorbell, proper preparation is key. Taking the time to plan and prepare before diving into the installation process can save you time, effort, and potential headaches down the line. In this section, we will discuss the essential steps in preparing for the installation of a wired doorbell, including choosing the right location, checking existing wiring or installing new wiring, and ensuring compatibility with your home’s electrical system.
Choosing the Right Location for the Doorbell
Before beginning the installation, it’s important to choose the right location for your wired doorbell. Consider factors such as visibility from the entrance, accessibility for visitors, and the proximity to the power source. Ideally, the doorbell should be placed near the main entrance, easily visible to anyone approaching the door. Take into account any obstacles that may hinder the sound transmission, such as thick walls or furniture. In addition, ensure that the chosen location is protected from direct sunlight or excessive exposure to rain or other elements to prevent damage to the doorbell.
Checking Existing Wiring or Installing New Wiring

Next, you’ll need to determine if your home already has existing wiring for a doorbell. Locate the existing doorbell wiring by checking for wires behind your current doorbell or in the area near your front door. If you find existing wiring, inspect it for any damage or wear and tear. Ensure that the wires are intact and in good condition before proceeding with the installation. If you don’t have existing wiring or if the existing wiring is faulty, you’ll need to install new wiring. This may require some basic electrical knowledge or the assistance of a professional electrician.
Ensuring Compatibility with Your Home’s Electrical System
Before proceeding with the installation, it’s important to ensure that your chosen wired doorbell is compatible with your home’s electrical system. Check the voltage requirements of the doorbell, as well as the type of wiring needed. Different doorbell models may require specific voltage levels or wiring configurations. Refer to the manufacturer’s instructions or consult an electrician if you are unsure about compatibility. It’s crucial to ensure that the doorbell is appropriately matched to your electrical system to prevent any damage or malfunctions.
In conclusion, preparing for the installation of a wired doorbell involves choosing the right location, checking for existing wiring, and ensuring compatibility with your home’s electrical system. By taking the time to plan and prepare, you can ensure a smooth and successful installation process.
Installing The Wired Doorbell
Installing a wired doorbell can be a great addition to your home, providing you with a reliable alert system for visitors at your door. While it might seem like a daunting task, with the right tools and instructions, you can easily complete the installation process yourself. In this guide, we will take you through step by step instructions for installing a wired doorbell, from mounting the doorbell button to testing the functionality of your new system.
Mounting the doorbell button
The first step in installing a wired doorbell is to mount the doorbell button on the exterior of your home. To do this, follow these steps:
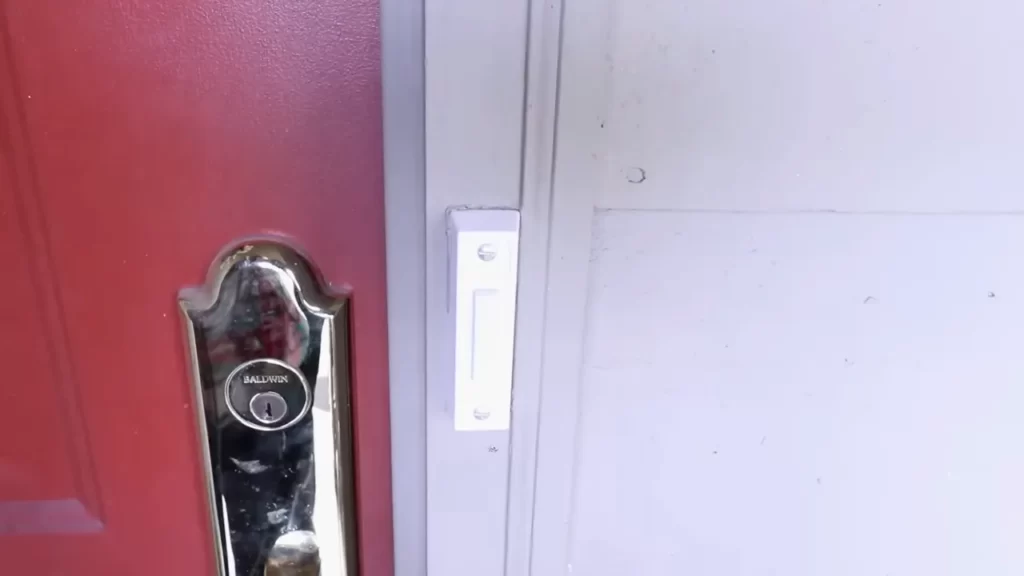
- Choose a suitable location near your front door for the doorbell button. Make sure it is easily accessible and visible to your visitors.
- Using a drill, create holes in the wall or door frame to accommodate the screws for the doorbell button.
- Securely fasten the doorbell button to the wall or door frame using the provided screws.
Connecting the wires to the doorbell button
Once the doorbell button is securely mounted, it’s time to connect the wires. Follow these steps:
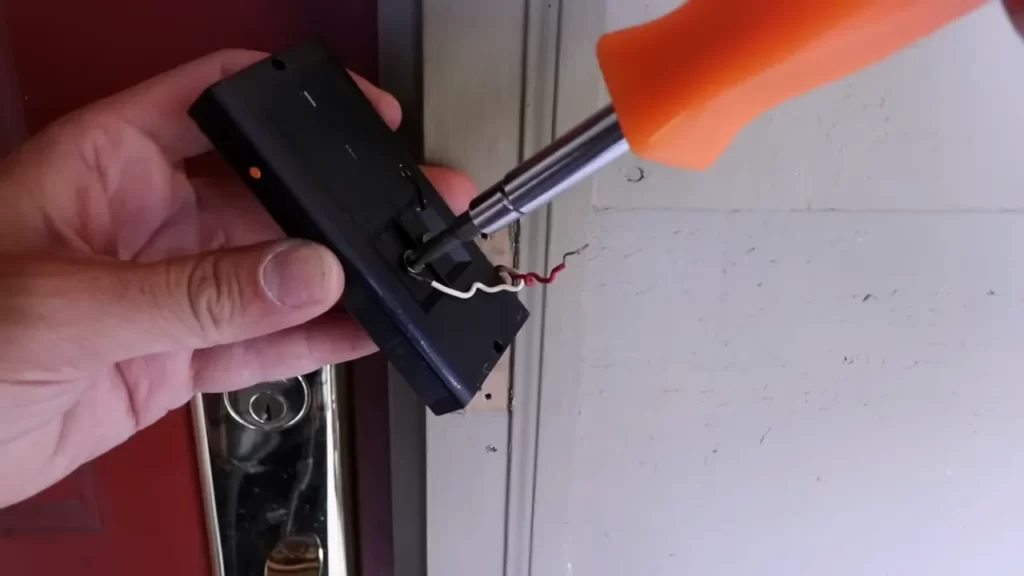
- Strip the insulation from the end of the doorbell wires to expose the bare copper ends.
- Attach the wires to the corresponding terminals on the back of the doorbell button. Ensure that the wires are securely connected.
Securing the doorbell chime in a suitable location
After connecting the wires to the doorbell button, you need to secure the doorbell chime inside your home. Here’s how:
- Select a location for the doorbell chime that is centrally located and easily audible throughout your home.
- Using screws or adhesive, mount the doorbell chime securely to the wall or in a convenient location.
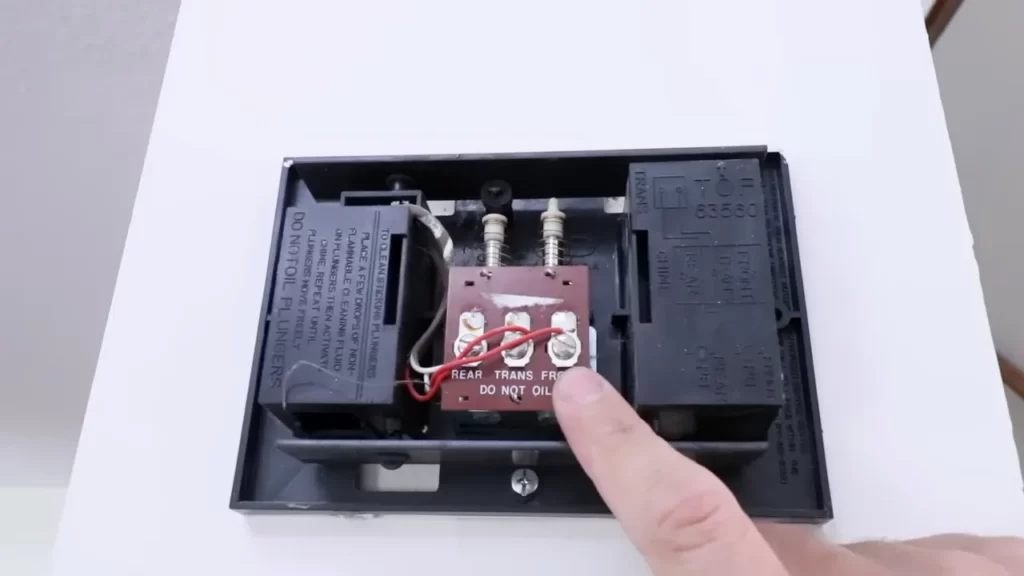
Connecting the wires to the doorbell chime

With the doorbell chime securely in place, it’s time to connect the wires. Follow these steps:
- Strip the insulation from the end of the doorbell wires to expose the bare copper ends.
- Attach the wires to the corresponding terminals on the back of the doorbell chime. Ensure that the wires are securely connected.
Testing the doorbell functionality
Now that everything is connected, it’s time to test your newly installed wired doorbell system. Follow these steps:
- Press the doorbell button to see if the chime rings. If it does, congratulations! Your wired doorbell is working correctly.
- If the chime does not ring, double-check all the connections, ensuring that the wires are securely attached and properly connected to the doorbell button and chime.
- If the problem persists, consult the manufacturer’s instructions or seek professional assistance.
With these step-by-step instructions, you can successfully install a wired doorbell in your home. Enjoy the convenience and peace of mind that come with knowing you’ll never miss a visitor at your door!
Troubleshooting And Tips
Installing a wired doorbell may seem like a straightforward task, but it can sometimes come with its fair share of challenges. In this section, we will explore some common installation issues and their solutions, discuss the importance of ensuring proper voltage and power supply, and provide some useful tips for a successful installation and improving doorbell performance. Let’s dive in!
Common installation issues and solutions
Despite the simplicity of a wired doorbell installation, you may encounter a few hiccups along the way. Here are some common issues you may face and how to resolve them:
- Doorbell not ringing: If your newly installed wired doorbell doesn’t seem to ring when pressed, double-check the wiring connections. Make sure they are secured properly and that the wires are not damaged. Also, ensure that the doorbell chime is properly wired and receiving power.
- Weak or no sound: If you experience a weak or no sound when the doorbell is pressed, check the voltage of your transformer. It should meet the power requirements of your doorbell. If the voltage is low, consider upgrading to a higher-rated transformer to ensure a stronger and clearer sound.
- Continuous buzzing or humming noise: A continuous buzzing or humming noise coming from the doorbell could indicate an issue with the wiring. Inspect the wiring connections, ensuring they are securely connected and not touching any metal surfaces. If the issue persists, you may need to replace the wiring entirely.
- Intermittent ringing: If your doorbell only rings occasionally or inconsistently, it could be due to a loose connection or a faulty doorbell button. Check the wiring connections at both ends, ensuring they are firmly connected. If the problem persists, consider replacing the doorbell button.
- Insufficient range: If your doorbell’s wireless range is not sufficient to reach all areas of your home, try repositioning the doorbell and receiver to reduce obstructions. You can also consider installing a signal booster or upgrading to a doorbell with a longer range.
Ensuring proper voltage and power supply

Proper voltage and power supply are crucial for the optimal functioning of your wired doorbell. Here’s what you need to keep in mind:
- Check the voltage rating: Before proceeding with the installation, ensure that your doorbell and transformer’s voltage ratings match. Using a transformer with a higher or lower voltage can cause issues such as weak sound or even damage to the doorbell.
- Inspect the transformer: Carefully examine the transformer for any signs of damage or wear. If you notice any issues, such as cracked casing or exposed wires, replace the transformer to ensure safe and reliable power supply.
- Use a dedicated circuit: To avoid any potential power fluctuations or interference, it is recommended to connect your doorbell to a dedicated circuit. This will help maintain a stable power supply and prevent disruptions in the functioning of the doorbell.
Tips for a successful installation and improving doorbell performance
To ensure a smooth installation and optimize your wired doorbell’s performance, consider the following tips:
- Read the instructions: Before starting the installation process, thoroughly read the user manual or installation guide provided by the manufacturer. Familiarize yourself with the steps and safety precautions to avoid any unnecessary mistakes.
- Test the doorbell before finalizing the installation: Before mounting the doorbell and completing the installation, test it to ensure that it functions correctly. Press the doorbell button and verify if the chime rings as expected. This will help identify any issues early on and save you time troubleshooting after the installation is complete.
- Secure the wiring: Properly secure the wiring throughout the installation process. Use clips or staple the wires along the wall or molding to prevent them from getting damaged or interfering with other electrical components.
- Consider using wire nuts or electrical tape: To maintain secure connections between wires, use wire nuts or electrical tape. This will protect the wires from accidental disconnection and ensure a reliable and long-lasting installation.
- Regular maintenance: Perform regular maintenance checks on your wired doorbell to ensure its longevity and optimal performance. Clean the doorbell button and chime periodically to remove any dirt or debris that may affect their functionality. Additionally, inspect the wiring for any signs of wear or damage and replace as needed.
By following these troubleshooting tips and best practices, you can overcome common installation issues, ensure proper voltage and power supply, and improve your wired doorbell’s performance. Enjoy the convenience and security of a functional doorbell system in your home!
Frequently Asked Questions For How To Install Wired Doorbell
Is It Hard To Install A Wired Doorbell?
Installing a wired doorbell is fairly simple. Just follow the provided instructions, connect the wires, and mount the doorbell. It doesn’t require any professional expertise or special skills. Enjoy the convenience of a wired doorbell in no time!
Do You Need An Electrician To Hardwire A Doorbell?
Yes, you need an electrician to hardwire a doorbell. An electrician is required for proper installation and wiring of the doorbell system to ensure it functions correctly and safely.
Can You Install A Wired Doorbell Without Existing Doorbell?
Yes, you can install a wired doorbell even if you don’t have an existing doorbell. Choose a suitable location, connect the necessary wiring, and follow the installation instructions provided with the doorbell.
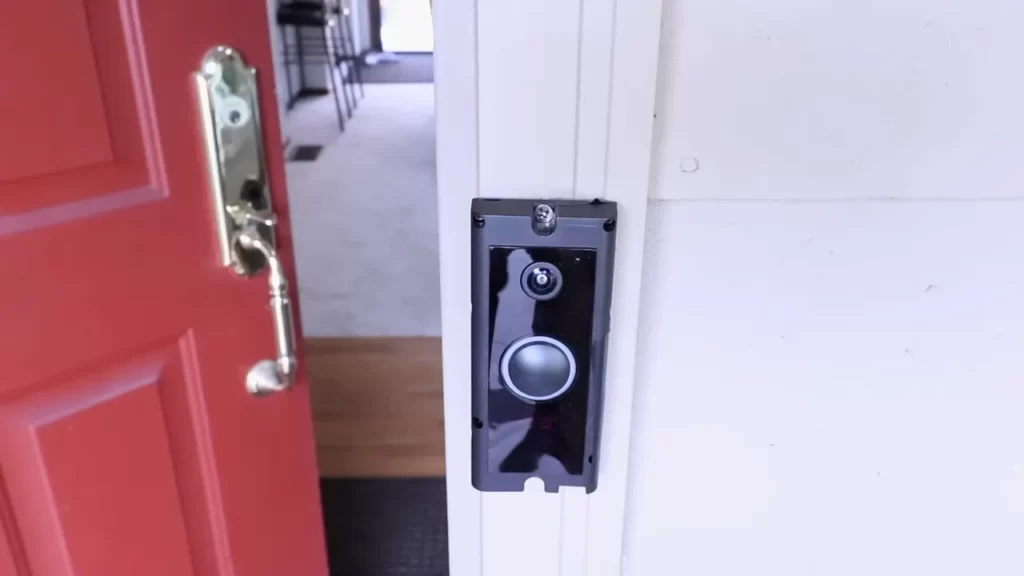
How Do You Install A Hardwired Doorbell Camera?
To install a hardwired doorbell camera, follow these steps: 1. Turn off the power to the existing doorbell. 2. Remove the old doorbell and connect the camera’s wires to the doorbell wires. 3. Mount the camera in the desired location. 4.
Connect the camera to the power supply. 5. Turn the power back on and test the doorbell camera.
Conclusion
Installing a wired doorbell is a simple and convenient way to enhance the security of your home. By following the step-by-step instructions outlined in this blog post, even those with little to no technical experience can successfully complete the installation process.
Remember to gather all the necessary tools and materials beforehand, and always prioritize safety throughout the installation. With a wired doorbell in place, you can enjoy peace of mind and added convenience for years to come.
