To install a wired Ring Camera, you need to mount the camera, connect the wires, and set up the device using the Ring app. Installing a wired Ring Camera involves mounting the camera, connecting the wires, and setting up the device using the Ring app.
This comprehensive guide will walk you through the steps necessary to successfully install your wired Ring Camera. By the end of this tutorial, you’ll have a fully functioning wired Ring Camera system to monitor your home or property. So, let’s get started with the installation process and ensure your security needs are met effectively.
Preparing For Installation
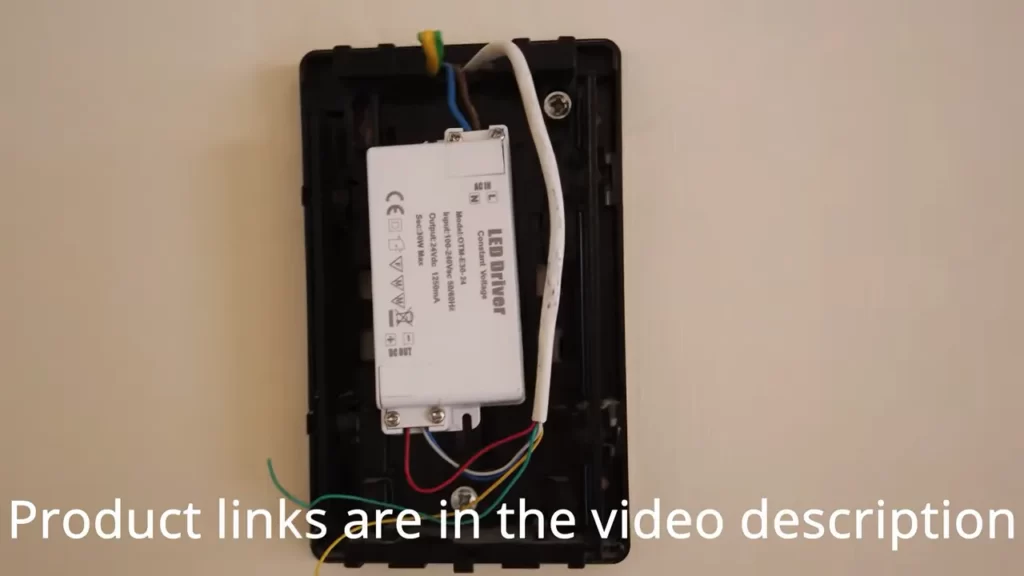
Preparing for Installation Before you can start enjoying the enhanced security and peace of mind that a wired Ring camera provides, it is crucial to properly prepare for its installation. In this guide, we will walk you through the important steps of choosing the ideal location for your Ring camera, gathering the necessary tools and materials, and ensuring the compatibility of your camera with your device. By following these steps, you can ensure a smooth and successful installation process. Choosing the Right Location for Your Ring Camera To maximize the effectiveness of your Ring camera, it is crucial to choose the right location. Here are a few key factors to consider when selecting the optimal spot for your camera: – Ensure a clear line of sight: Start by identifying an area where the camera will have an unobstructed view of the desired surveillance area. This will help capture clear and detailed footage. – Consider the power source: Since the Ring camera is wired, make sure you choose a location near a power outlet or have a plan in place to extend the power supply to the camera. – Evaluate the Wi-Fi signal: It is essential to have a strong Wi-Fi signal at the installation location to ensure uninterrupted streaming and communication with your device. Consider using a Wi-Fi extender if the signal strength is weak. – Weatherproof and tamper-resistant: Opt for a location that provides protection against weather elements, such as rain, snow, and excessive sunlight. Additionally, choose a spot where the camera is less likely to be tampered with or damaged. Gathering the Necessary Tools and Materials To ensure a hassle-free installation process, gather the following tools and materials beforehand: – Wired Ring camera: Ensure you have the correct model of the wired Ring camera that suits your requirements. – Power drill: A power drill will be essential for mounting the camera securely. – Drill bit: Use a drill bit of the appropriate size to create holes for mounting screws. – Screwdriver: Depending on the mounting hardware provided with the camera, you may need a screwdriver to fasten the screws. – Mounting hardware: Check the packaging of your Ring camera to ensure you have all the necessary mounting brackets, screws, and anchors. Checking Compatibility with Your Device Before proceeding with the installation, it is vital to ensure the compatibility of your camera with the device you will be using to control and monitor it. Here are the steps to confirm compatibility: – Check device specifications: Review the specifications of your device, such as smartphone or tablet, to ensure it meets the minimum requirements specified by Ring. This includes the operating system, memory, and processing power. – Confirm Ring app compatibility: Ensure that your device is compatible with the Ring app by checking its compatibility with the respective app store. – Install and update the Ring app: If you haven’t already, install the Ring app on your device. Remember to keep the app updated to access the latest features and improvements. By following these steps to choose the right location, gather the necessary tools and materials, and confirm compatibility with your device, you will be well-prepared for the installation of your wired Ring camera. In the next section, we will guide you through the step-by-step process of installing and setting up your camera, so stay tuned!
Connecting The Camera To Power
Before you can start using your wired Ring camera to enhance the security of your home, you need to connect it to a power source. This step is crucial as it ensures your camera is powered on and ready to capture any potential incidents that may occur.
Determining the power source for your camera
The first step in connecting your wired Ring camera to power is identifying the appropriate power source. Depending on the location of your camera and the available power outlets, you may have a few options to choose from.
In most cases, it is recommended to connect your camera to a reliable and steady power source. This ensures that the camera will function efficiently without any interruptions. Consider a power outlet that is easily accessible and offers a stable electrical supply.
It is also important to note that the power source should be weatherproof and protected from the elements, especially if you plan on installing an outdoor camera. This helps to prevent any potential damage that could be caused by moisture or other environmental factors.
Identifying the type of power cable required
Once you have determined the power source, the next step is to identify the type of power cable required for your wired Ring camera. The type of cable you need may vary depending on the specific model of your camera.
Most wired Ring cameras come with a power cable that includes a plug for the camera end and a standard electrical plug for the power source end. It is important to ensure that the cable is compatible with both the camera and the power outlet.
Before making your purchase, you can check the product specifications or consult the user manual to determine the specific type of power cable required for your camera model. This will help you ensure a seamless and hassle-free installation process.
Connecting the power cable to the camera and the power source
Once you have determined the correct power cable for your wired Ring camera, you are ready to connect it to both the camera and the power source.
Start by locating the power input port on your camera. This is usually located on the back or bottom of the camera, depending on the model. Insert the plug of the power cable into the power input port until it is securely connected.
Next, locate the power outlet you have chosen as the power source. Insert the standard electrical plug of the power cable into the power outlet, ensuring a tight and secure connection.
Once both ends of the power cable are connected, you can power on your camera and begin using it to monitor your home’s surroundings.
Remember, it is important to regularly check the power connections to ensure they stay secure and there are no loose cables. Regular monitoring will help maintain a consistent power supply to your camera, ensuring its optimal performance.
Mounting The Camera
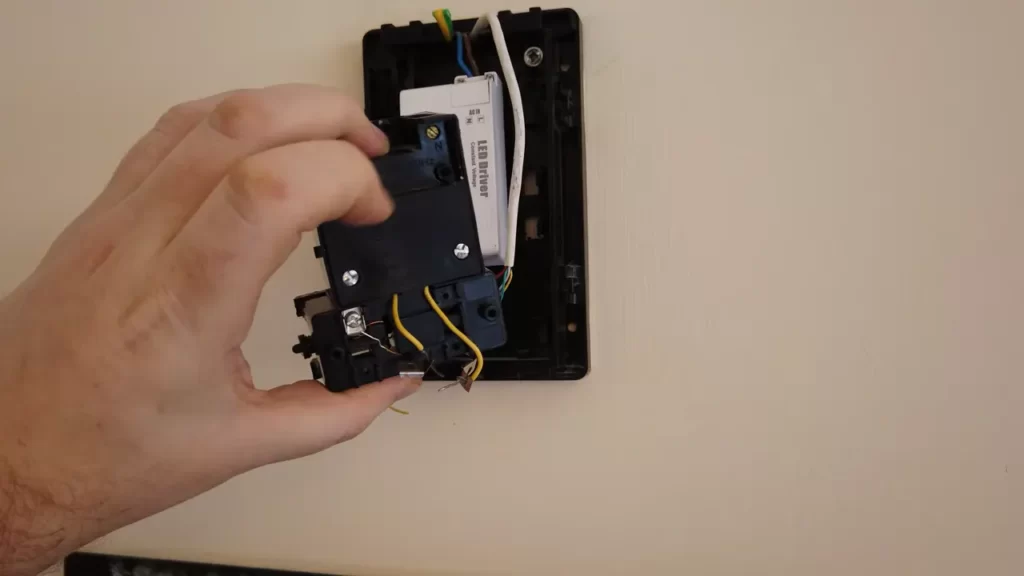
Mounting the camera is a crucial step in installing your wired Ring camera. Proper placement and positioning of the camera ensure that it captures the best possible footage and provides optimal security for your home. In this guide, we will take you through the process of mounting the camera on a wall or ceiling, selecting the appropriate mounting method, and adjusting the camera angle for optimal viewing.
Selecting the appropriate mounting method
Before you start mounting your wired Ring camera, you need to select the appropriate mounting method based on your specific needs and the structure of your home. Ring offers several mounting options, including brackets, mounts, and plates, each designed to accommodate different surfaces and mounting locations.
To determine the best mounting method for your camera, consider the following factors:
- The type of surface you will be mounting the camera on, such as a wall or ceiling.
- The location of the camera, whether it will be indoors or outdoors.
- The specific features and specifications of your wired Ring camera model.
By carefully considering these factors, you can ensure that you choose the right mounting method for your wired Ring camera.
Mounting the camera on a wall or ceiling
Once you have selected the appropriate mounting method, it’s time to mount your wired Ring camera on a wall or ceiling. Follow these step-by-step instructions:
- Locate the ideal spot for mounting the camera, keeping in mind that it should provide a clear view of the area you want to monitor.
- Using a pencil, mark the spots where you will be drilling holes for the mounting screws or bolts.
- If you are mounting the camera on a wall, ensure that you are drilling into a solid surface or use wall anchors for added support.
- If you are mounting the camera on a ceiling, make sure that it is securely attached to a stable structure.
- Mount the camera bracket, mount, or plate on the marked spots using the appropriate screws or bolts.
- Ensure that the camera is firmly attached to the mounting bracket, mount, or plate, and tighten any screws or bolts as necessary.
Following these steps will ensure that your wired Ring camera is securely mounted on a wall or ceiling, ready to capture any activity in its view.
Adjusting the camera angle for optimal viewing
After mounting the camera, it’s important to adjust the camera angle for optimal viewing. This step ensures that the camera captures the desired area and provides the best possible footage. Follow these guidelines to adjust the camera angle:
- Using the adjustment mechanism provided with your wired Ring camera, gently tilt the camera up, down, left, or right to achieve the desired viewing angle.
- Ensure that the camera is aimed at the area you want to monitor, such as an entrance, driveway, or backyard.
- Regularly test the camera angle and make any necessary adjustments to capture the most relevant footage.
By adjusting the camera angle, you can optimize the viewing position and maximize the effectiveness of your wired Ring camera’s surveillance capabilities.
Configuring The Camera Settings
Once you have successfully installed your wired Ring camera, it’s time to configure the camera settings. This step is crucial as it allows you to personalize your camera’s functionality and ensure that it works seamlessly with your home Wi-Fi network. In this section, we will walk you through the process, step by step.
Connecting the camera to your Wi-Fi network
The first thing you need to do is connect your Ring camera to your home Wi-Fi network. This will enable your camera to communicate with your mobile device and send you live video footage or real-time alerts. To connect your camera to your Wi-Fi network, follow these steps:
- Open the Ring app on your mobile device and tap on the “Devices” tab at the bottom of the screen.
- Select your camera from the list of devices.
- Tap on “Device Settings” and then “Network Settings”.
- Choose the option to connect to a Wi-Fi network.
- Follow the on-screen prompts to connect your camera to your Wi-Fi network by entering your network’s SSID and password.
- Wait for a few moments while your camera establishes a connection to your Wi-Fi network.
Once your camera is successfully connected to your Wi-Fi network, you can move on to the next step, which is downloading and installing the Ring app on your mobile device.
Downloading and installing the Ring app on your mobile device
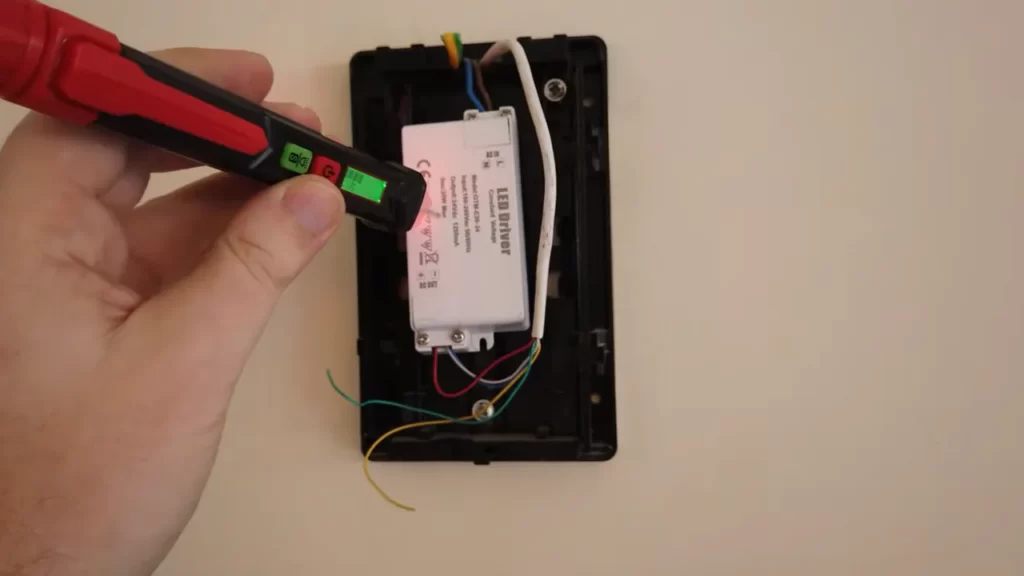
The Ring app is the central hub for controlling and managing your Ring camera. It allows you to access live video feeds, customize motion detection settings, and receive real-time notifications. To download and install the Ring app on your mobile device, follow these simple steps:
- Open the App Store (for iPhone users) or Google Play Store (for Android users) on your mobile device.
- Search for “Ring” in the search bar.
- Select the official Ring app from the search results.
- Tap on “Install” or “Get” to start the download process.
- Wait for the app to finish downloading and installing on your device.
Once the Ring app is successfully installed on your mobile device, you are ready to set up your Ring camera through the app.
Setting up your Ring camera through the app
To start using your Ring camera, you need to set it up through the Ring app. This process ensures that your camera is properly configured and synchronized with your mobile device. Follow these steps to set up your Ring camera:
- Launch the Ring app on your mobile device.
- Tap on the “Devices” tab at the bottom of the screen.
- Select your camera from the list of devices.
- Tap on “Device Settings” and then “Set Up Device”.
- Follow the on-screen instructions to complete the setup process, which may include scanning a QR code on your camera.
- Once the setup is complete, you can customize various camera settings, such as motion detection sensitivity, video quality, and recording duration.
By following these steps and configuring the camera settings, you can ensure that your wired Ring camera is up and running, ready to protect your home and provide you with peace of mind.
Testing And Troubleshooting
After successfully installing your Wired Ring Camera, it’s essential to test and troubleshoot the device to ensure it’s functioning correctly. This step will help you verify the camera’s connection, adjust necessary settings, and troubleshoot any issues that may arise during the installation process. Let’s explore the key steps involved in testing and troubleshooting your Wired Ring Camera.
Verifying the camera’s connection and live view
Once installed, it’s crucial to verify the connection between your Wired Ring Camera and the associated app or monitoring system. Follow these steps to ensure a seamless connection:
- Open the app or monitoring system on your device.
- Select the camera you want to test from the list of connected devices.
- Observe the live view of the camera to ensure that it’s streaming properly.
- Check for any lag or delay in the video feed, which may indicate a weak connection or network issue.
- If there are any connection issues, try repositioning the camera or moving it closer to the network router for a stronger signal.
- Test the camera’s two-way audio functionality by speaking through the app and listening for the sound to be transmitted to the camera.
Remember: It’s essential to verify the camera’s connection and live view regularly to ensure optimal performance.
Adjusting camera settings for motion detection and recording
Once you’ve confirmed the camera’s proper connection, it’s time to adjust the settings for motion detection and recording. These settings determine how the camera behaves when it senses motion in its field of view. Here’s how you can customize these options:
- Open the app or monitoring system, and navigate to the camera’s settings.
- Locate the motion detection settings and adjust the sensitivity as per your preference.
- Configure the motion zones to define specific areas where you want the camera to focus on detecting motion.
- Enable or disable the recording feature based on whether you want the camera to capture video footage when motion is detected or not.
- Set the duration of the recordings, ensuring it aligns with your storage capacity and requirements.
Pro tip: Be mindful of adjusting sensitive settings to strike the right balance between capturing important events and minimizing false alarms triggered by non-threatening activities.
Troubleshooting common installation issues
While installing your Wired Ring Camera, you may encounter a few common issues. Here are some troubleshooting steps to help resolve these problems:
| Issue | Solution |
|---|---|
| No power to the camera | Check if the power source is functional and the camera is securely plugged in. Consider trying a different power outlet or using a different power adapter. |
| Weak Wi-Fi signal | Reposition the camera closer to the network router or consider using a Wi-Fi extender to strengthen the signal and improve the camera’s performance. |
| Camera not connecting to the app | Ensure that the camera and your device are connected to the same Wi-Fi network. Restart both the camera and the app, and try reconnecting. If the issue persists, contact Ring’s customer support for further assistance. |
| Low-quality video feed | Check if there is any physical obstruction in the camera’s line of sight, such as dirt or condensation on the lens. Clean the lens gently with a soft cloth to improve the video quality. |
Note: If you encounter any other issues during installation or usage, refer to the camera’s user manual or contact the manufacturer’s support team for specialized guidance.
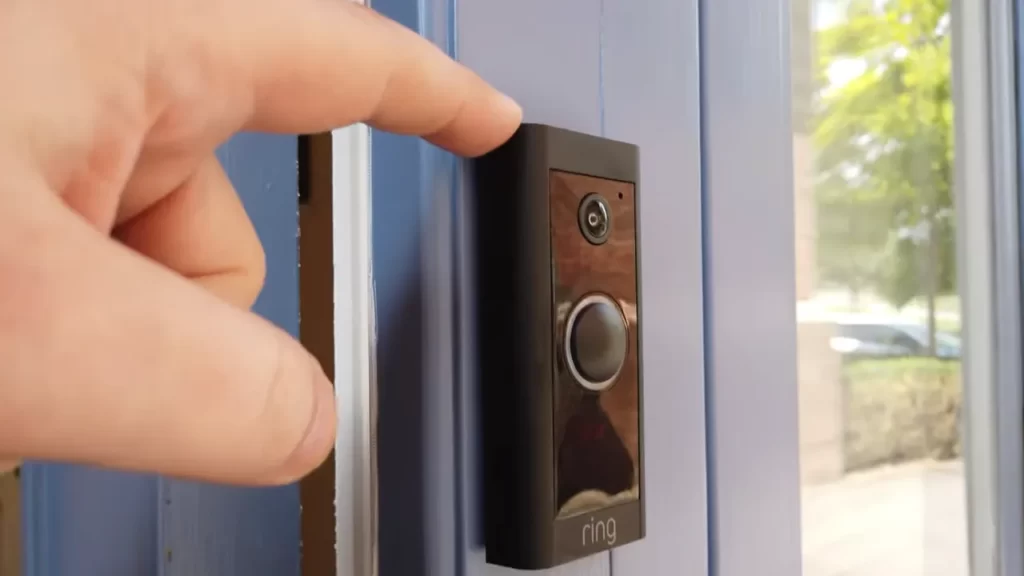
By following these testing and troubleshooting steps, you can ensure that your Wired Ring Camera functions seamlessly, providing you with peace of mind and enhanced security.
Enhancing The Security Features
When it comes to home security, the Wired Ring Camera proves to be an exceptional choice. Not only does it provide reliable surveillance, but it also boasts a range of advanced features to enhance the security of your property. In this article, we will explore some of the additional features that make the Wired Ring Camera a top-notch security solution.
Exploring additional Ring camera features
The Wired Ring Camera goes beyond the basic surveillance capabilities, offering a range of additional features to strengthen your home security system. Let’s delve into some of the notable features:
- Two-Way Audio: With the built-in microphone and speaker, you can communicate with visitors or warn potential intruders directly from your smartphone.
- High-Definition Video: The Ring Camera captures crystal-clear 1080p video, allowing you to see every detail of what’s happening outside your home.
- Infrared Night Vision: Equipped with infrared LEDs, the camera provides excellent visibility even in complete darkness, ensuring your property is protected around the clock.
- Cloud Storage: By subscribing to the Ring Protect Plus plan, you can store and access recorded footage for up to 60 days, giving you peace of mind knowing that you’ll have evidence if needed.
Integrating your Ring camera with other home security devices
To create a comprehensive security system, you can easily integrate your Wired Ring Camera with other compatible home security devices. By connecting it to the Ring Alarm system, for example, you’ll receive real-time alerts and can activate the siren, further deterring any potential threats. Moreover, by linking it to smart locks, you can remotely grant access to trusted individuals or lock your doors with a simple tap on your smartphone. The seamless integration with other devices allows you to enhance the overall security of your home.
Creating customized motion zones and notifications
With the Ring app, you have the flexibility to create customized motion zones and notifications tailored to your specific needs. By defining specific areas in the camera’s field of view that you want to monitor, you’ll receive instant alerts whenever any motion is detected in those zones. This level of customization ensures that you stay in the know about any suspicious activity happening around your property while minimizing false alarms from irrelevant movements.
By enhancing the security features of your Wired Ring Camera, you can have peace of mind knowing that your home is well-protected. From exploring the additional features to integrating it with other devices and utilizing customized motion zones, the Wired Ring Camera provides a comprehensive security solution to safeguard your property.
Maintaining And Upgrading The Camera System
Once you have successfully installed your wired Ring camera, it’s important to keep it in optimal condition and consider upgrading it for enhanced performance. In this section, we will discuss the regular cleaning and maintenance tasks you should carry out, upgrading the firmware and software for improved functionality, and exploring optional accessories to maximize the potential of your Ring camera.
Regular Cleaning and Maintenance Tasks
To ensure that your Ring camera continues to capture clear and high-quality footage, regular cleaning and maintenance are necessary. Here are some essential tasks you should perform:
- Clean the camera lens: Dust, dirt, and fingerprints can accumulate on the lens over time, affecting the camera’s image quality. Gently wipe the lens with a soft, lint-free cloth to remove any smudges.
- Tidy up the surrounding area: Keep the camera’s field of view unobstructed by trimming any overgrown foliage or removing objects that might block the camera’s sightline.
- Inspect the cables: Regularly check the cables for any signs of wear or damage. If you notice any issues, it’s crucial to address them promptly to avoid disruptions in the camera’s operation.
- Check for software updates: Stay up-to-date with the latest software releases from Ring. Regularly check the Ring app or website for any available updates to keep your camera’s software running smoothly.
Upgrading Firmware and Software for Improved Performance
Upgrading your Ring camera’s firmware and software is essential to enjoy new features, bug fixes, and enhanced functionality. Here are the steps to upgrade:
- Access the Ring app: Open the Ring app on your smartphone or tablet and log in to your Ring account.
- Select your camera: Tap on the camera you want to upgrade from the list of devices.
- Go to Device Settings: Navigate to the Camera Settings or Device Health section.
- Check for updates: Look for an option to check for available updates. If an update is available, follow the prompts to install it.
- Allow the update to complete: During the update process, ensure that your camera remains connected to a stable Wi-Fi network and has sufficient power.
Exploring Optional Accessories for Your Ring Camera
To expand the capabilities of your Ring camera, you can consider exploring a range of optional accessories. These accessories can provide added convenience, security, and customization options. Here are some popular accessories to consider:
- Solar Panel: Keep your camera powered with a solar panel that harnesses sunlight to recharge the camera’s battery.
- Mounting Brackets: Optimize your camera’s positioning with adjustable mounting brackets for better angles and coverage.
- Security Yard Signs and Stickers: Enhance the deterrent effect of your Ring camera by displaying yard signs and stickers to let potential intruders know your property is well protected.
- Additional Batteries: Extend the operating time of your camera by having extra rechargeable batteries on hand.
By implementing regular cleaning and maintenance tasks, upgrading firmware and software, and exploring optional accessories, you can ensure that your wired Ring camera system is constantly optimized for top-notch performance and security.
Frequently Asked Questions Of How To Install Wired Ring Camera
Are Ring Wired Cameras Easy To Install?
Yes, Ring wired cameras are easy to install. With simple instructions and basic tools, you can set them up quickly.
Do All Ring Cameras Have To Be Hardwired?
No, not all Ring cameras require hardwiring. Many models can be powered using battery packs or solar panels for flexibility and convenience.
How Do You Install A Ring Plug In A Security Camera?
To install a Ring plug-in security camera: 1. Choose a suitable location near a power outlet. 2. Connect the camera to the power outlet using the provided cable. 3. Download the Ring app on your phone and create an account.
4. Follow the app’s instructions to connect the camera to your Wi-Fi network. 5. Mount the camera on a wall or install it on a flat surface.
How Do You Install An Outdoor Ring Security Camera?
To install an outdoor Ring security camera, follow these steps: First, choose a suitable location near an outlet and Wi-Fi signal. Next, mount the camera using screws or the provided adhesive. Plug it into the outlet and connect to Wi-Fi using the Ring app.
Finally, adjust settings and customize notifications for optimal security.
How Do I Install A Wired Ring Camera?
To install a wired Ring camera, first, choose the mounting location, connect the camera to the power source and Wi-Fi, and then follow the app instructions to complete the setup.
Conclusion
Installing a wired Ring camera is a straightforward process that allows you to enhance the security of your home. By following these simple steps, you can have your camera up and running in no time. Remember to ensure a stable internet connection and position the camera strategically for optimal surveillance.
Safeguarding your property has never been easier with a wired Ring camera. Start protecting your home today!
