To install a wireless doorbell, follow these steps: choose a suitable location, mount the doorbell button, install the receiver, and test the doorbell functionality. Are you tired of missing visitors at your door?
Installing a wireless doorbell can help solve this problem by providing a convenient and efficient way for guests to announce their arrival. It also eliminates the need for complicated wiring, making it a popular choice for modern homes. In this guide, we will walk you through the steps to successfully install a wireless doorbell.
Whether you are a DIY enthusiast or a beginner, this process is simple and can be completed in just a few minutes. So let’s get started and make sure you never miss another visitor again.
Understanding The Basics Of Wireless Doorbells
Introduction: Understanding the Basics of Wireless Doorbells When it comes to modernizing your home or office, installing a wireless doorbell can be a great addition. Not only does it provide convenience and security, but it also eliminates the need for complicated wiring and allows for easy installation. In this blog post, we will delve into the basics of wireless doorbells, including how they work, the advantages they offer, and the different types of wireless doorbell systems available. So, let’s get started! H3: How Does a Wireless Doorbell Work? A wireless doorbell system operates through radio waves, allowing the transmitter (usually a button or device located near the front door) to send a signal to the receiver (typically placed inside the house). This signal triggers the receiver to produce an audible chime or sound, alerting you to someone’s presence at the door. The wireless doorbell transmitter and receiver are paired together during the initial setup process, ensuring that the signal is properly received. This pairing also helps prevent interference from other wireless devices that may be in the area. H3: Advantages of Using a Wireless Doorbell Using a wireless doorbell comes with several advantages that make it an appealing choice for homeowners and businesses alike. Here are a few benefits: 1. Easy Installation: Unlike traditional doorbell systems that require extensive wiring, wireless doorbells are simple to install. They typically come with adhesive mounting options or screws for attachment, allowing you to place them wherever you prefer. 2. Flexibility: Wireless doorbells offer flexibility in terms of placement. Since they are not restricted by wires, you can install them in various locations, such as your front door, back door, garage, or even in different rooms inside your home. 3. Expandability: With wireless doorbell systems, you have the option to expand the system based on your needs. You can add additional receivers or transmitters in different areas of your property, ensuring that you never miss a visitor no matter where you are. 4. Portability: The wireless nature of these doorbell systems makes them portable. If you move to a new residence, you can easily bring your wireless doorbell along without the hassle of rewiring or leaving components behind. 5. Enhanced Security: Wireless doorbells often come equipped with advanced features like video monitoring, which allows you to see who is at the door before answering. This added layer of security can provide peace of mind and help prevent unwanted or unexpected visitors. H3: Types of Wireless Doorbell Systems Wireless doorbell systems are available in various types, each with its unique features and functionality. Some common types include: 1. Battery-Powered: These doorbells rely on batteries for operation, making them highly portable and easy to install. However, it’s important to regularly check and replace the batteries to ensure the doorbell continues to function properly. 2. Plug-In: Plug-in wireless doorbells are powered by electricity and require an outlet for operation. They do not rely on batteries, which means you don’t have to worry about replacing them. These doorbells are great for those who prefer a constant power source. 3. Solar-Powered: Solar-powered wireless doorbells utilize the sun’s energy to charge their batteries. They are eco-friendly and reduce the need for regular battery replacements. These doorbells are an excellent option for those looking for a sustainable and energy-efficient choice. 4. Wi-Fi-Enabled: Wi-Fi-enabled wireless doorbells connect to your home’s Wi-Fi network, allowing you to receive notifications on your smartphone or tablet. These doorbells often integrate with smart home devices, enabling you to control and monitor your doorbell remotely. In conclusion, understanding the basics of wireless doorbells is essential before embarking on the installation process. By knowing how they work, the advantages they offer, and the different types of wireless doorbell systems available, you can make an informed decision and choose the best option for your home or business. So, go ahead and upgrade your doorbell system to enjoy the convenience, flexibility, and security that wireless doorbells bring.
Choosing The Right Wireless Doorbell For Your Home
When it comes to home security, a wireless doorbell can be a great addition to your property. Not only does it provide convenience and functionality, but it can also enhance the overall security of your home. However, with so many options available in the market, choosing the right wireless doorbell for your home can be a daunting task. In this section, we will explore the factors to consider when choosing a wireless doorbell, the features to look for in a wireless doorbell, and some popular wireless doorbell brands.
Factors to Consider When Choosing a Wireless Doorbell
- Range: Consider the range of the wireless doorbell. Make sure it can cover the distance between your front door and where you plan to place the receiver.
- Compatibility: Check if the wireless doorbell is compatible with your existing home security system or any other devices you may have.
- Power Source: Decide whether you prefer a battery-operated or plug-in wireless doorbell. Battery-operated doorbells offer flexibility in terms of placement, while plug-in doorbells ensure a continuous power supply.
- Weather Resistance: If your front door is exposed to the elements, choose a wireless doorbell that is weather resistant.
- Design: Consider the aesthetic appeal of the wireless doorbell and how well it blends with the exterior of your home.
Features to Look for in a Wireless Doorbell
- Multiple Chimes: Look for a wireless doorbell that offers a variety of chime options, allowing you to personalize the sound according to your preference.
- Volume Control: Make sure the wireless doorbell has a volume control feature so that you can adjust the sound level to your desired setting.
- Visual Alerts: Some wireless doorbells come with visual alerts such as flashing lights, which can be beneficial for individuals with hearing impairments or for noisy environments.
- Long Battery Life: If you choose a battery-operated doorbell, ensure that it has a long battery life to minimize the frequency of replacements.
- Two-Way Communication: Consider a wireless doorbell that allows for two-way communication, enabling you to interact with visitors without opening the door.
Popular Wireless Doorbell Brands
If you’re looking for reliable wireless doorbell brands, here are a few popular choices:
| Brand | Key Features |
|---|---|
| Ring | Video doorbell functionality, mobile app integration, motion detection |
| Nest | Smart home integration, facial recognition, HD video streaming |
| Heath Zenith | Easy installation, long wireless range, weather resistant |
| Honeywell | Expandable system, adjustable volume, LED strobe alerts |
These popular wireless doorbell brands offer a range of features to suit different needs and budgets. Consider your specific requirements and compare the options before making a decision.
Step 1: Gathering The Necessary Tools And Materials
Before you can start installing a wireless doorbell system, you need to gather the essential tools and materials required for the job. Having all the necessary items on hand will ensure a smooth and hassle-free installation process. In this step, we will discuss the essential tools as well as the materials needed for the installation process.
Essential Tools for Installing a Wireless Doorbell
When it comes to installing a wireless doorbell, having the right tools is crucial. Here are the essential tools you will need:
- Power drill: A power drill will come in handy when you need to drill holes for mounting the doorbell button and receiver.
- Screwdriver set: Make sure you have a set of screwdrivers, including both flathead and Phillips head, as you may need them to secure the doorbell components.
- Tape measure: A tape measure will help you accurately measure the distance between the doorbell button and receiver, ensuring a proper installation.
- Pencil: A pencil will allow you to mark the positions for drilling holes and mounting the components.
- Level: To ensure that the doorbell button and receiver are installed straight and level, a level tool is essential.
- Wire stripper: If your wireless doorbell system requires wiring, a wire stripper is necessary to strip the insulation off the wires.
Materials Needed for the Installation Process
Aside from the tools, you will also need specific materials to complete the installation of a wireless doorbell system. Here are the materials you should have:
- Wireless doorbell kit: Purchase a wireless doorbell kit that comes with a doorbell button and receiver. Make sure it is compatible with your home’s existing doorbell wiring or is a completely wireless system.
- Batteries: Check the requirements of your wireless doorbell system and ensure you have the appropriate batteries on hand for both the doorbell button and receiver.
- Screws and anchors: Depending on the type of surface where you’ll be installing the doorbell components, you may need screws and anchors to secure them in place.
- Electrical tape: If wiring is involved, electrical tape will be needed to secure and insulate the connections.
- Weatherproofing materials: If your wireless doorbell system will be exposed to the elements, consider using weatherproofing materials such as silicone caulk or weatherstripping to protect the components.
Now that you have gathered all the necessary tools and materials, you are ready to move on to the next step of the installation process. In our next guide, we will cover step 2, which involves planning the doorbell placement and preparing for the installation.
Step 2: Preparing For Installation
Before you can start installing your wireless doorbell system, it’s important to properly prepare your home for seamless integration. This step involves two key tasks—locating the ideal spot for the doorbell button and receiver, and measuring and marking the doorbell button placement. Additionally, you’ll need to assess the range of the wireless doorbell system to ensure optimal connectivity throughout your home.
Locating the Ideal Spot for the Doorbell Button and Receiver
Choosing the right location for your doorbell button and receiver is essential for convenient access and optimal performance. Follow these guidelines to find the perfect spots:
- Consider the height: The doorbell button should typically be installed at a height of around 4-5 feet from the ground, providing easy access for all family members and visitors alike.
- Accessibility: Place the button in a spot that is clearly visible and easy to reach from the entrance of your home.
- Weatherproofing: Ensure that the chosen location is sheltered from direct exposure to rain, harsh sunlight, and extreme weather conditions, which can jeopardize the durability and functionality of your wireless doorbell system.
- Interference: Keep in mind that certain materials, such as metal or concrete walls, may interfere with the signal transmission. Try to select a location that minimizes potential obstacles.
Measuring and Marking the Doorbell Button Placement
Once you’ve identified the ideal spot for your doorbell button, it’s time to measure and mark the exact placement. Here’s how:
- Grab a measuring tape and measure the height and width of the button. This will help you determine the center point for accurate installation.
- Use a pencil or marker to mark the position of the button on your wall or door frame. Ensure it’s leveled and aligned properly.
- If you’re using a screwdriver or any mounting accessories, mark the placement for those as well.
Assessing the Range of the Wireless Doorbell System
Before proceeding with the installation, it’s crucial to assess the range of your wireless doorbell system to guarantee a strong and reliable signal. Follow these steps:
- Refer to the manufacturer’s instructions or user manual to identify the maximum range of your wireless doorbell system. This can vary depending on the model.
- Consider the layout of your home: Analyze the distance between the doorbell button and the receiver and the potential obstacles that might affect the signal transmission, such as walls, furniture, or electronic devices.
- If needed, consider investing in a signal booster or a Wi-Fi extender to ensure the doorbell signal reaches every corner of your home.
Now that you’ve completed the preparation stage, it’s time to move on to the next step—installing your wireless doorbell system. Stay tuned for Step 3!
Step 3: Installing The Doorbell Button
Once you have completed the previous steps of choosing the right wireless doorbell and mounting the receiver unit, it’s time to move on to installing the doorbell button. This is an important step as it is the part of the doorbell that will be visible to your visitors, so you want to make sure it is installed correctly and securely. Follow the steps below to install the doorbell button
Drilling Holes for Mounting the Doorbell Button
To mount the doorbell button, you will first need to drill holes in the desired location on your exterior wall. Choose a location that is easily accessible to visitors and make sure it is within the range of the receiver unit. Use a measuring tape to mark the drilling spots and then use a power drill with the appropriate drill bit to create the holes. Make sure the holes are the right size and depth to accommodate the mounting screws.
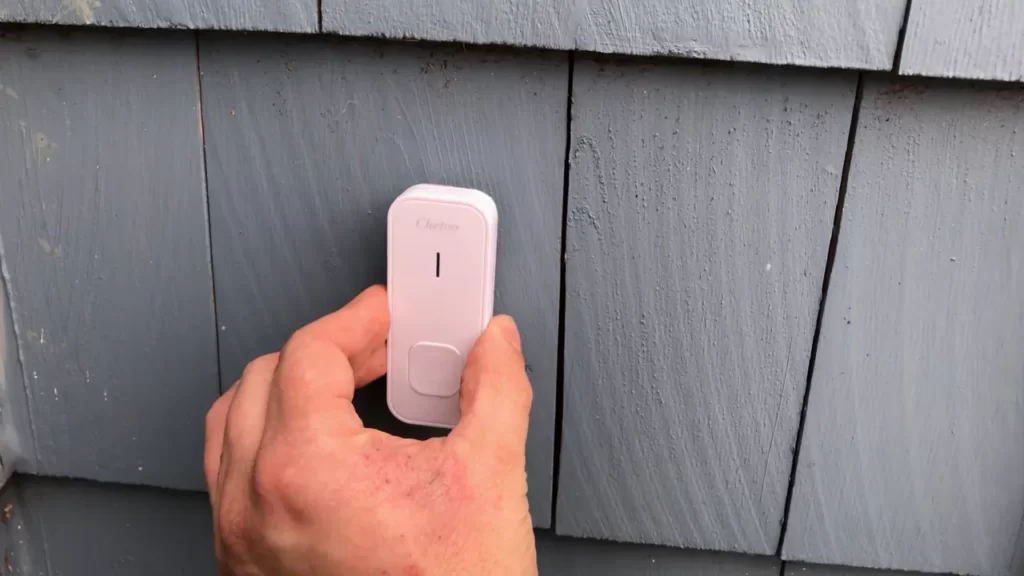
Mounting the Doorbell Button on the Exterior Wall
Once the holes are drilled, it’s time to mount the doorbell button on the exterior wall. Place the backplate of the doorbell button over the drilled holes, aligning the screw holes. Insert the mounting screws through the backplate and into the drilled holes. Tighten the screws using a screwdriver until the doorbell button is securely attached to the wall. Ensure that the button is level and flush with the wall, providing a neat and professional appearance.
Securing the Doorbell Button Wiring
With the doorbell button in place, you now need to secure the wiring to ensure it stays in position and remains connected. Use cable clips or adhesive hooks to neatly guide the wiring from the doorbell button to the nearest electrical outlet or junction box. Make sure to leave enough slack for the wiring to move freely but avoid any excess length that may get in the way or cause tangles. If necessary, use electrical tape to secure any loose or exposed wiring to maintain a clean and safe installation.
By following these simple steps, you can easily install the doorbell button of your wireless doorbell system. With the doorbell button securely in place, you are now one step closer to enjoying the convenience and security of your new wireless doorbell.
Step 4: Installing The Doorbell Receiver
Once you have successfully installed the doorbell button and transmitter, it’s time to move on to installing the doorbell receiver. The receiver is the component that produces the sound or visual alert when someone presses the doorbell button. Follow these simple steps to ensure a smooth installation process.
Choosing the Ideal Location for the Doorbell Receiver
Before you start mounting the doorbell receiver, it’s essential to choose the ideal location for it. Consider these factors to ensure optimal functionality:
- Proximity to the door: Install the receiver within a reasonable distance from your front entrance to ensure you can hear or see it easily when someone rings the doorbell.
- Audibility or visibility: Select a location where the receiver’s sound or visual alert is easily perceptible from various areas of your home.
- Power source accessibility: Ensure that the chosen location provides easy access to a power source, such as a nearby electrical outlet.
By considering these factors, you can make an informed decision about where to install the doorbell receiver.
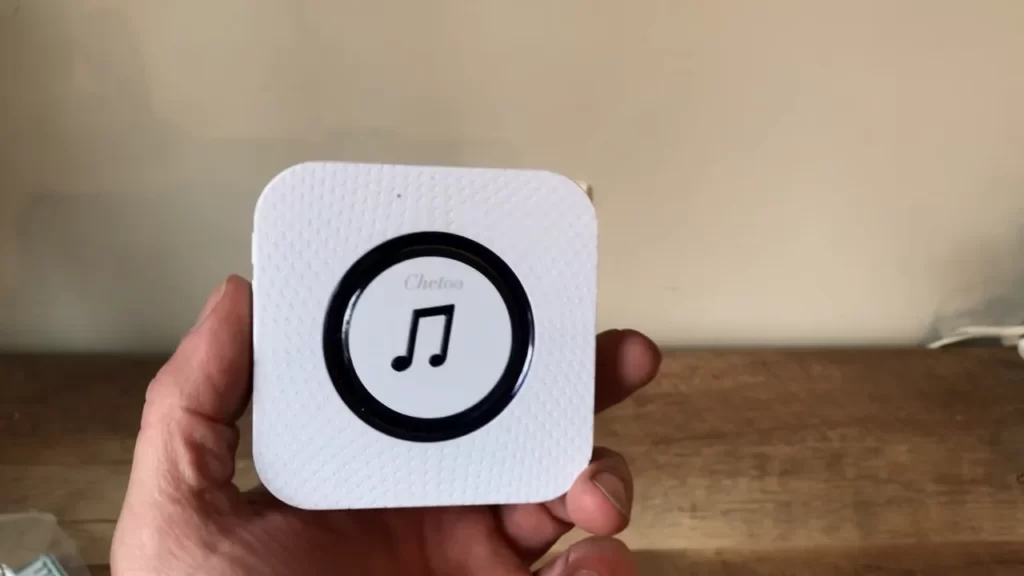
Mounting the Doorbell Receiver on the Interior Wall
Once you’ve chosen the ideal location for the doorbell receiver, it’s time to mount it on the interior wall. Follow these steps:
- Prepare the mounting area: Wipe the wall surface clean and ensure it is free of any dust or debris.
- Attach the mounting bracket: Position the mounting bracket on the wall at the chosen location and secure it using screws or adhesive, depending on the type of bracket provided with your wireless doorbell kit.
- Mount the receiver: Carefully slide the doorbell receiver into the mounting bracket until it clicks into place. Ensure it is firmly secured and does not wobble.
- Test the mounting: Gently press the doorbell button to ensure the receiver stays in place and does not fall off the wall.
By following these steps, you can confidently mount the doorbell receiver on your interior wall, ready to receive notifications when someone rings your doorbell.
Connecting the Doorbell Receiver to a Power Source
Now that the receiver is securely mounted on the wall, it’s time to connect it to a power source. Here’s what you need to do:
- Locate a power source: Identify a nearby electrical outlet or use a power extension cord to ensure a convenient power supply.
- Plug in the receiver: Insert the receiver’s power cord into the electrical outlet or extension cord. Ensure a secure connection.
- Verify power supply: Check that the receiver’s indicator light or screen displays the power-on status.
- Test the doorbell: Press the doorbell button to confirm that the receiver is properly connected and functioning.
By following these steps, you can successfully connect the doorbell receiver to a power source, enabling it to function and notify you when someone rings your doorbell.
Step 5: Pairing The Doorbell Button And Receiver
Step 5: Pairing the Doorbell Button and Receiver
Initiating the Pairing Process
After successfully installing your wireless doorbell, it’s time to pair the doorbell button with the receiver to ensure they communicate seamlessly. Follow these steps to initiate the pairing process:
- Start by locating the pairing button on the receiver. Typically, it is located on the side or back of the device.
- Press and hold the pairing button on the receiver for approximately 3-5 seconds. You’ll notice the indicator light on the receiver starts flashing.
- While the receiver’s indicator light is flashing, press the button on the doorbell transmitter. This action sends a signal to the receiver, initiating the pairing process.
- Keep the doorbell button within close proximity of the receiver to ensure a successful pairing. Ideally, a distance of 5-10 feet is recommended.
- Wait for the receiver’s indicator light to stop flashing and remain solid. This indicates that the pairing process is complete.
Troubleshooting Pairing Issues
If you encounter any issues during the pairing process, don’t worry. Here are some troubleshooting steps you can follow to resolve common pairing issues:
- Ensure that both the receiver and doorbell button have fresh batteries. Weak batteries can interfere with the pairing process.
- Verify that the doorbell button and receiver are within the recommended distance range. If they are too far apart, move them closer to improve signal strength.
- Check for any obstructions that may be blocking the signal between the doorbell button and receiver. Objects like metal doors or thick walls can weaken the signal and hinder pairing.
- If the indicator lights on both the receiver and doorbell button are not responding as expected, try resetting the devices. Consult the manufacturer’s instructions for guidance on how to perform a reset.
- If all else fails, contact the customer support of the wireless doorbell manufacturer for further assistance.
By following these steps and troubleshooting tips, you’ll have your wireless doorbell button and receiver paired and ready to use in no time. Enjoy the convenience and security that a wireless doorbell brings to your home!
Step 6: Testing And Adjusting The Wireless Doorbell
Congratulations! You’re almost done with the installation process of your wireless doorbell. Now it’s time to test and make any necessary adjustments to ensure your doorbell is functioning properly. In this step, we’ll go over how to test the functionality of the doorbell system and how to adjust the volume and chime settings to suit your preferences.
Testing the Functionality of the Doorbell System
Once you’ve completed the installation, it’s crucial to verify that your wireless doorbell is working as expected. Follow these steps to test the functionality of your doorbell system:
- Stand near the doorbell button outside your home and press it firmly to see if the chime sound activates inside your home.
- If the chime doesn’t sound, check the batteries in both the doorbell button and the chime receiver. Replace them if necessary.
- Make sure that the distance between the button and the chime receiver is within the recommended range specified by the manufacturer. If the distance is too far, consider moving the chime receiver closer to the button or using a signal amplifier if available.
- Test the doorbell from different parts of your home to ensure that the signal reaches all areas. If there are dead spots where the doorbell doesn’t work, you may need to relocate the chime receiver or invest in additional signal boosters.
- Ensure that the chime volume is set to your desired level. Adjust it using the controls on the chime receiver.
- If your wireless doorbell has different chime options, test each one to find the sound that you prefer. This allows you to personalize your doorbell system to match your style and taste.
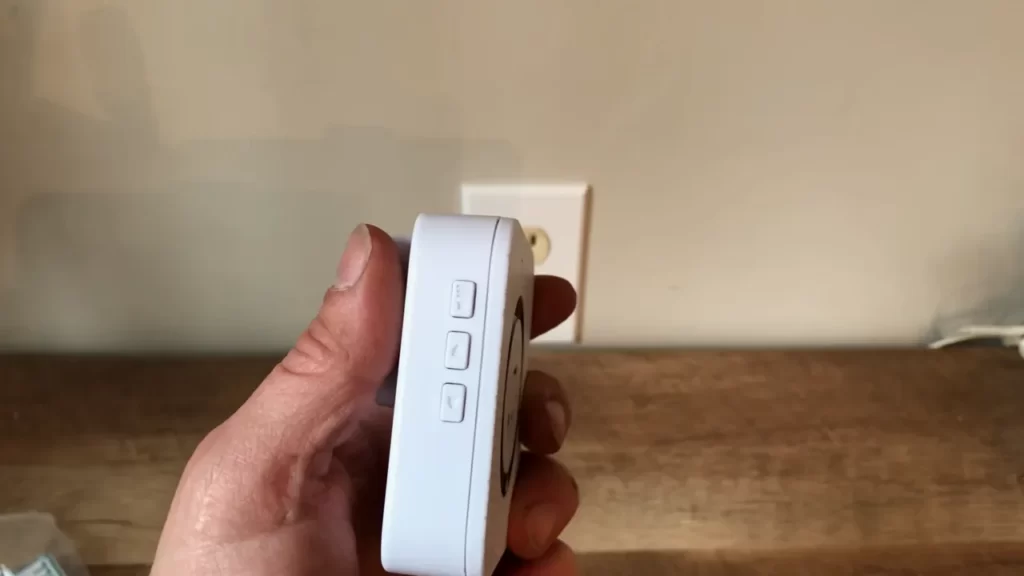
Adjusting Volume and Chime Settings
To make your wireless doorbell experience more enjoyable, you can adjust the volume and select different chime settings according to your preferences. Here’s how you can do it:
- Locate the volume control buttons on the chime receiver. These buttons are usually labeled + (plus) and – (minus) for increasing or decreasing the volume respectively.
- Press the + button to increase the volume if the chime sounds too low. Alternatively, use the – button to decrease the volume if it’s too loud.
- To change the chime sound, look for a set of buttons labeled with different sound options. Press each button until you find the chime that you like the most.
- Some wireless doorbell models may offer additional features such as adjustable ring duration or LED flash notification. Refer to the user manual of your specific model to explore these advanced settings if available.
Remember, testing and adjusting your wireless doorbell is an essential part of the installation process. By following these steps, you can ensure that your doorbell is functioning correctly, and you can customize it to suit your preferences. Now that you have completed all the necessary steps, you can enjoy the convenience and security of a wireless doorbell system in your home.
Additional Tips And Troubleshooting
Once you have successfully installed your wireless doorbell, there are a few additional tips and troubleshooting techniques that can help you get the most out of your system. In this section, we will cover maintaining and troubleshooting common issues with wireless doorbells, as well as expanding and upgrading your wireless doorbell system.
Maintaining and Troubleshooting Common Issues with Wireless Doorbells
Wireless doorbells are generally low maintenance, but there are a few things you can do to ensure they continue working smoothly:
- Regularly check the batteries in both the doorbell button and the receiver. Replace them as needed to avoid any interruptions in service.
- Keep the doorbell button and receiver clean and free from dust and debris. Use a soft, dry cloth to gently wipe away any dirt that may accumulate over time.
- Make sure that the doorbell button and receiver are within the recommended range for optimal performance. If the signal is weak, try repositioning the receiver or consider using a wireless signal booster.
Despite taking these precautions, you may still encounter some common issues with your wireless doorbell. Here are some troubleshooting techniques:
- If the doorbell button is pressed but nothing happens, check the batteries and ensure they are properly inserted. You may also want to reprogram the button to the receiver.
- If the doorbell rings intermittently or the sound quality is poor, check the wireless signal strength. Reposition the receiver and button if needed to improve the signal.
- If the doorbell chimes randomly without anyone pressing the button, it could be due to interference from other electronic devices. Try changing the operating frequency or relocating the receiver to minimize interference.
Expanding and Upgrading Your Wireless Doorbell System
If you want to expand your wireless doorbell system or upgrade to a more advanced model, here are a few things to consider:
- Before purchasing additional doorbell buttons or receivers, check if they are compatible with your existing system. Some wireless doorbells allow for expandability while others do not.
- If you have a larger home or want multiple entry points, consider a wireless doorbell system with multiple receivers. This way, you can have a receiver in different rooms or areas of your home.
- Explore additional features that might enhance security and convenience, such as motion sensors, video cameras, or smartphone connectivity. These upgrades can provide added peace of mind and make your wireless doorbell system even more functional.
By following these tips and troubleshooting techniques, you can maintain and troubleshoot common issues with your wireless doorbell. And if you ever want to expand or upgrade your system, consider the suggestions provided. Enjoy the convenience and security that a wireless doorbell brings to your home!
Frequently Asked Questions Of How To Install Wireless Doorbell
Can I Install A Wireless Doorbell Myself?
Yes, you can install a wireless doorbell by yourself. Simply follow the instructions provided with the doorbell kit. It is a straightforward process that doesn’t require professional assistance.
Can You Install A Doorbell Without Wiring?
Yes, you can install a doorbell without wiring. There are wireless doorbell options available that use batteries or plug into an electrical outlet. These doorbells use radio frequency to transmit signals between the doorbell button and the receiver inside your home.
Installation is quick and easy with no need for wiring.
How Do You Replace A Wired Doorbell With A Wireless?
To replace a wired doorbell with a wireless one, follow these steps: 1. Turn off power to the existing doorbell at the circuit breaker. 2. Remove the old doorbell button and chime unit from the wall. 3. Install the wireless doorbell button in the desired location.
4. Mount the wireless chime unit indoors within range of the button. 5. Turn power back on and test the new wireless doorbell.
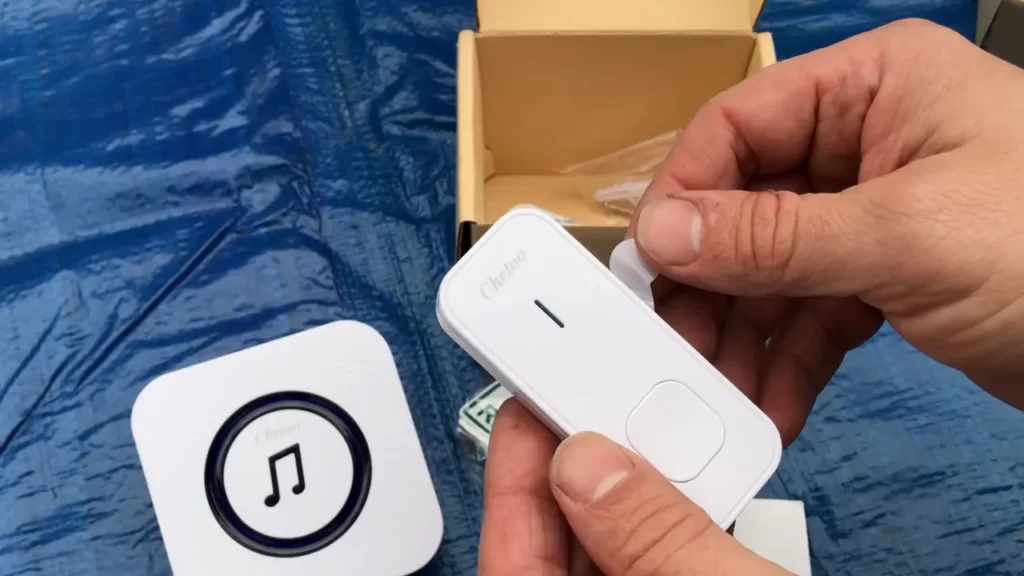
What Do You Need For A Wireless Doorbell?
To set up a wireless doorbell, you’ll need two main components: a doorbell button and a receiver. The doorbell button is placed outside your door and sends a signal when pressed. The receiver, placed inside your home, receives the signal and emits a sound or light to alert you.
Conclusion
Installing a wireless doorbell is a simple and convenient way to enhance the security and accessibility of your home. By following the step-by-step guide provided in this blog post, you can easily set up your wireless doorbell without any hassle.
Remember to choose a reliable and high-quality wireless doorbell to ensure optimal performance. With a wireless doorbell in place, you can enjoy the convenience of knowing when someone is at your door, without the need for complicated wiring or installation processes.
Increase the security and convenience of your home today by installing a wireless doorbell.